Loading ...
Loading ...
Loading ...
En
25
Advanced operation
Audio rendering (RENDER AUDIO)
A created pattern can be exported as a WAV file (44.1 kHz, 24-bit).
Press the [PROJECT] button and select [RENDER AUDIO] from the
PROJECT menu to switch to the page for audio rendering.
! The sequencer and sound output of the unit are stopped during
rendering execution.
1
2
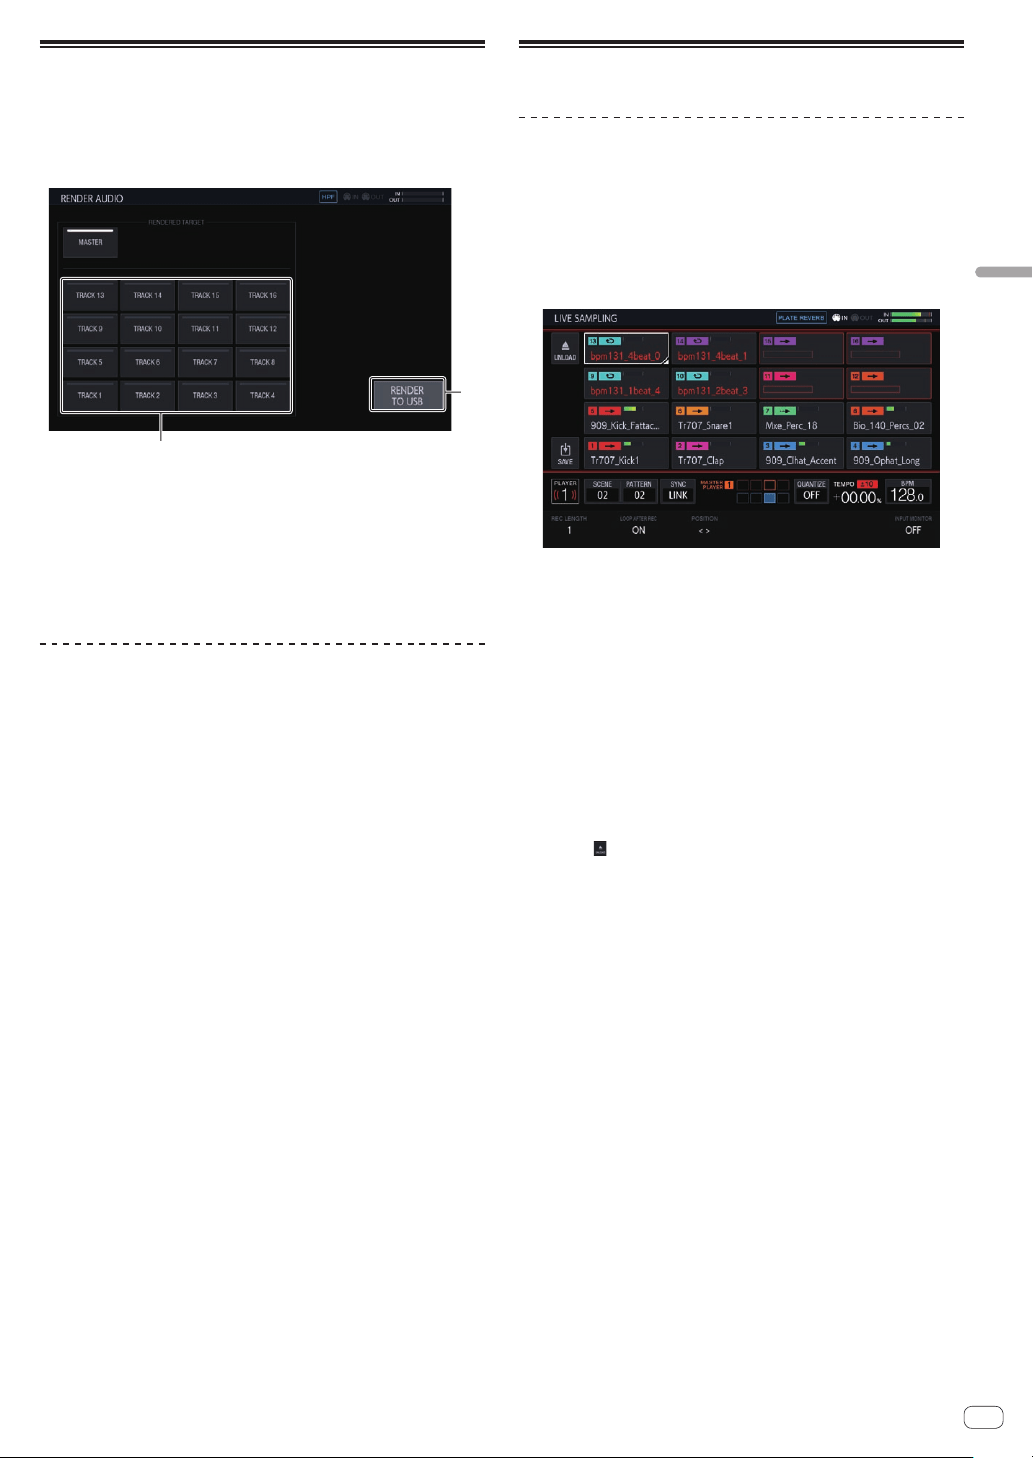
1 RENDER TO USB
Starts rendering. A rendered track is saved to the USB memory
device.
! If a USB memory device is not connected, the button is displayed
grayed out and cannot be operated.
2 RENDERED TARGET
Selects the track to be the rendering target.
Rendering audio
1 Tap [RENDER TO USB].
Rendering starts. When audio rendering finishes, a pop-up screen notify-
ing you that rendering was successful appears.
The progress is indicated by a progress bar in a pop-up during audio
rendering.
!
To cancel audio rendering part way through, tap [CANCEL].
2 Tap [OK].
A rendered audio file cannot be accessed from the browse screen of the
unit. Import it to a computer and then use it for editing and mastering.
!
The save destination of a WAV file is PIONEER DJ SAMPLER/
Rendered Audio/[Project Name]/Pattern.
! Rendering results with the same conditions are always overwritten.
When rendering is performed, be sure to move or copy the file to a
computer.
!
The file name will be [Scene No.][Pattern No.]_[Rendering Target
Name].wav.
Sampling (LIVE SAMPLING)
Sampling
The sound input to the [INPUT] terminals can be sampled and then used
for a performance immediately.
1 Press the [SAMPLING] button.
The performance pads switch to the LIVE SAMPLING mode and live
sampling becomes possible.
! The [SAMPLING] button lights.
! The LIVE SAMPLING screen is displayed on the touch display.
! Adjust the level of sound with the [INPUT LEVEL] control before
sampling. At that time, you can switch whether or not to output
the sound input to the [INPUT] terminals by MONITOR to the
headphones.
2 Tap a performance pad without a sample loaded.
Sampling starts.
! A sampled sample is indicated with red characters.
! Some functions such as unloading and saving are restricted during
sampling.
If another sample is already loaded in the performance pad for which
you wish to perform sampling, unload it as described below.
1 Tap the track you wish to unload.
Multiple tracks can be selected by tapping tracks while pressing
the [SHIFT] button.
2 Tap [ (UNLOAD)] to execute unloading.
! The length for sampling can be set in REC LENGTH.
— The values that can be set are 1/4, 1/2, 1, 2, 4, 8, 16, and
MANUAL. (They are all set on a beat level.)
— If [MANUAL] is selected, tapping the same performance pad
again finishes sampling. If the performance pad is not tapped,
sampling up to the maximum of 32 seconds is performed.
! You can set in LOOP AFTER REC whether or not to play a loop imme-
diately after sampling.
— ON: Plays automatically from the beginning of the sample after
sampling finishes.
— OFF: Stops after sampling finishes.
! When the length set in REC LENGTH is reached or the same perfor-
mance pad is tapped again while MANUAL is selected, sampling
finishes.
3 When sampling is finished, press the [SAMPLING]
button.
Sampling mode ends.
Loading ...
Loading ...
Loading ...