Loading ...
Loading ...
Loading ...
En
16
g SYNC
Tap this to display the SYNC screen.
= Setting synchronization with externally connected device (SYNC)
(p. 20 )
h PITCH
Sets the sound pitch for sample playback.
i SCENE/PATTERN button
Displays the current scene number and pattern number.
Tap this to display the SCENE MANAGER screen.
= Managing scenes and patterns (SCENE MANAGER) (p. 21 )
j VOLUME
Sets the volume of the track.
k Player number
Displays the player number assigned to this unit.
l MIXER
Tap this to display the mixer screen.
= Adjusting the volume of each track (MIXER) (p. 18 )
m TRACK SETTING
Tap this to display the TRACK SETTING screen.
= Changing the settings of the entire track (TRACK SETTING)
(p. 17 )
n SEQ.
Tap this to display the sequence screen.
= Checking sequences (SEQ.) (p. 18 )
Track display content
Track attributes
The display content differs for each track attribute.
The attribute can be switched in TRACK MENU of each track.
SAMPLE track
The display content differs for each track attribute.
The attribute can be switched in TRACK MENU of each track.
1
2 3
This track plays a sample.
1 Name of the assigned sample
If a sample is assigned to a track, the name of the assigned sample
is displayed.
If the sample name will not fit within the field, part of it is omitted and
the omitted part is replaced with “...”
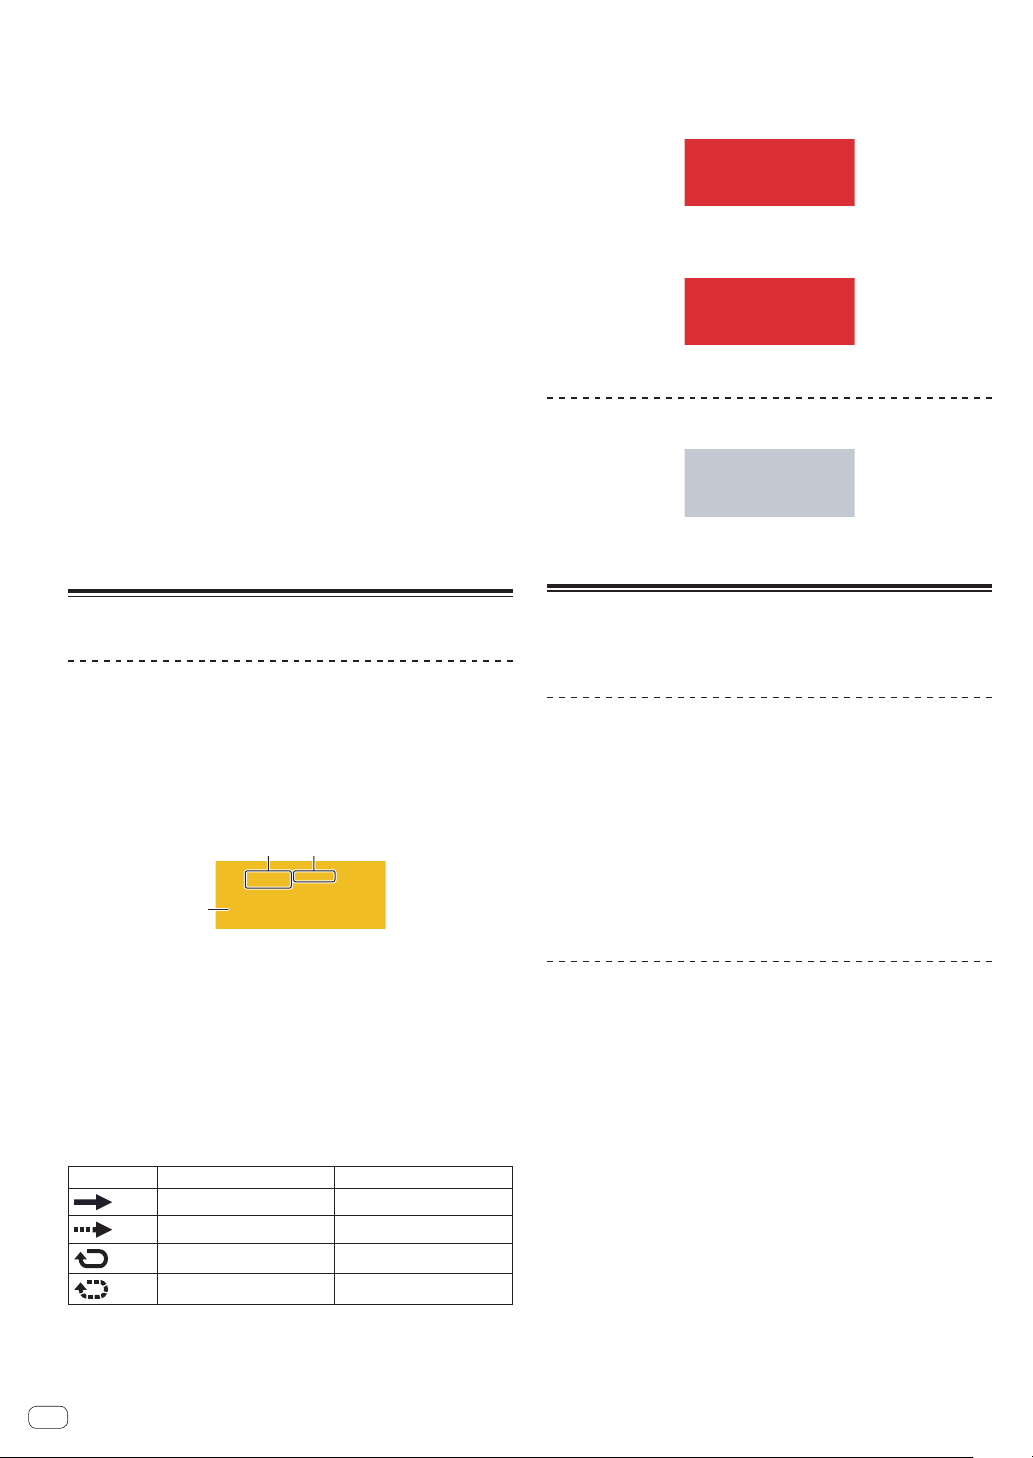
2 TRIGGER MODE and LOOP
Indicates the state of how the assigned sound is played.
Turning LOOP on and off affects both pad performances and
sequence performances, but TRIGGER MODE only affects pad
performances.
LOOP
TRIGGER MODE
OFF OneShot
OFF GATE
ON OneShot
ON GATE
!
This can be switched with the parameter adjustment knobs at the bottom of the
touch display.
!
In the case of GATE, the sample is played only while the pad is pressed.
! In the case of OneShot, the sample is triggered the instant the performance pad
is pressed, and is played only for the specified time.
3 Level meter display
Displays the audio level meter while a sample is playing.
THRU track
MIDI/TORAIZ AS-1 track
The number of the MIDI channel is displayed.
ACTIVE/MUTE
If [MUTE] is performed by pad operation, the indicators in the area
indicating the track number are all grayed out.
Managing project files (PROJECT)
Operations such as configuration, loading, and saving can be performed
on a project basis.
Creating a new project
1 Press the [PROJECT] button.
The PROJECT screen appears. You can perform operations such as load-
ing and saving projects on the PROJECT screen.
2 Turn the rotary selector to select [CREATE NEW] and
then press the rotary selector.
A new project is created and the main screen appears.
! A confirmation pop-up screen appears.
! If a new project is created without saving an existing project after the
project is changed, the unsaved project will be lost.
Deleting a project
Turn the rotary selector to select [DELETE] and then
press the rotary selector.
An existing project can be deleted.
Loading ...
Loading ...
Loading ...