Loading ...
Loading ...
Loading ...
95
Video Scopes
Video Scopes
The camera can display a simplified waveform monitor or a vectorscope to check your recordings. The selected
video scope is displayed on the screen and can be output to other monitoring devices as well.
Displaying a Video Scope
1 Select > [
A
Assistance Functions] >
[WFM Function] > [Waveform Monitor] or [Vectorscope].
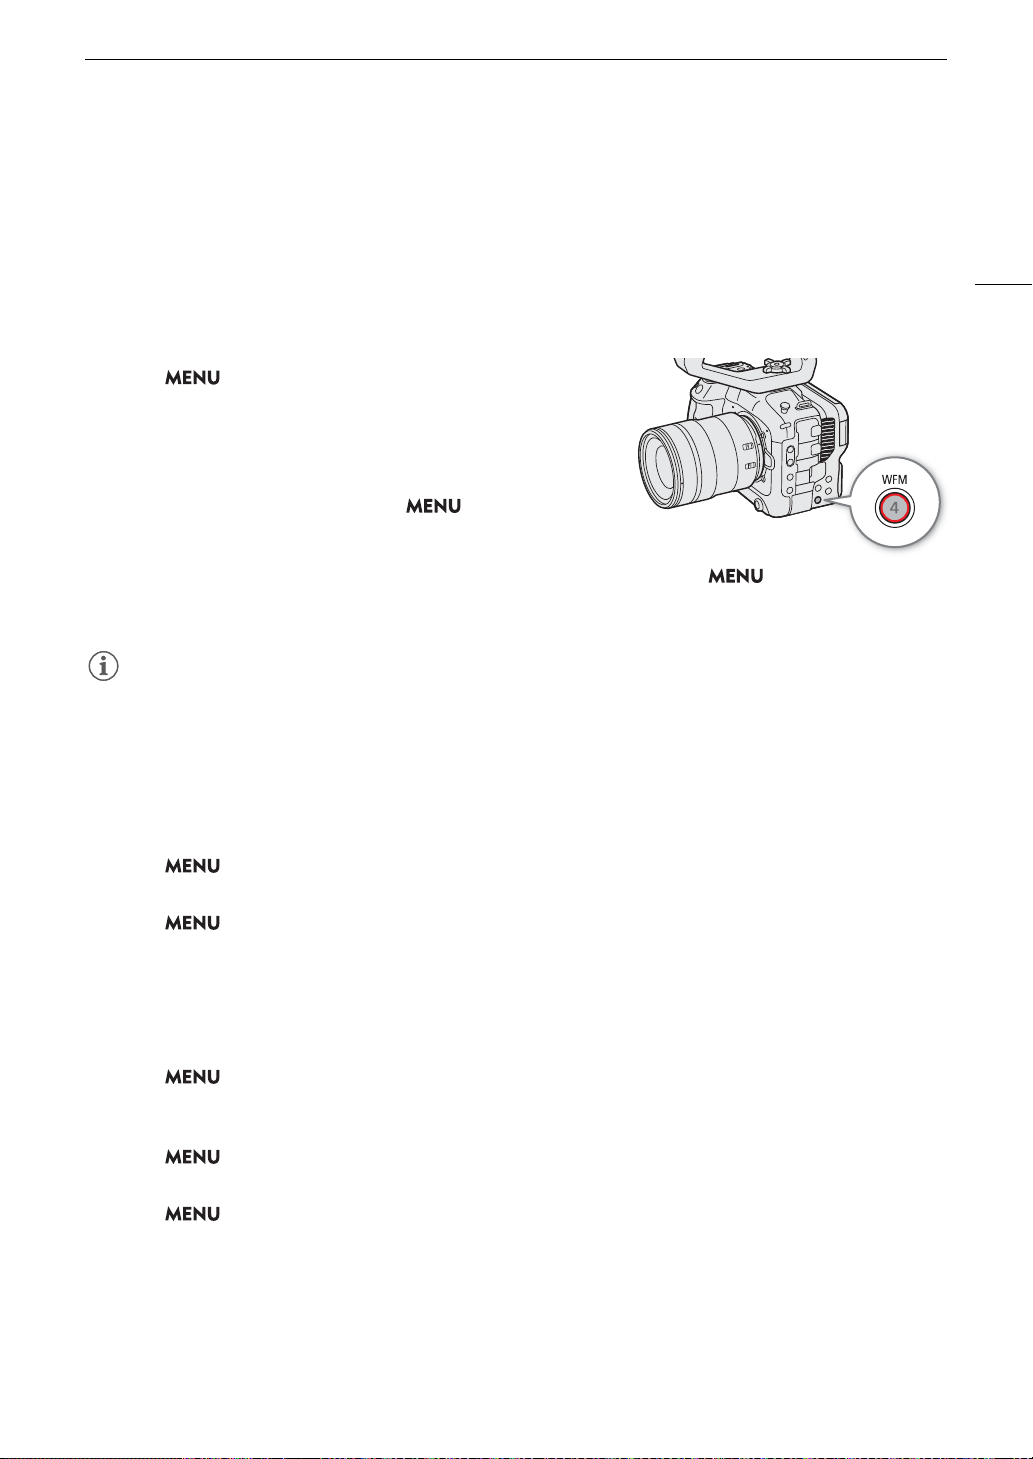
2Press the WFM button.
• You can also use direct touch control (A 49) to turn the
[Waveform Monitor]/[Vectorscope] setting on/off.
• Alternatively, you can use one of the > [
A
Assistance
Functions] > [WFM:] settings to turn the video scope on/off
separately on the desired video output.
• By default, the video scope will appear on the right of the screen. Using the > [
A
Assistance
Functions] > [Waveform Settings] or [Vectorscope Settings] > [Position] settings, you can select where to
display it (left or right side).
NOTES
NOTES
• The waveform monitor will not be affected even if a LUT is applied to the image, the range is changed or
anamorphic desqueeze is used on the selected video output or screen.
• The video scopes will also be displayed while adjusting a custom picture file's image settings (A 110).
Changing the Waveform Monitor Settings
1 Select > [
A
Assistance Functions] > [Waveform Settings] > [Type] > Desired option.
• If you selected an option other than [Select Line], skip to step 4.
2 Select > [
A
Assistance Functions] > [Waveform Settings] > [Select Line].
3 Enter the Y coordinate of the red horizontal line to display using the data entry screen (A 25).
• The available range of lines that can be selected depends on the vertical component of the resolution used.
For 2160: 0 to 2158 (in 2-line increments)
For 1080: 0 to 1079 (in 1-line increments)
For 720: 0 to 719 (in 1-line increments)
4 Select > [
A
Assistance Functions] > [Waveform Settings] > [Vertical Scale for HDR] >
Desired option.
• Select the Y axis (luminance) scale used when displaying the waveform monitor of an HDR image.
5 Select > [
A
Assistance Functions] > [Waveform Settings] > [Gain] > [1x] or [2x].
• If you selected [1x], the rest of the procedure is not necessary.
6 Select > [
A
Assistance Functions] > [Waveform Settings] > [Y Position] > Desired option.
• The display range of the waveform monitor’s Y axis will be reduced by half. Select the minimum luminance
value (in %) shown on the Y axis.
Loading ...
Loading ...
Loading ...