Loading ...
Loading ...
Loading ...
Get t ing Sta rt ed
2
Chapter 2 Getting Started
This section provides basic information to get the GV-Video Server working on the network.
2.1 Installing on a Network
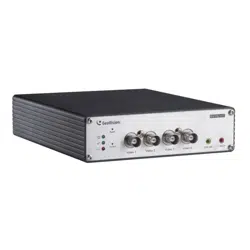
These instructions describe the basic connections to install the GV-Video Server on the
network. Here we use GV-VS04H as an example for demonstration.
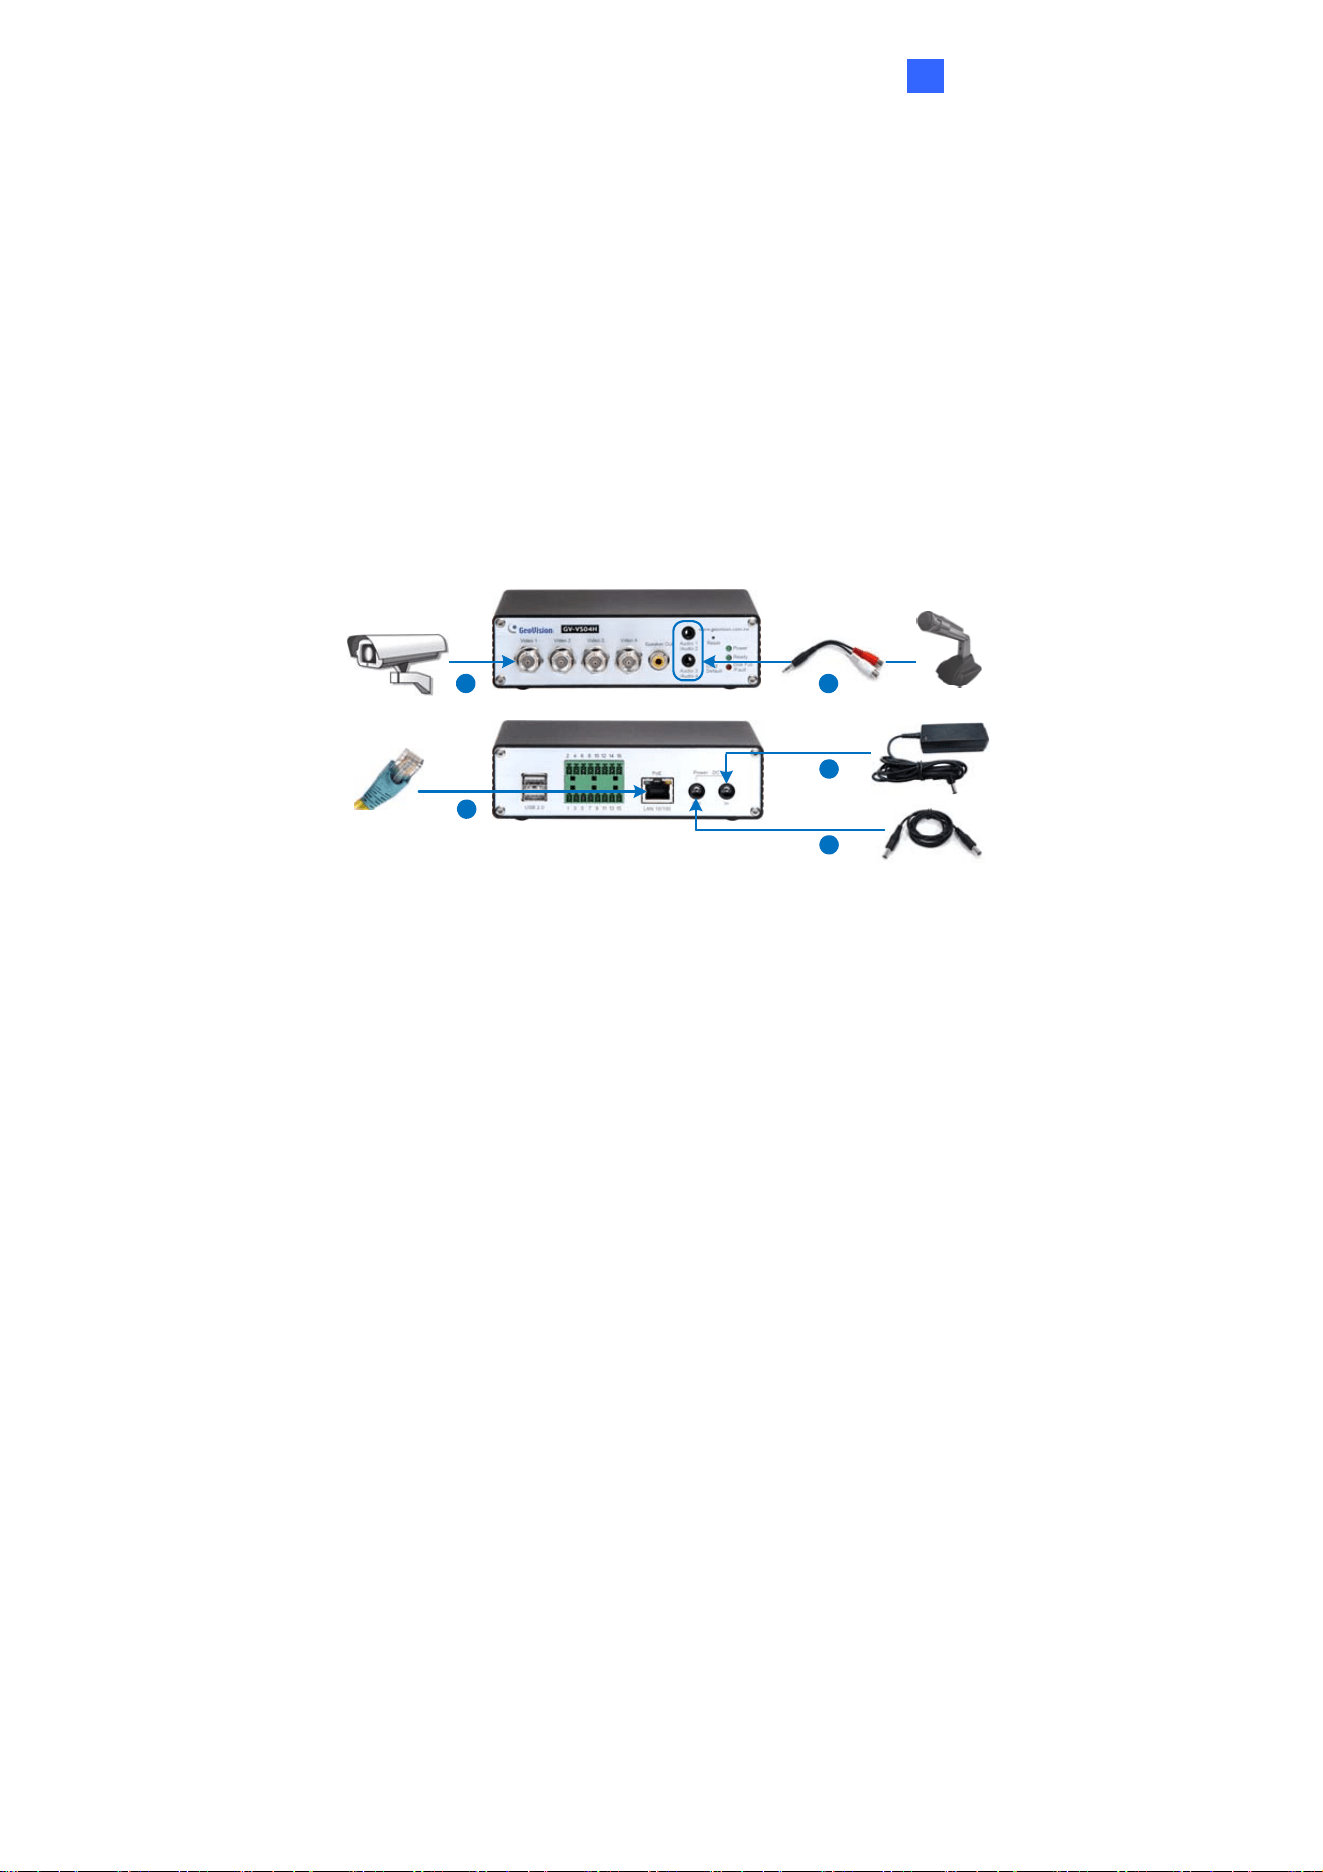
1 2
3
4
5
Figure 2-1
1. Connect your camera’s video output to the BNC video input.
2. Connect the microphone to the RCA audio input using the 3.5 mm Stereo to RCA
Cable.
3. Connect the hub or switch on the LAN to the unit’s 10/100 Mbps port.
4. Connect the power using one of the following methods:
Use the supplied power adapter to connect to power.
Use the Power over Ethernet (PoE) function to provide power over the network
cable.
5. Optionally connect the DC Male-to-Male Cable to power the camera through the
GV-Video Server.
6. Wait until both Power and Ready LEDs are on.
7. By default, the GV-Video Server is assigned with an unused IP address by the DHCP
server when the unit is connected to the network. The IP address remains unchanged
unless you unplug or disconnect it from the network.
To see how to look up the IP address assigned by the DHCP server, see 2.2
Checking the IP Address.
If the GV-Video Server is installed in a LAN without the DHCP server, the default IP
address 192.168.0.10 will be applied. To change the IP address, see 2.3 Changing
the IP Address.
25
Loading ...
Loading ...
Loading ...