Loading ...
Loading ...
Loading ...
6. Touch Preferences, and then scroll to and touch Fax Header.
7. Enter your personal or company name using the touch keypad, and then touch Done.
NOTE: The maximum number of characters for the fax header is 25.
8. Enter your fax number using the touch keypad, and then touch Done.
NOTE: The maximum number of characters for the fax number is 20.
Configure the time, date, and header using the HP Embedded Web Server and Printer Home
Page (EWS)
Configure the fax settings using the HP Embedded Web Server (EWS).
1. Access the EWS using one of the following methods:
Access the EWS from the software:
a. From the Start menu, select HP, and then select the printer name to open the HP Printer
Assistant.
b. In the HP Printer Assistant, select Print, and then select Printer Home Page (EWS). The EWS
opens.
Access the EWS from a web browser:
a. Locate the printer's IP address: From the Home screen on the printer control panel, touch the
Wireless icon or the Ethernet icon to view the printer's IP address or host name.
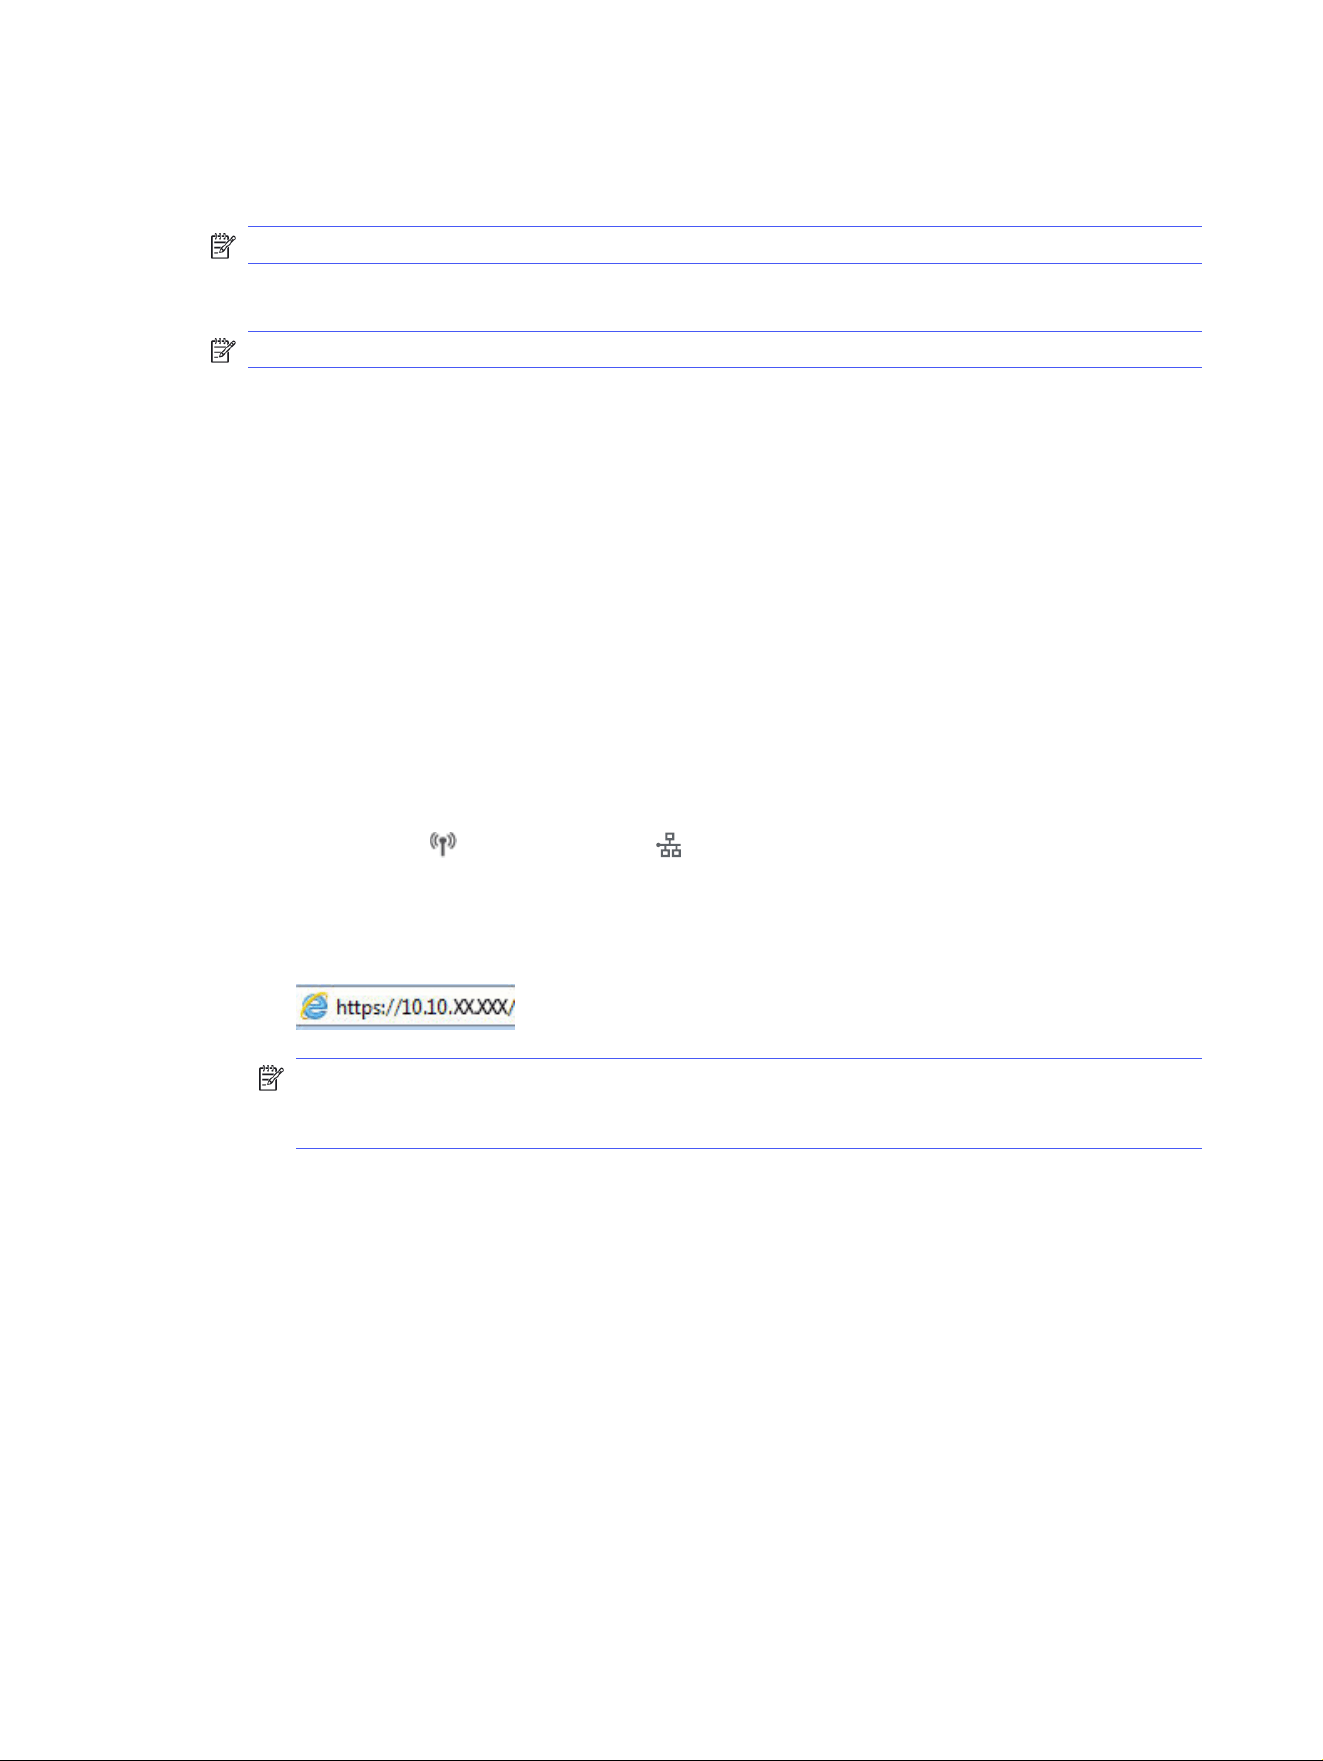
b. Open a web browser, and in the address line, type the IP address or host name exactly as it
displays on the printer control panel. Press the Enter key on the computer keyboard. The EWS
opens.
NOTE: If a message displays in the web browser indicating that the website might not be
safe, select the option to continue to the website. Accessing this website will not harm the
computer.
2. On the EWS Home page, click the Fax tab.
3. Follow the on-screen instructions to configure the fax settings.
Configure for stand-alone fax
Configure the printer to use as a stand-alone fax machine without connecting it to a computer or a
network.
1. From the Home screen on the printer control panel, swipe right and then touch the Fax icon.
2. Swipe right and touch the Setup icon, and then touch Setup Wizard.
3. Follow the on-screen instructions to configure the fax settings.
70
Chapter 7 Fax
Loading ...
Loading ...
Loading ...