Loading ...
Loading ...
Loading ...
34
USING THE TABLET
OEM Diagnostics
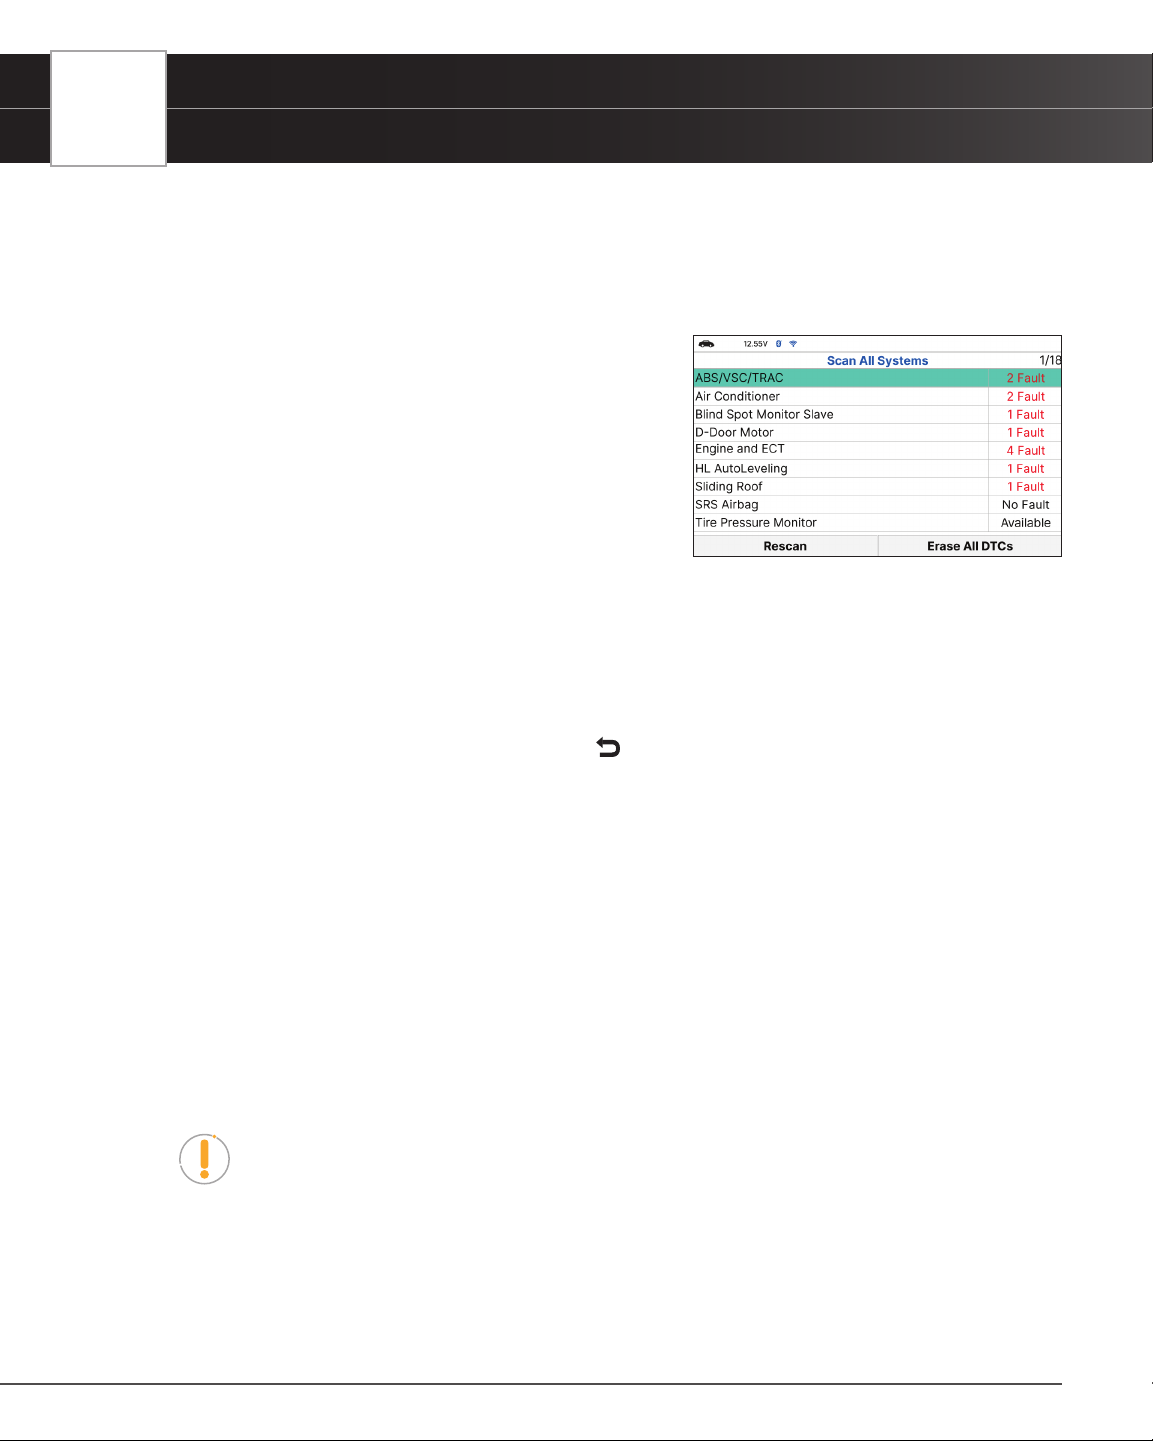
2. Choose Scan All Systems, then press OK.
n A “Linking…” message displays while the Tablet scans all available modules.
n When the scan is complete, the All Modules Scan screen displays. The screen shows the
number of DTCs recorded for each available module.
n The results window lists all tested Control Modules
with its corresponding result:
━ Fault – Indicates the number of reported DTCs.
━ No Fault – Indicates that no DTCs were found.
━ Available – Indicates that the module is part of
the system but does not report DTCs.
n The results screen also allows too either:
━ Erase All DTCs - Erases all the vehicle’s retrieved
Diagnostic Trouble Codes (DTC).
━ Rescan - Performs to scan all systems again.
n Select the desired system, then press OK.
3. Depending on the module selected, you can Read DTCs, Erase DTCs, view Live Data, perform Active Test or
read ECU Information.
4. Choose the function you would like to run. Or press
Back to return to the selected module screen.
n Read DTCs
n Erase DTCs
n Live Data
n Active Test
n ECU Information
Reading DTCs for a Selected Module
1. Select the module for which you wish to read DTCs.
n Select Read DTCs in the selected module screen.
2. The tablet retrieves and displays DTCs stored in the vehicle’s computer for the currently selected module.
NOTE: If no DTCs for the selected module are currently stored in the vehicle’s
computer, the message “No ‘modules’ DTCs are presently stored in the vehicle’s
computer” displays.
3. Select Erase DTCs to erase ALL retrieved Diagnostic Trouble Codes (DTCs).
Erasing DTCs for a Selected Module
1. Select the module for which you wish to erase its DTCs.
Loading ...
Loading ...
Loading ...