Loading ...
Loading ...
Loading ...
24
USING THE TABLET
OBD2 Diagnostics
RECORD LIVE DATA
You can record and save several frames of Live Data information for each PID supported by the vehicle in the
Tablet’s memory. Once recorded, each session can be played back for further analysis.
There are two ways that the Tablet can record Live Data:
Record by DTC Trigger
Record Manually
Record by DTC Trigger
This function automatically records Live Data information when a DTC sets and saves it in the Tablet’s memory. The
recorded data can be a valuable troubleshooting aid, particularly if you are experiencing a fault that is causing a
DTC to set. The Tablet can record approximately 100 frames of Live Data.
1. With the Tablet in Live Data mode [
See page 20] select Live Data Menu and press OK to display the Live
Data Menu.
2. Select Record by DTC Trigger, then press OK.
n The Select PIDs to Record screen displays.
n If the Tablet fails to establish communication with the vehicle, a “Communication Error” message
displays.
━ Ensure the vehicle is OBD2 compliant.
━ Verify the connection at the DLC, and verify the ignition is ON.
━ Turn the ignition OFF, wait 5 seconds, then back ON to reset the computer.
━ Press Relink to continue.
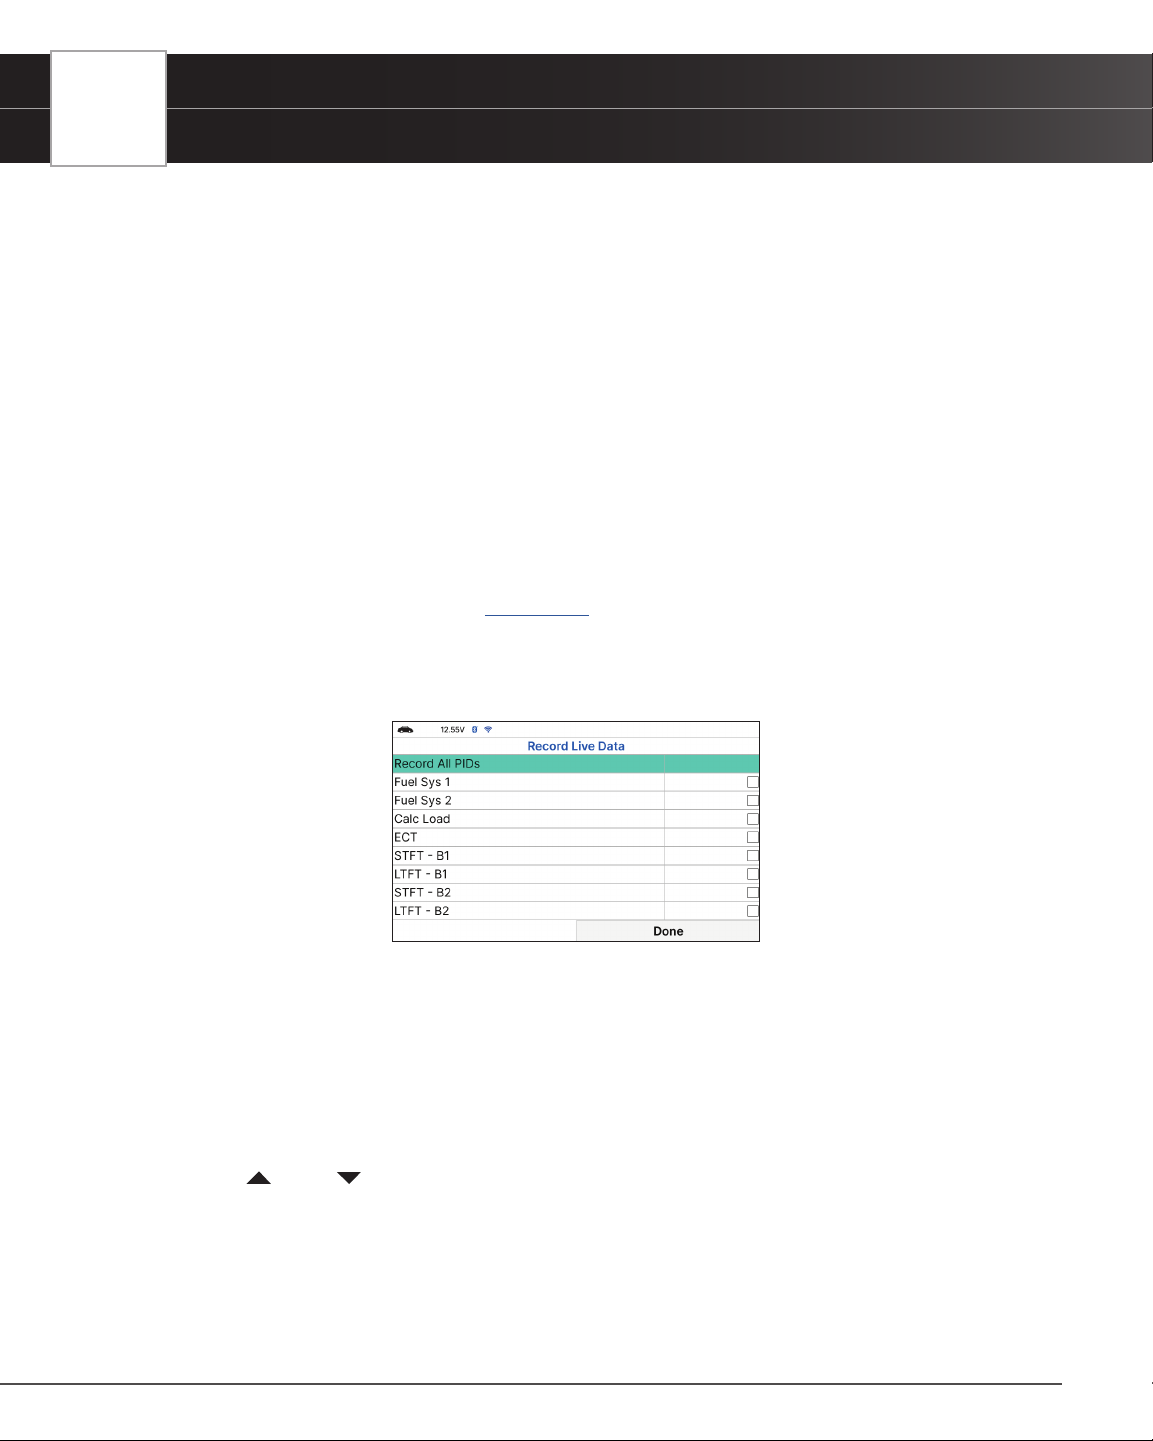
3. Press
UP and DOWN to scroll through the available PIDs. When a PID you wish to display is highlighted,
press OK (a “check-mark” shows to conrm your selection). Repeat until only the PIDs you want to record are
selected.
n To select all PIDs, choose Record All PIDs.
n To deselect a PID, highlight the PID, then press OK. The check-mark is removed.
4. When you are nished making your selections, choose Done to continue.
Loading ...
Loading ...
Loading ...