Loading ...
Loading ...
Loading ...
26
USING THE TABLET
OBD2 Diagnostics
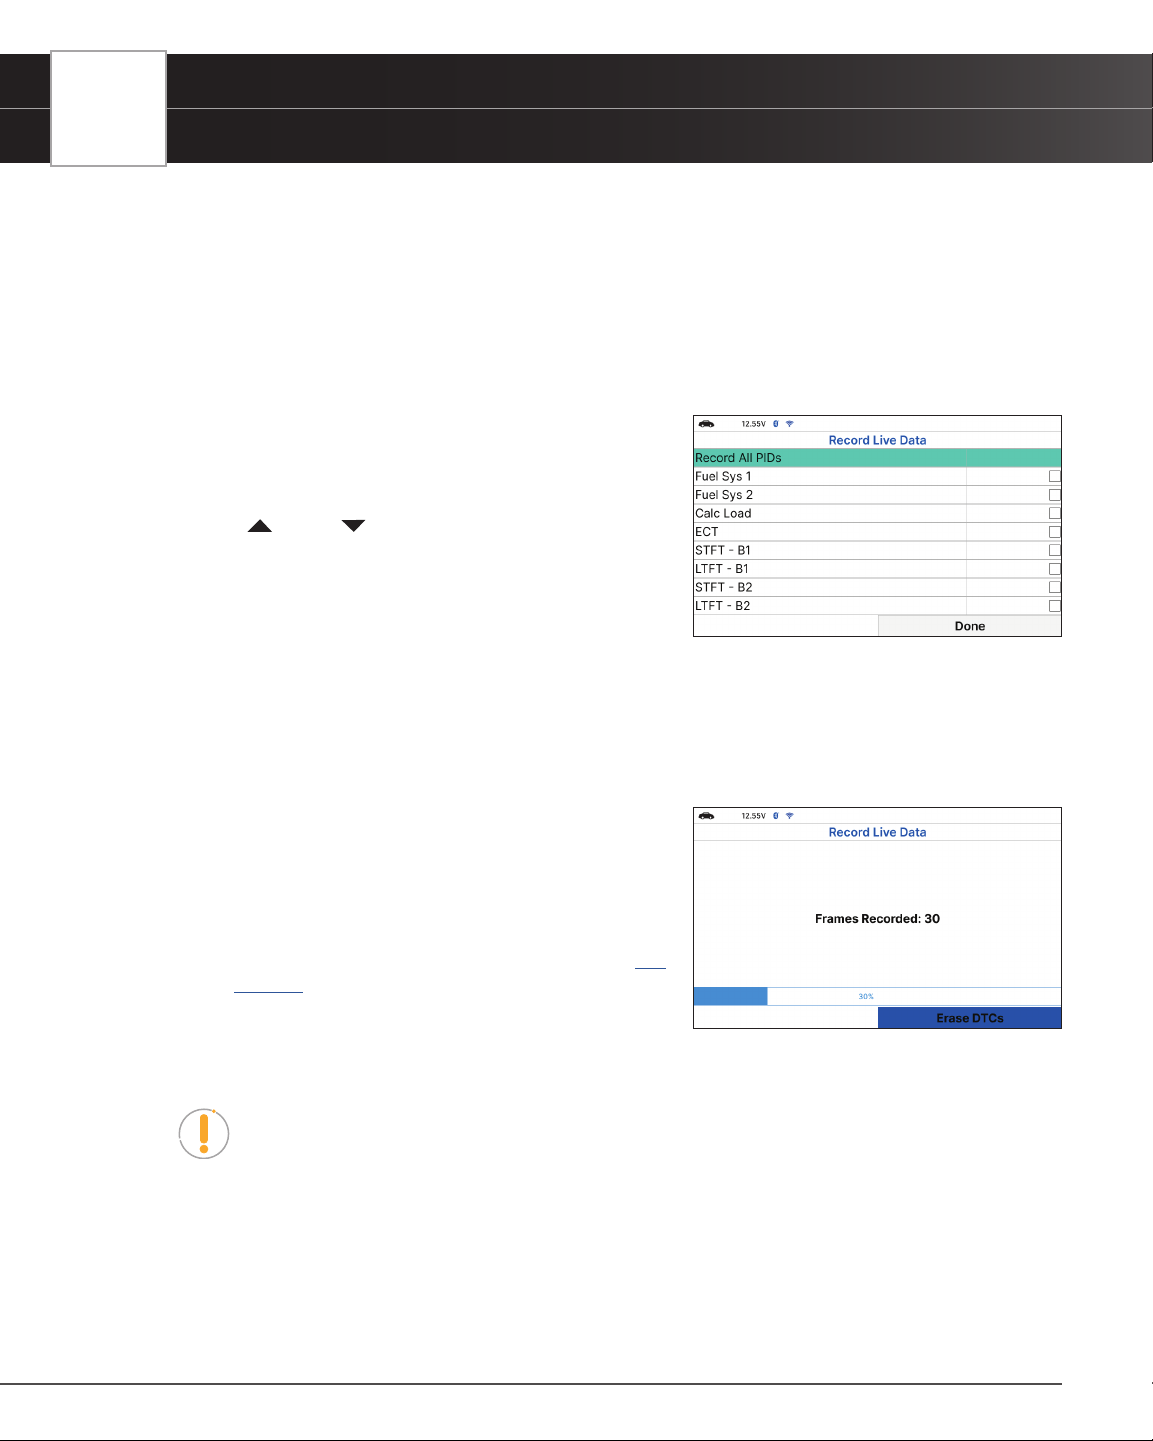
2. Select Record Manually, then press OK.
n The Select PIDs to Record screen displays.
n If the Tablet fails to establish communication with the vehicle, a “Communication Error” message
displays.
━ Ensure your vehicle is OBD2 compliant.
━ Verify the connection at the DLC, and verify the ignition is ON.
━ Turn the ignition OFF, wait 5 seconds, then back
ON to reset the computer.
━ The Tablet should power up once the ignition is in
the ON position.
3. Press
UP and DOWN to scroll through the available
PIDs. When a PID you wish to record is highlighted, press
OK (a “check-mark” shows to conrm your selection).
Repeat until only the PIDs you want to record are selected.
n To select all PIDs, choose Record All PIDs.
n To deselect a PID, highlight the PID, then press OK. The check-mark is removed.
4. When you are nished making your selections, choose Done to continue.
n The Record Live Data screen displays.
n Put the engine in the operating condition where the problem manifests itself.
━ If necessary, drive the vehicle until you reach the
vehicle speed at which the problem occurs.
5. When the problem occurs, choose Record.
n A progress message shows on the display.
n When recording is complete, a conrmation screen
displays. Choose Yes to Playback Live Data [
See
page 26
] or No to return to the Live Data menu, as
desired.
n If recording was not successful, an advisory message
display. Choose Continue to return to the Live Data menu.
NOTE: If desired, you can transfer the recorded Live Data information to a personal
computer with the use of optional software (see instructions included with the
software for more information).
PLAYBACK LIVE DATA
Once Live Data has been recorded, it is saved in the Tablet’s memory. You can view recorded Live Data immediately
after recording by selecting Yes from the Record Live Data conrmation screen, or you can view it later using the
“Playback” function.
Loading ...
Loading ...
Loading ...