Loading ...
Loading ...
Loading ...
161
TROUBLESHOOTING
4
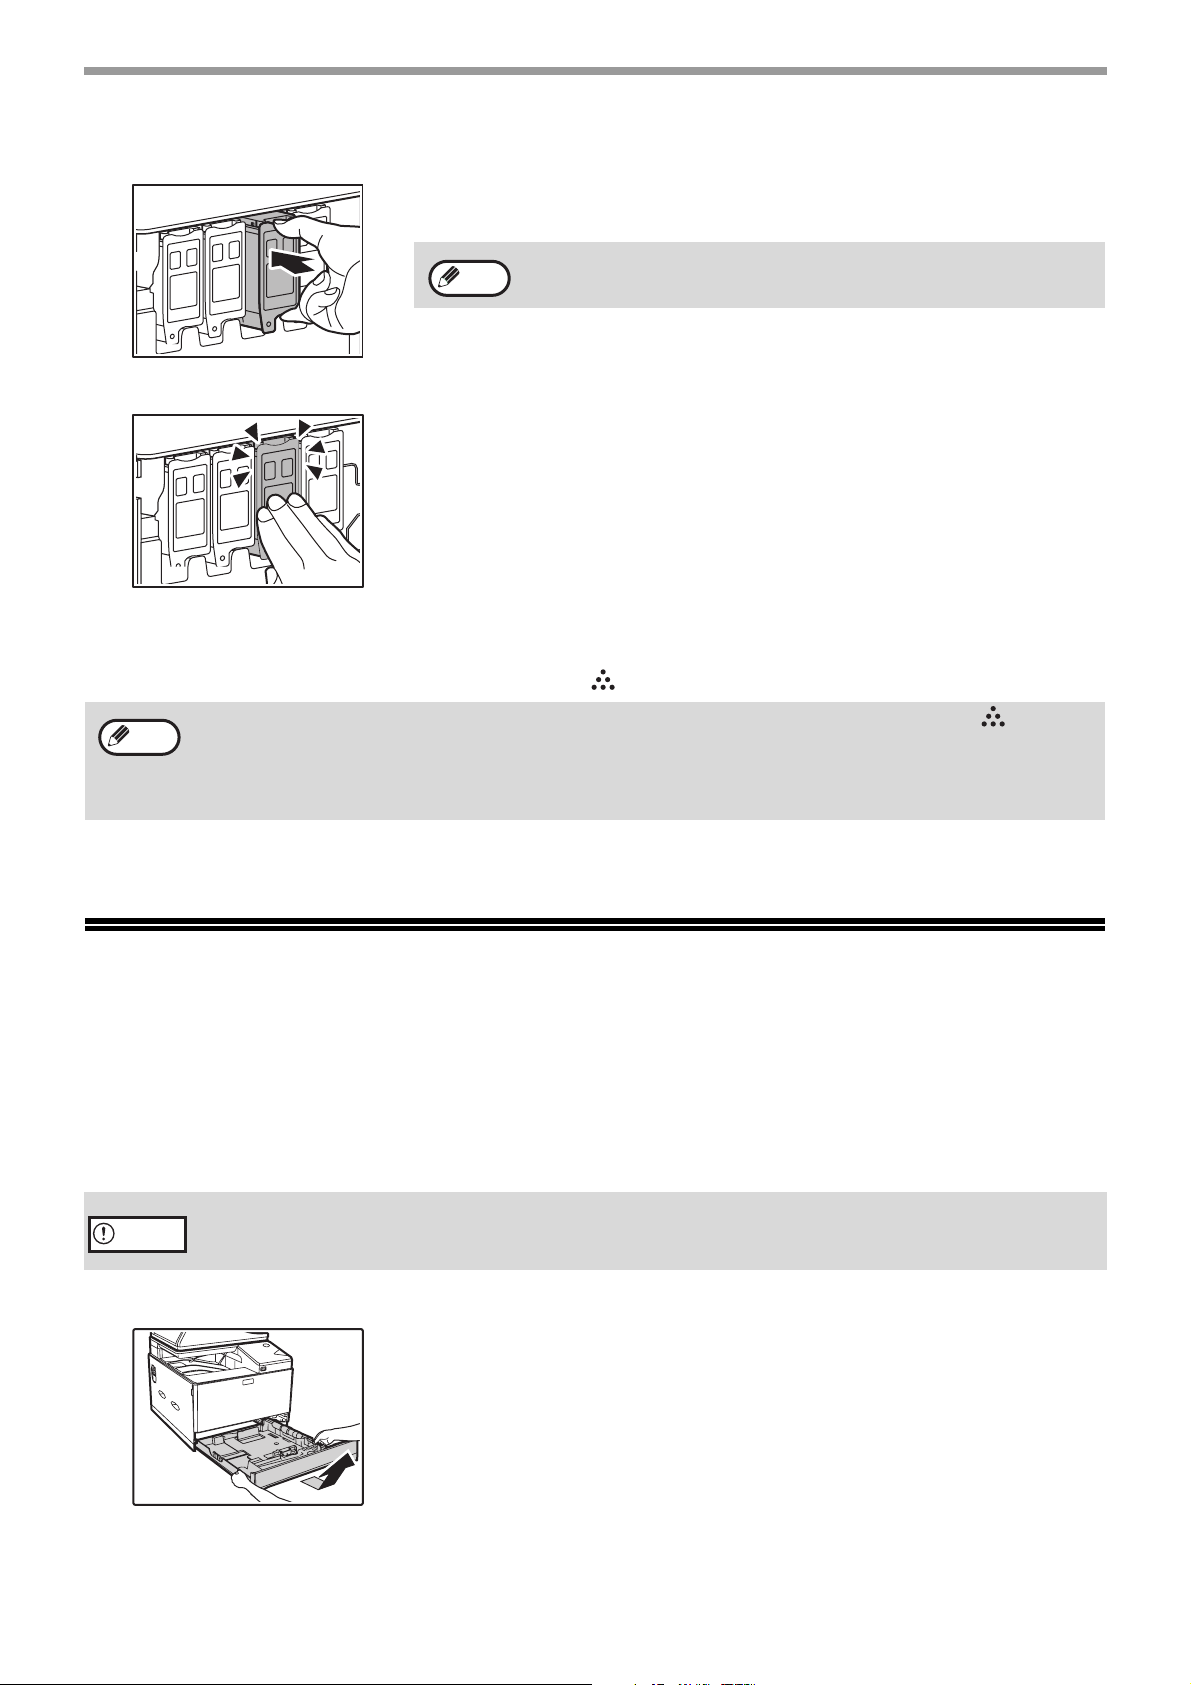
Insert the toner cartridge along the guides until it locks in place.
If there is any dirt or dust on the toner cartridge, remove it before installing the
cartridge.
5
Press the center of the toner cartridge until the cartridge locks into place.
6
Close the front cover.
The toner cartridge replacement required indicator ( ) will go out.
REPLACING THE TONER
COLLECTION CONTAINER
This section explains the procedure for replacing the toner collection container.
The toner collection container collects any excess toner that occurs during printing. When the toner collection
container becomes full, the message "Replace waste box" will appear.
1
Pull out the paper tray 1.
Hold the tray with both hands and slowly pull out and up at a slight angle.
The toner collection container cannot be removed unless tray 1 is removed.
A toner cartridge of a different color cannot be installed. Be sure to
install a toner cartridge of the same color.
• Even after a new toner cartridge is installed, the toner cartridge replacement required indicator ( ) may still
light up, indicating that copying cannot be resumed (toner is not fed sufficiently). In this case, open and close the
front cover. The machine will feed toner again for about two minutes and then copying can be resumed.
• Before closing the front cover, make sure that the toner cartridge is correctly installed.
• When closing the front cover, gently hold both ends.
• Do not throw the toner collection container into fire. Toner may fly out and cause burns.
• Store the toner collection container out of the reach of children.
Note
Note
Caution
Loading ...
Loading ...
Loading ...