Loading ...
Loading ...
Loading ...
88
Advanced Stitch Wizard Operations
c If [Auto Generate] was clicked, an outline
of mask was automatically detected from
the image.
The [Auto Generate] button is available
only with images that have a light-colored
background, like in this photo.
d Zoom
e Clicking the [Image Tune] button displays
an [Image Tune] dialog box.
f Clicking [Open Image] allows you
replace the image with a different one.
The [Open an image file] dialog box
appears. Select a file.
The next step differs depending on the color range
selected for the embroidery pattern.
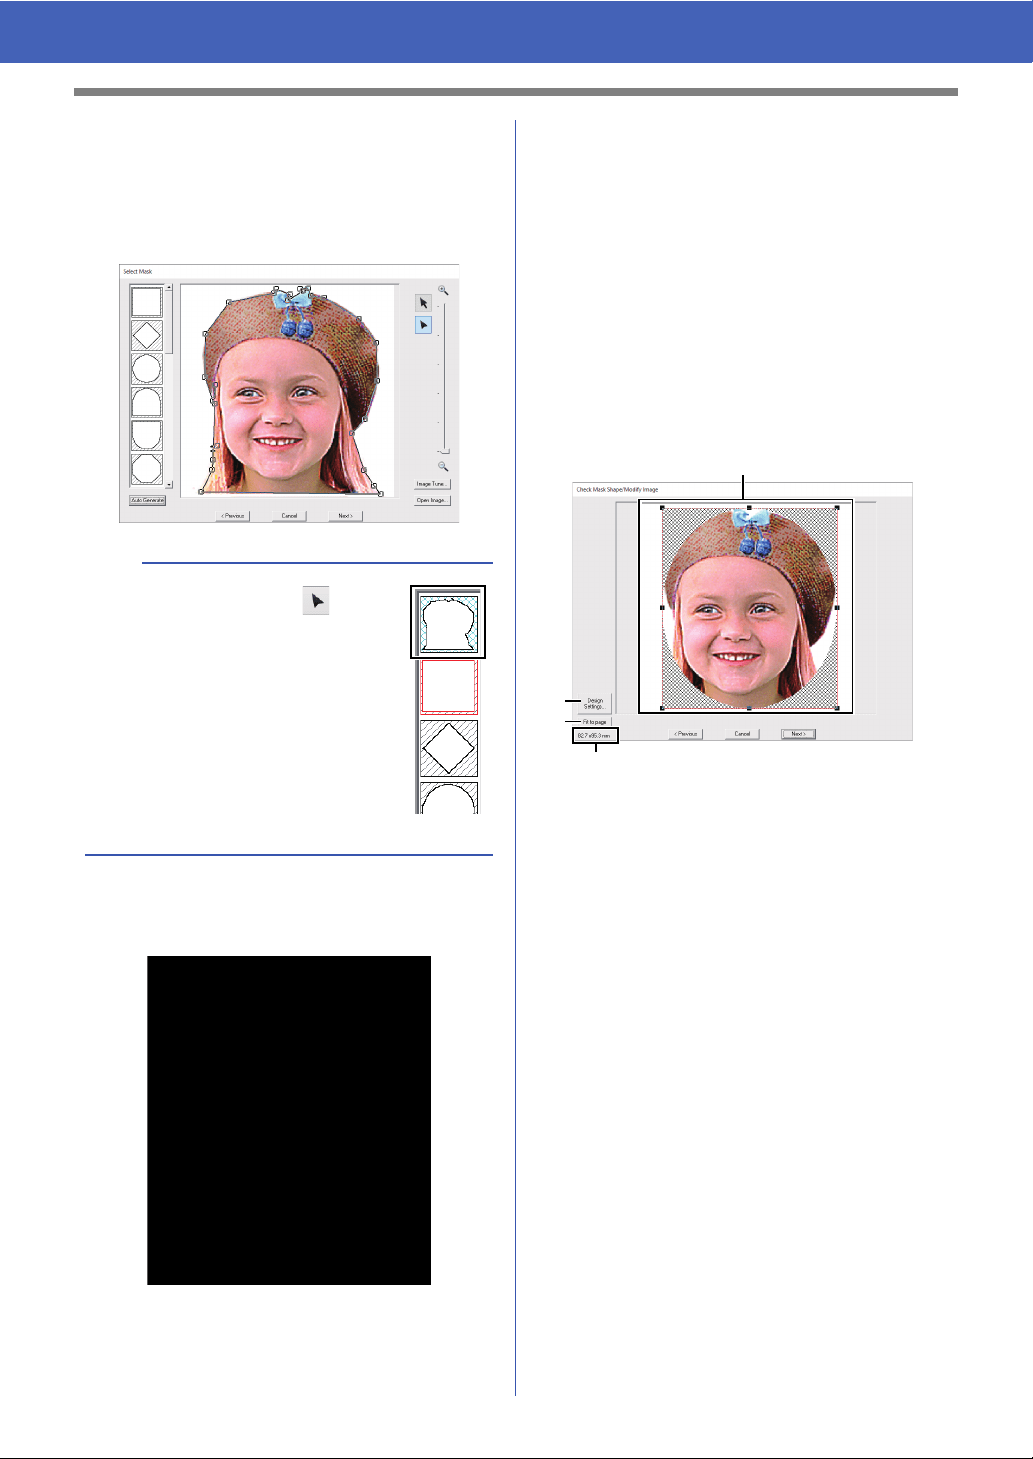
■ Check Mask Shape/Modify Image
dialog box
If Color, Sepia or Gray was selected for [Photo
Stitch 1], [Photo Stitch 2] or [Cross Stitch], or if
[Auto Punch] was selected:
The following dialog box appears.
a Adjust the position and size of the image.
Drag the image to the desired position.
Drag the handle to adjust the image to the
desired size.
b Click [Design Settings] to change the
size of the Design Page. Specify the
settings in the [Design Settings] dialog
box.
cc "Specifying the Design Page
Settings" on page 32
c Click [Fit to page] to adjust the image to
the size of the Design Page.
d Embroidery pattern size
a
A mask shape edited with or
created by clicking [Auto Generate]
will be added at the top of the list. Then,
this mask shape can be selected the
next time a pattern is created using a
Stitch Wizard. A maximum of five
shapes will be added, and they will be
arranged in order of the most recently
used.
These mask shapes appear no matter
which Image To Stitch function is
selected.
a
b
c
d
Loading ...
Loading ...
Loading ...