Loading ...
Loading ...
Loading ...
81
Tutorial 7-3: Photo Stitch 1
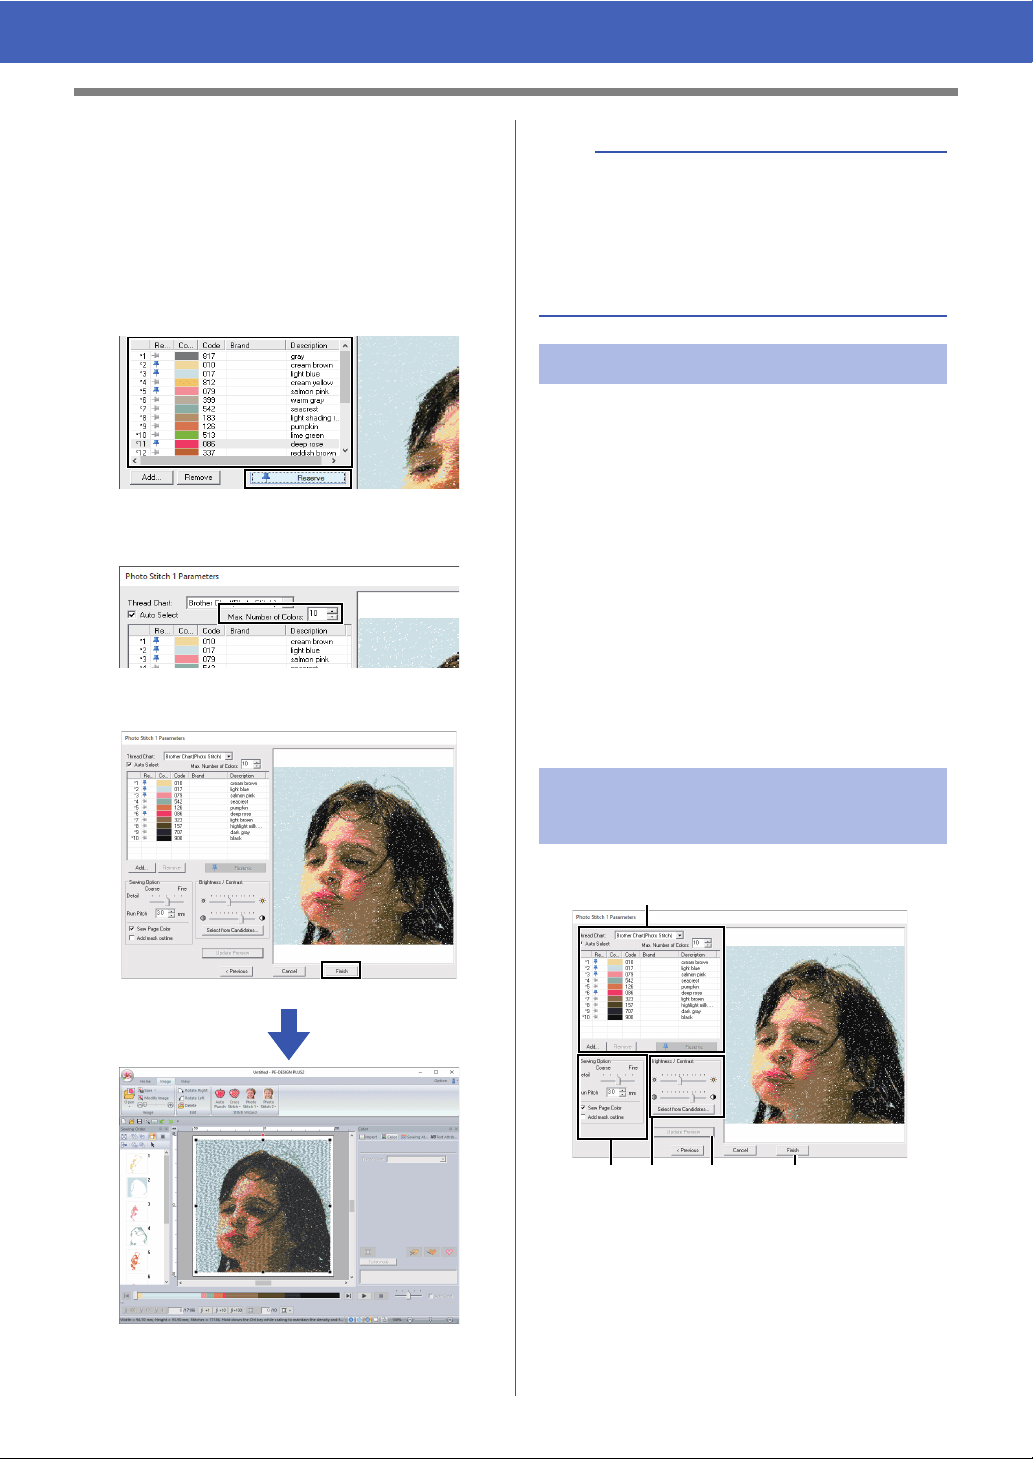
3 While looking at the preview on the right side,
select colors from the list for the most
frequently used colors (light blue for the
background) and for the more characteristic
colors (deep rose for the lips), and then click
[Reserve].
For this example, four colors (cream brown,
light blue, salmon pink and deep rose) are
reserved.
4 In the [Max. Number of Colors] selector,
specify "10", and then click [Update Preview].
5 Click [Finish].
The image is automatically hidden.
If the actual thread colors differ from the thread
colors on the screen, the embroidering results will
be greatly affected.
[Brother Chart (Photo Stitch)] is a thread chart
based on the Brother embroidery thread colors and
flesh tones, and has been adjusted to account for
the difference between thread colors on the screen
and actual thread colors; however, colors may
appear differently depending on your operating
environment.
If the thread colors on the screen are different from
the actual thread colors, use the user thread color
lists and adjust the thread colors to achieve better
results.
cc "Editing user thread charts" on page 99
With Color, Sepia or Gray
b
If the created embroidery pattern contains colors
that you do not wish to emphasize (for example,
grays in the face), change the sewing order in the
[Sewing Order] pane so that the undesirable color
is sewn before all other colors.
cc "Changing colors" on page 38.
Tips for improved results
Photo Stitch 1 Parameters
dialog box
a
b cd e
Loading ...
Loading ...
Loading ...