Loading ...
Loading ...
Loading ...
103
Changing Various Settings
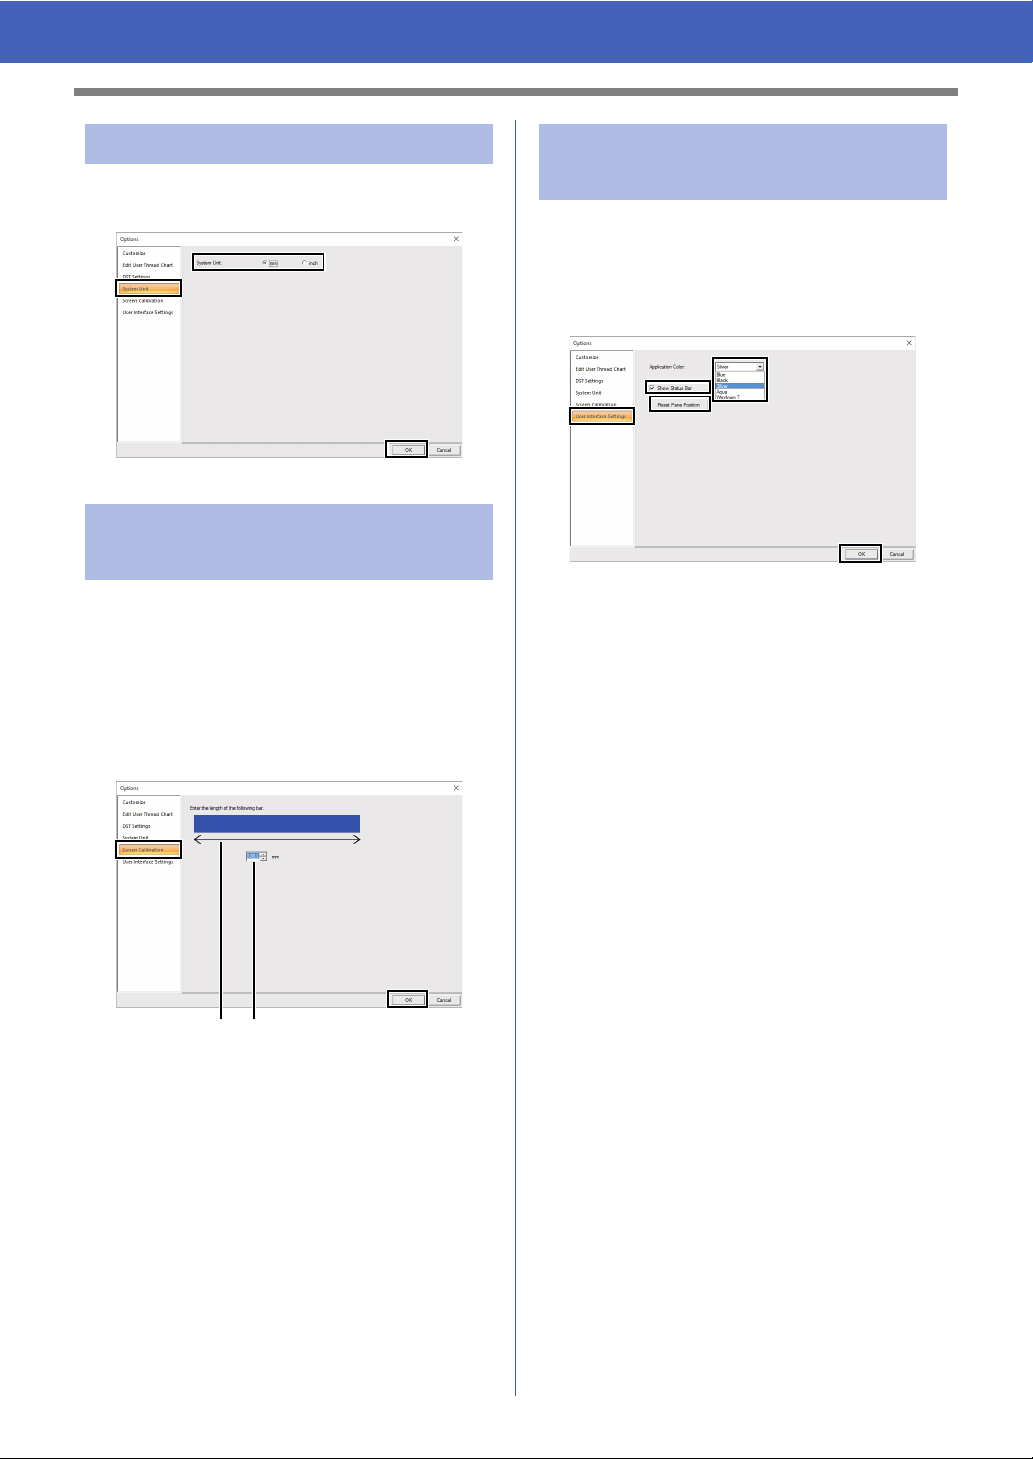
1 Click [System Unit], and then select the
desired measurement units ([mm] or [inch]).
Measurements can be adjusted so that objects will
be displayed at the same size as the actual
embroidery at a zoom ratio of 100%. Once this
adjustment is made, it will not need to be done again
later.
Click [Screen Calibration]. Hold a ruler against the
screen to measure the length of
a. Next, enter the
value at
b , and then click [OK].
Be sure to enter the length in millimeters. A value in
inches is invalid.
The color scheme of the applications can be
selected.
Click [User Interface Settings] in the command list,
select the desired color scheme from [Application
Color], and then click [OK].
With the [Show Status Bar] check box, select
whether to display or hide the status bar. To display
the status bar, select the check box.
If the [Reset Pane Position] button is clicked, the
docked panes ([Import]/[Color]/[Sewing
Attributes]/[Text Attributes] panes, [Sewing
Order] pane and [Stitch Simulator] pane) return to
their default displays after the application is
restarted.
Changing the system unit
Adjusting the screen
calibration
ab
Customizing User
Interface Settings
Loading ...
Loading ...
Loading ...