Loading ...
Loading ...
Loading ...
15
Tutorial 1: Making a Quilt Using an Embroidery Pattern
1 Handle
2 Red line
Use the grid settings to draw lines for positioning the
fabric.
A grid of dotted lines or solid lines can be displayed
or hidden, and the spacing for the grid can be
adjusted.
1 Click [View] tab.
2 Specify the grid settings.
a Show Grid
Select this check box to display the grid.
For this example, select this check
box.
b with Axes
Select this check box to display the grid as
solid lines.
For this example, select this check
box.
c Interval
Specify the grid spacing.
For this example, set [Interval] to 3.5
mm.
d Snap to Grid
Select this check box to align patterns
with the grid. The snap feature works
whether or not the grid is displayed.
For this example, select this check
box.
1 Drag the handle to adjust the image to the
desired size.
Enlarge the image to the maximum size of
about 95 mm square and position it with the
corners of its outline at intersections of the
grid.
b
• This image was created by adding lines,
separated by the width of the seam allowance,
to the outside of the shapes in the illustration of
the house.
• To create a similar quilt:
- First, print the design.
- Draw lines (for the seam allowances) about
7 mm from each of the shapes in the design.
- Scan the image, save it to a computer, and
then import it into PE-DESIGN PLUS2 as a
background image.
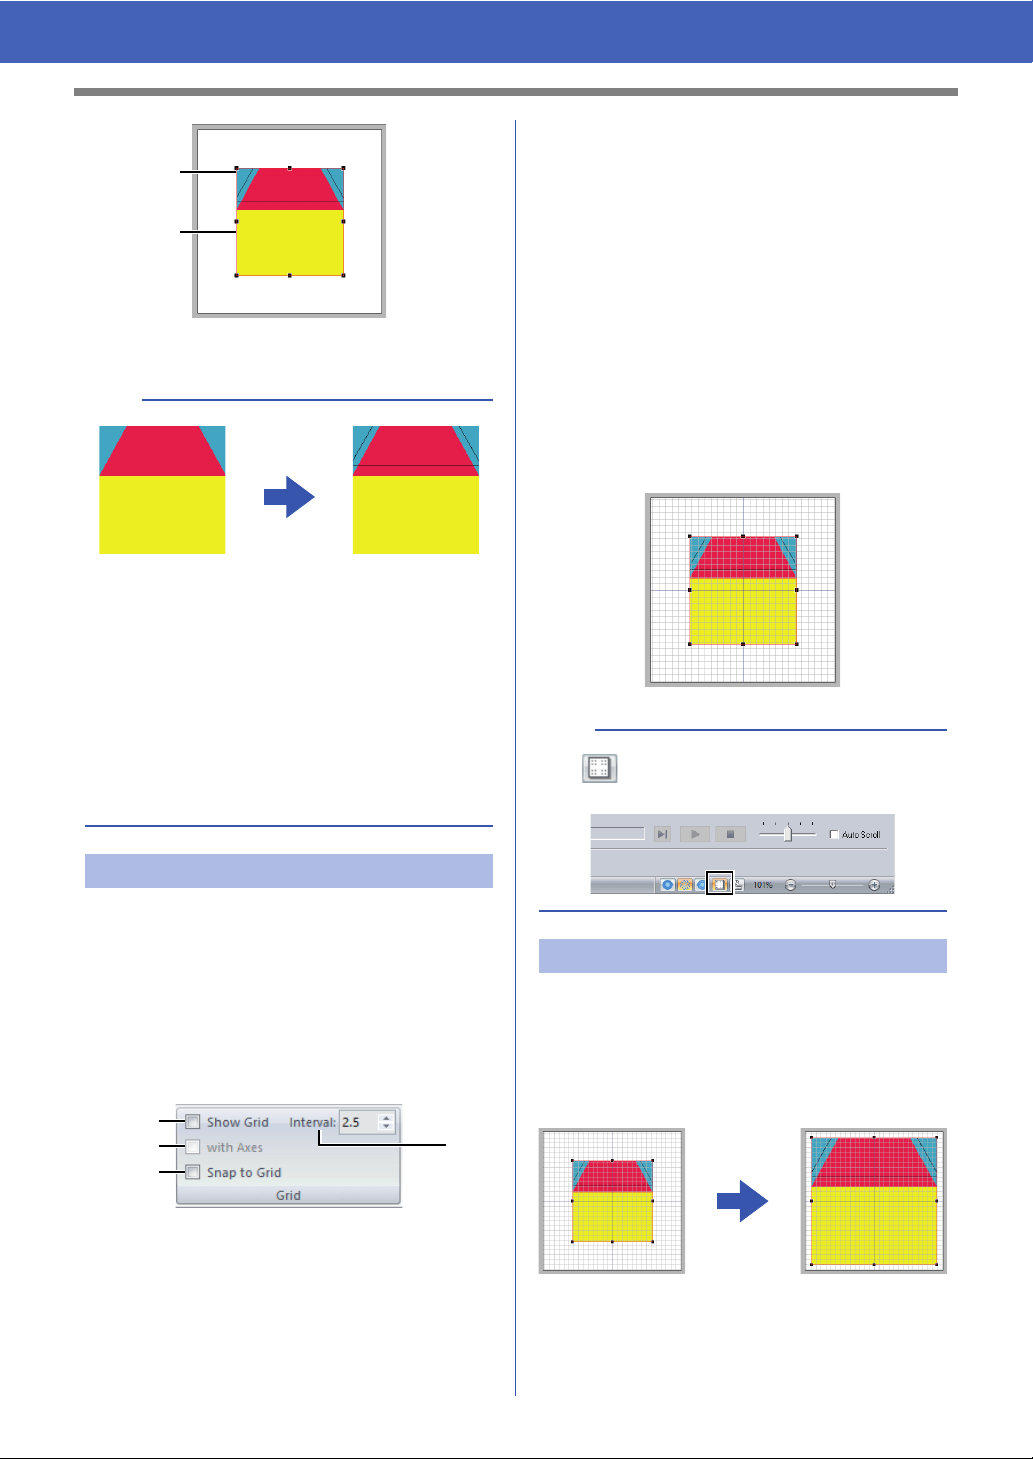
Step 2 Changing the grid settings
1
2
a
b
d
c
b
The button can also be used to switch the
grid between being displayed or hidden.
Step 3 Scaling an image
Loading ...
Loading ...
Loading ...