Loading ...
Loading ...
Loading ...
21
Tutorial 2: Arranging Stitch Patterns
Tutorial 2: Arranging Stitch Patterns
This section will describe how to arrange stitch patterns in order to create an embroidery design.
Built-in stitch patterns can be duplicated, flipped over and rotated to create an original embroidery design.
We recommend using a built-in stitch pattern in its original size, or resizing it only slightly.
The sample file for this tutorial is located at:
Documents (My documents)\PE-DESIGN PLUS2\Tutorial\Tutorial_2
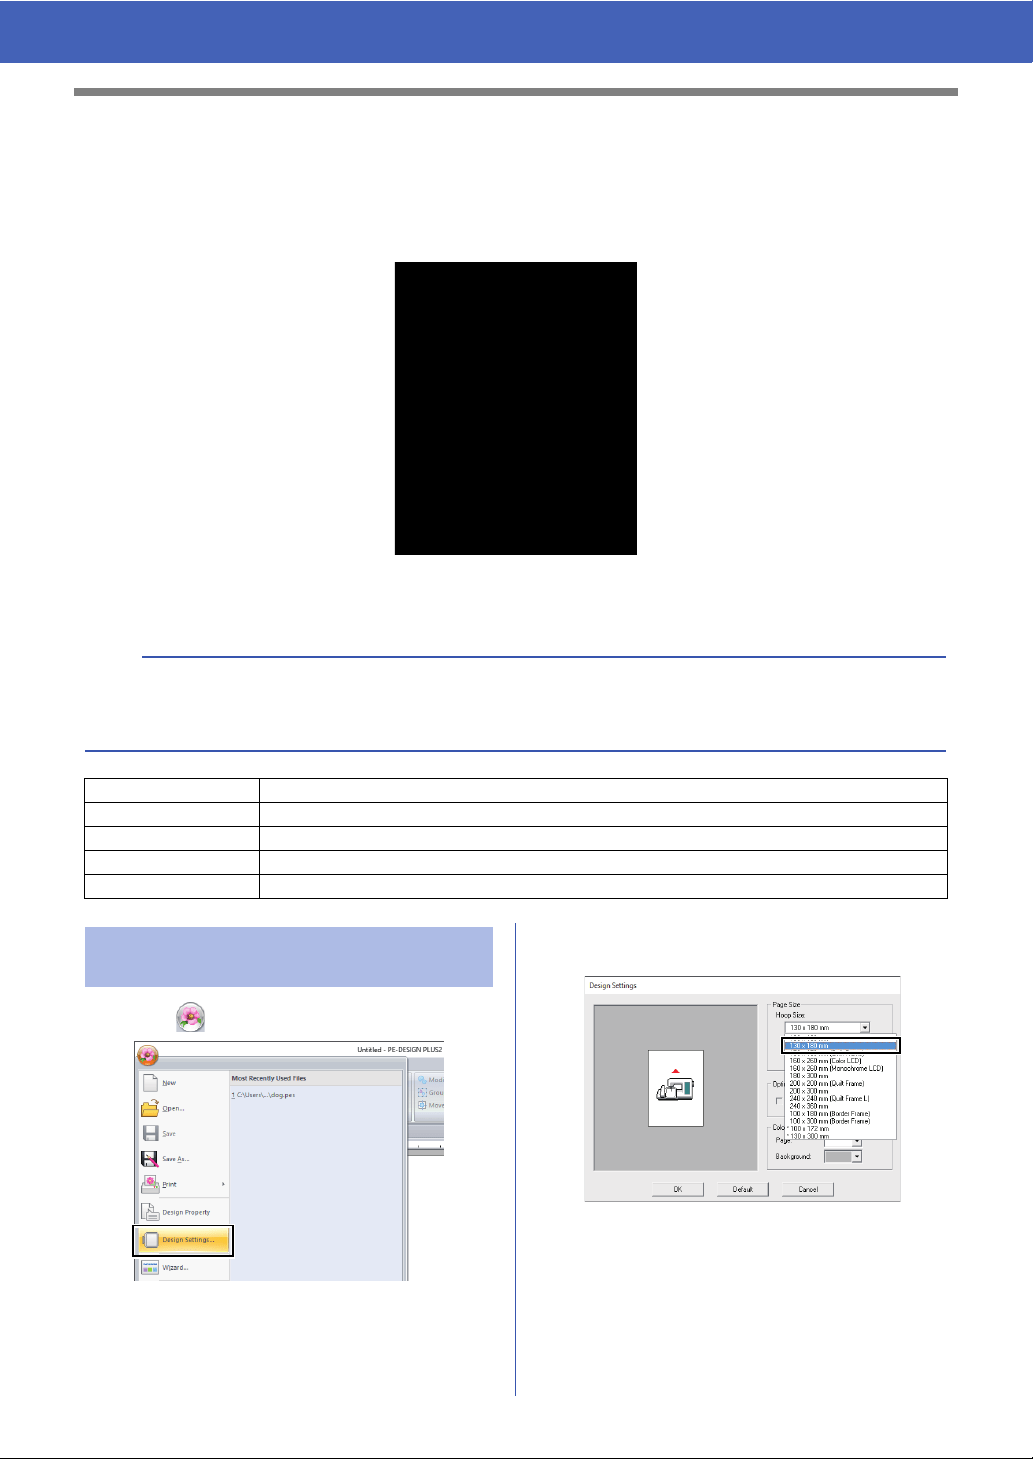
1 Click , then [Design Settings].
2 From the [Hoop Size] selector, select [130 ×
180 mm], and then click [OK].
b
Stitch patterns contain a collection of information including needle drop points and thread color order. Upon
being resized, the stitching becomes either more dense or light while maintaining the unchanged needle drop
point pattern. These changes may have an influence on the quality of your embroidery project.
Step 1 Setting the design page size
Step 2 Importing and rotating a pattern
Step 3 Duplicating a pattern
Step 4 Flipping a pattern
Step 5 Arranging patterns
Step 1 Setting the design page
size
Loading ...
Loading ...
Loading ...