Loading ...
Loading ...
Loading ...
27
Tutorial 4: Editing an Imported Shape to Create an Embroidery Design for an
Appliqué
Tutorial 4: Editing an Imported Shape to
Create an Embroidery Design for an
Appliqué
This section will describe how to edit imported shapes and use the Applique Wizard.
The Applique Wizard provides instructions for easily creating appliqués. For this example, we will create an
appliqué that has holes (empty regions).
The sample file for this tutorial is located at:
Documents (My documents)\PE-DESIGN PLUS2\Tutorial\Tutorial_4
Shapes can be created either by drawing them with
the Shapes tools or by importing sample shape
patterns.
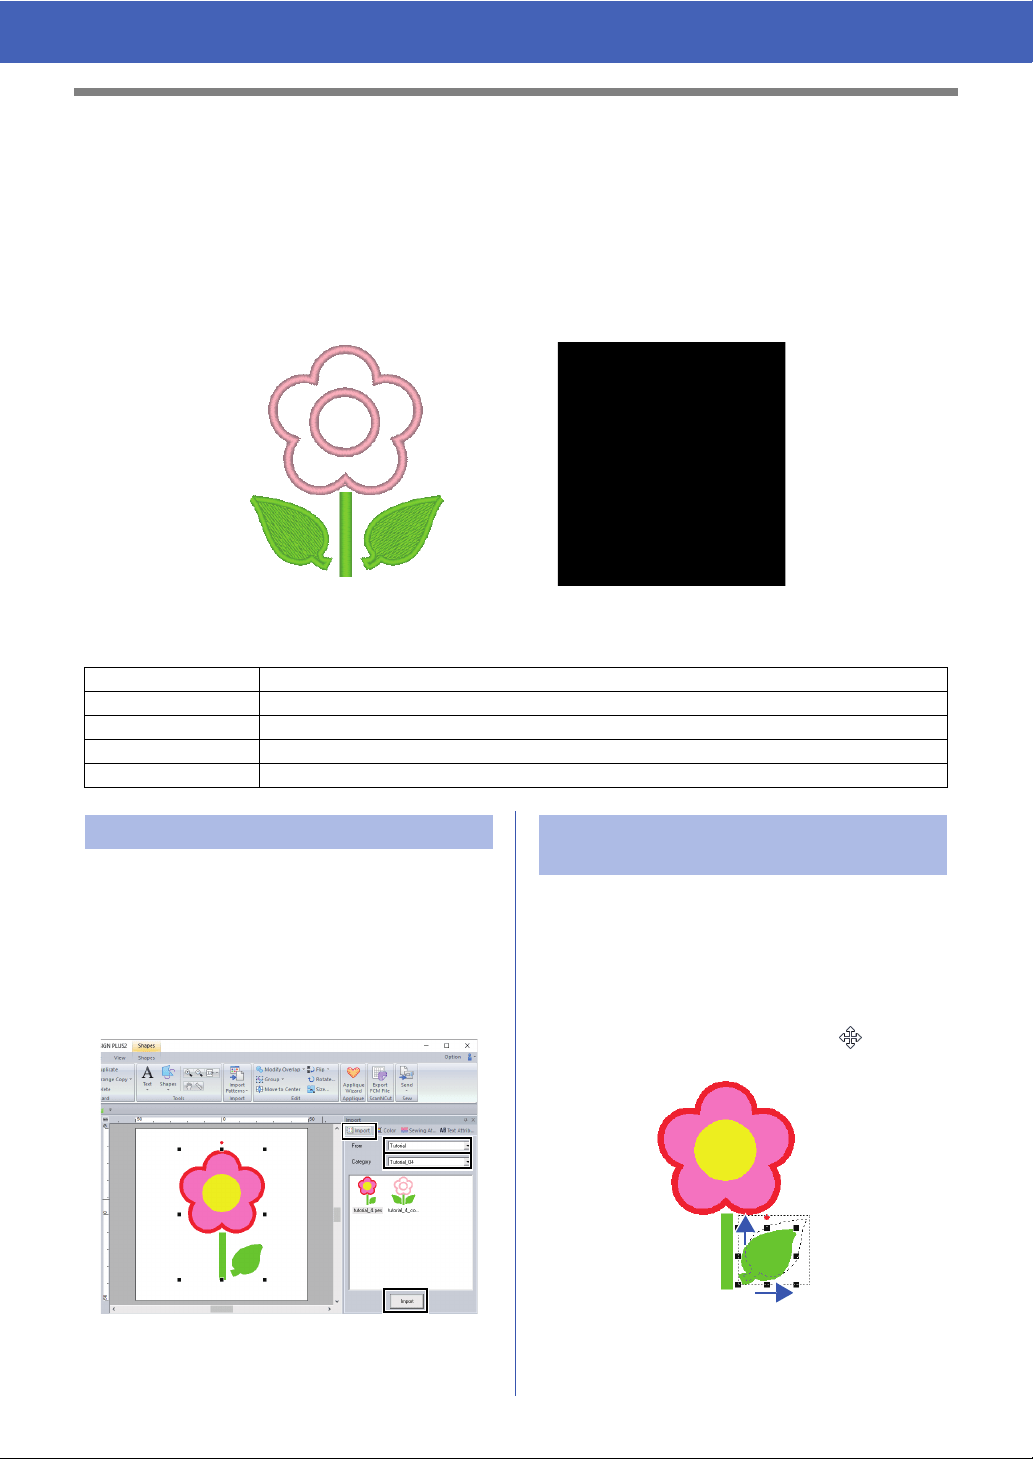
1 To import a shape, select [Tutorial] from the
[From] selector of the [Import] pane, then
[Tutorial_04] from the [Category] selector.
Select the shape, and then click [Import].
Now, we will edit a point in the leaf.
1 Click on workspace to deselect the flower.
Click on the leaf to select it. Left click and drag
the handle to adjust the leaf.
Place the pointer over the leaf so that the
shape of the pointer changes to , and then
drag the leaf to the desired position.
Step 1 Importing patterns
Step 2 Editing points and modifying shapes
Step 3 Using the mirror copy tool
Step 4 Specifying hole sewing
Step 5 Creating appliqués
Step 1 Importing patterns Step 2 Editing points and
modifying shapes
Loading ...
Loading ...
Loading ...