Loading ...
Loading ...
Loading ...
100
Changing Various Settings
■ Creating a new thread chart
1 Click [New Chart] d.
2 Type in the name of the chart, and then click
[OK].
■ Renaming a thread chart
1 From the [User Thread Chart] selector c,
select the chart.
2 Click [Rename Chart] e.
3 Type in the name of the chart, and then click
[OK].
■ Deleting a chart
1 From the [User Thread Chart] selector c,
select the chart.
2 Click [Delete Chart] f.
3 If a message appears, click [Yes].
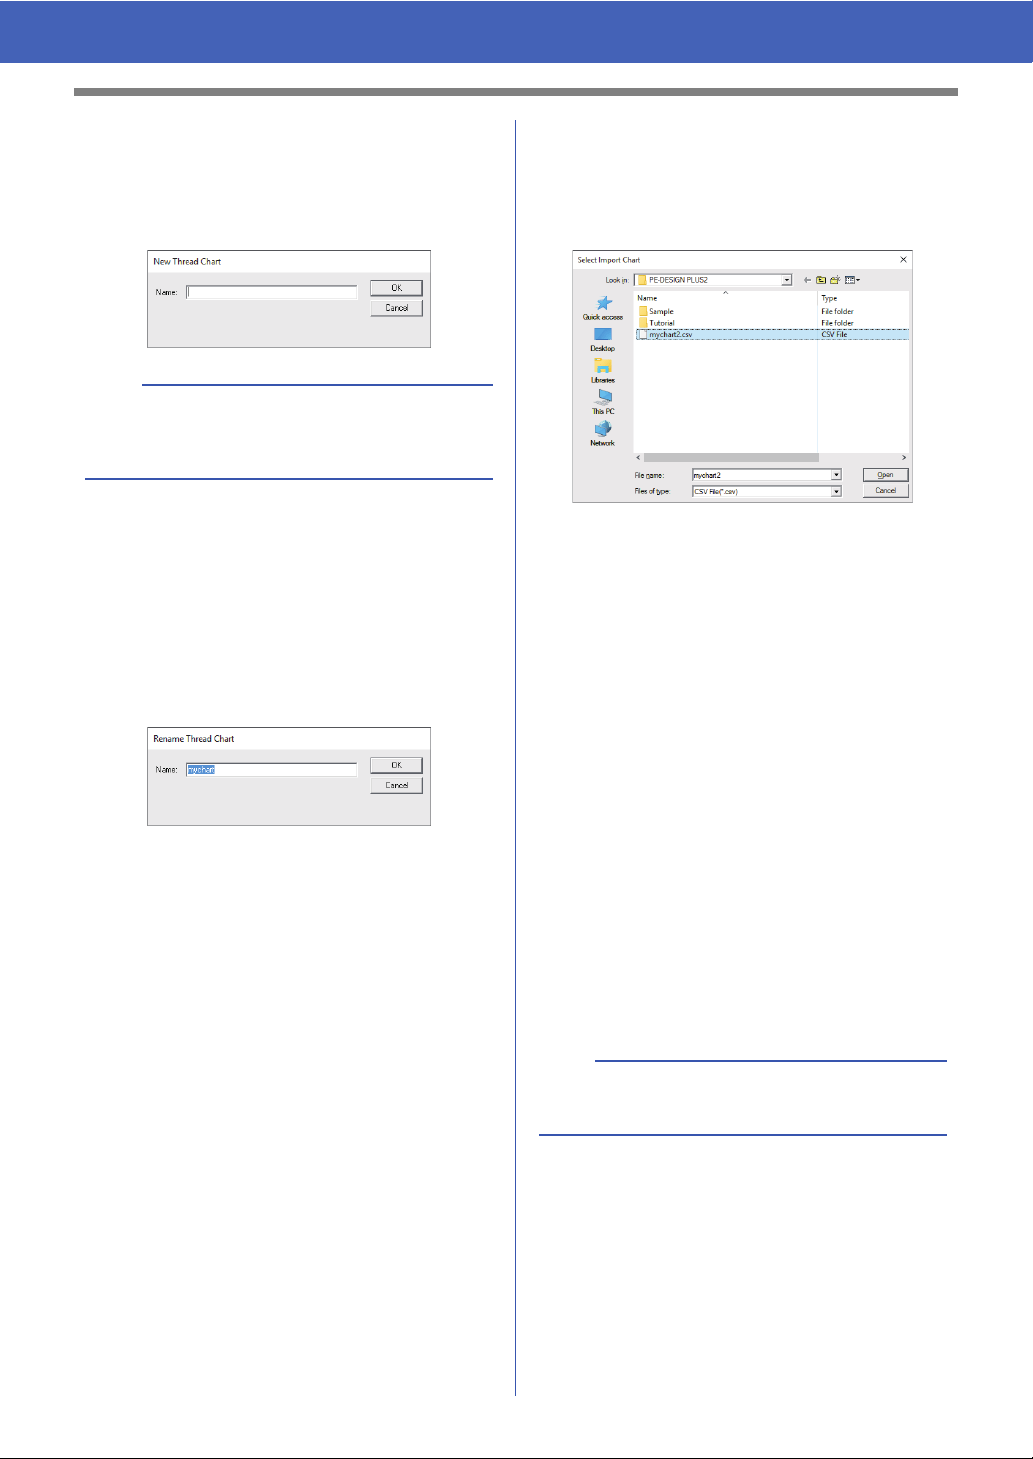
■ Importing a thread chart
1 Click [Import Chart] g.
2 Select the drive, the folder, and the btc, btc2 or
csv file, and then click [Open].
Files in the .btc, .btc2 or .csv format can be
imported.
cc "User thread chart files" on page 101
3 If a message appears, click [Yes].
■ Editing a chart
1 From the [User Thread Chart] selector c,
select the chart.
2 Continue with the appropriate procedure. To
save the changes, click [OK].
■ Adding items from a thread chart
1 From the [Thread Chart] selector a, select
the thread brand or a user thread chart.
If multiple user thread charts have been
created, thread colors can be selected from
different user thread charts.
2 From the list k, click the thread colors.
3 Click [Add] b.
The selected items are added to the list in
the user thread chart m.
b
A saved thread chart can be selected from the
[User Thread Chart] selector and [Thread Chart]
selector.
b
To add multiple items, hold down the <Shift> or
<Ctrl> keys while selecting thread colors.
Loading ...
Loading ...
Loading ...