Loading ...
Loading ...
Loading ...
18
Tutorial 1: Making a Quilt Using an Embroidery Pattern
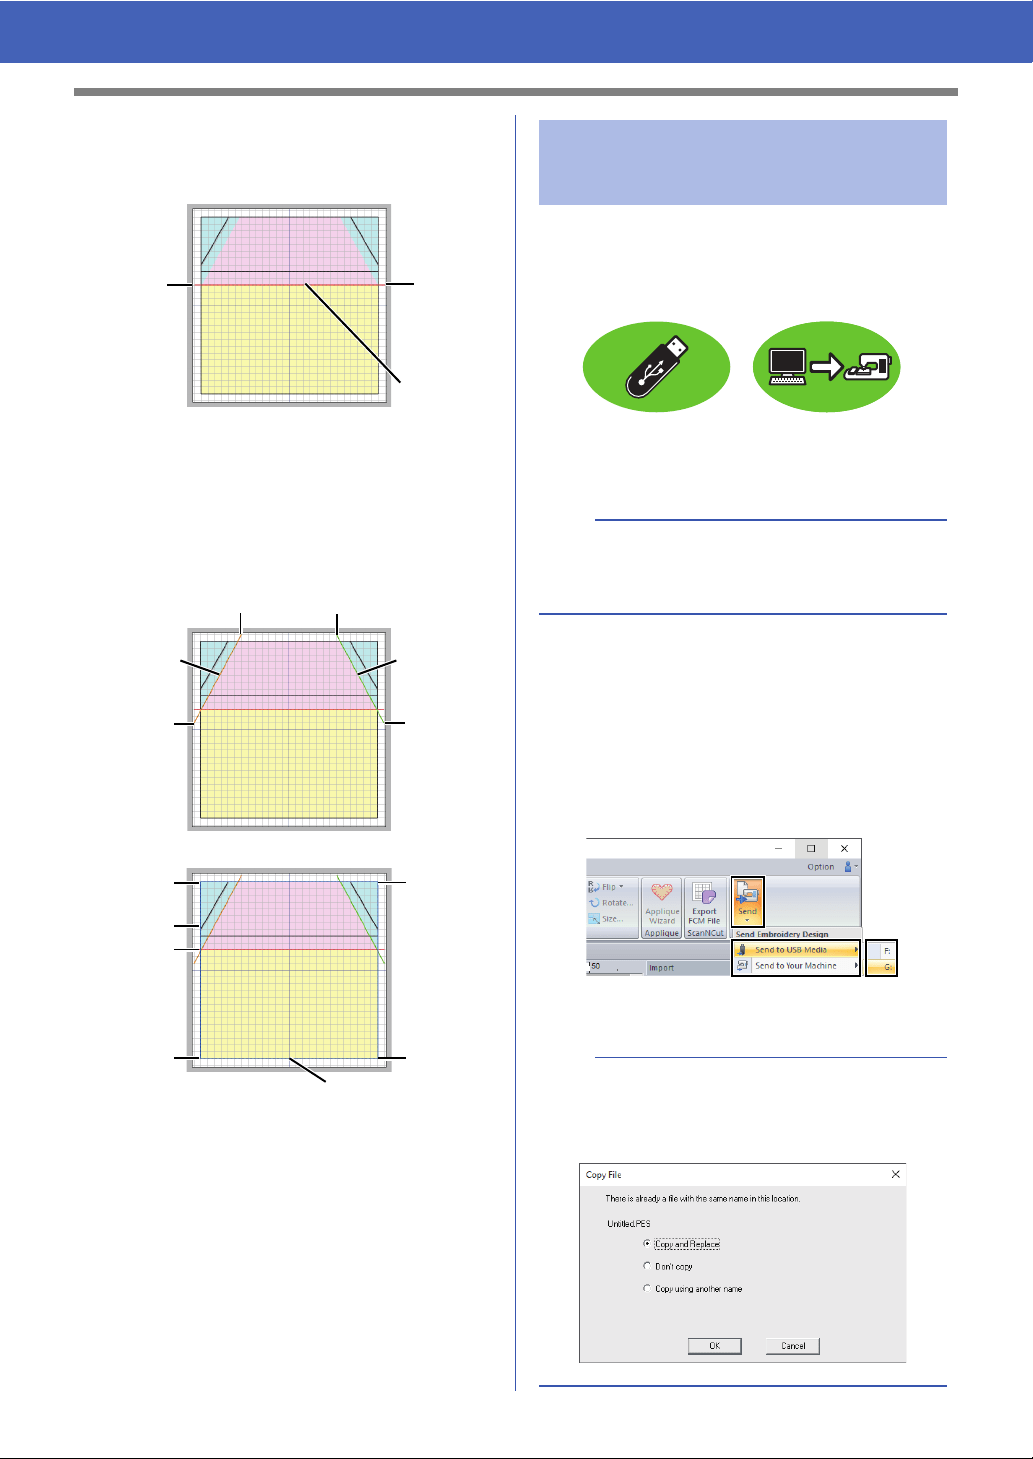
3 Click point a, and then double-click end point
b to draw line (1).
4 Repeat the previous steps to draw lines (2),
(3) and (4).
For this example, select [LIME GREEN] for
line (2), [PUMPKIN] for line (3), and [BLUE]
for line (4).
You can sew a pattern transferred to your
embroidery machine by writing it to media.
For details, refer to the Operation Manual provided
with your embroidery machine.
Designs can be transferred to an embroidery
machine compatible with USB media or connected
to a computer using a USB cable.
1 Plug the USB media into the computer, or
connect the embroidery machine to the
computer.
2 Click the [Home] tab.
3 Click [Send] in the [Sew] group, click [Send
to USB Media] or [Send to Your Machine],
and then select the desired drive.
Data transfer begins.
a
b
Line (1)
e
c
f
d
Line (2)Line (3)
k
j
h
i
l
g
Line (4)
Step 7 Transferring embroidery
patterns to embroidery
machines
a
The "PE-DESIGN Software Key" cannot be used
as USB media. Do not save embroidery files on
the "PE-DESIGN Software Key" for transferring.
a
If there is already a file with the same name at the
destination, the following dialog box appears.
Select whether to overwrite the existing file, to stop
copying or to copy the file using a different name.
Loading ...
Loading ...
Loading ...