Loading ...
Loading ...
Loading ...
123
4. Select a destination on the Recipient tab.
5. Do one of the following:
• To enter the email address directly, select Keyboard, enter an email address, and select OK.
• To select a contact from the Contacts list, select Contacts, select a contact or group, and then
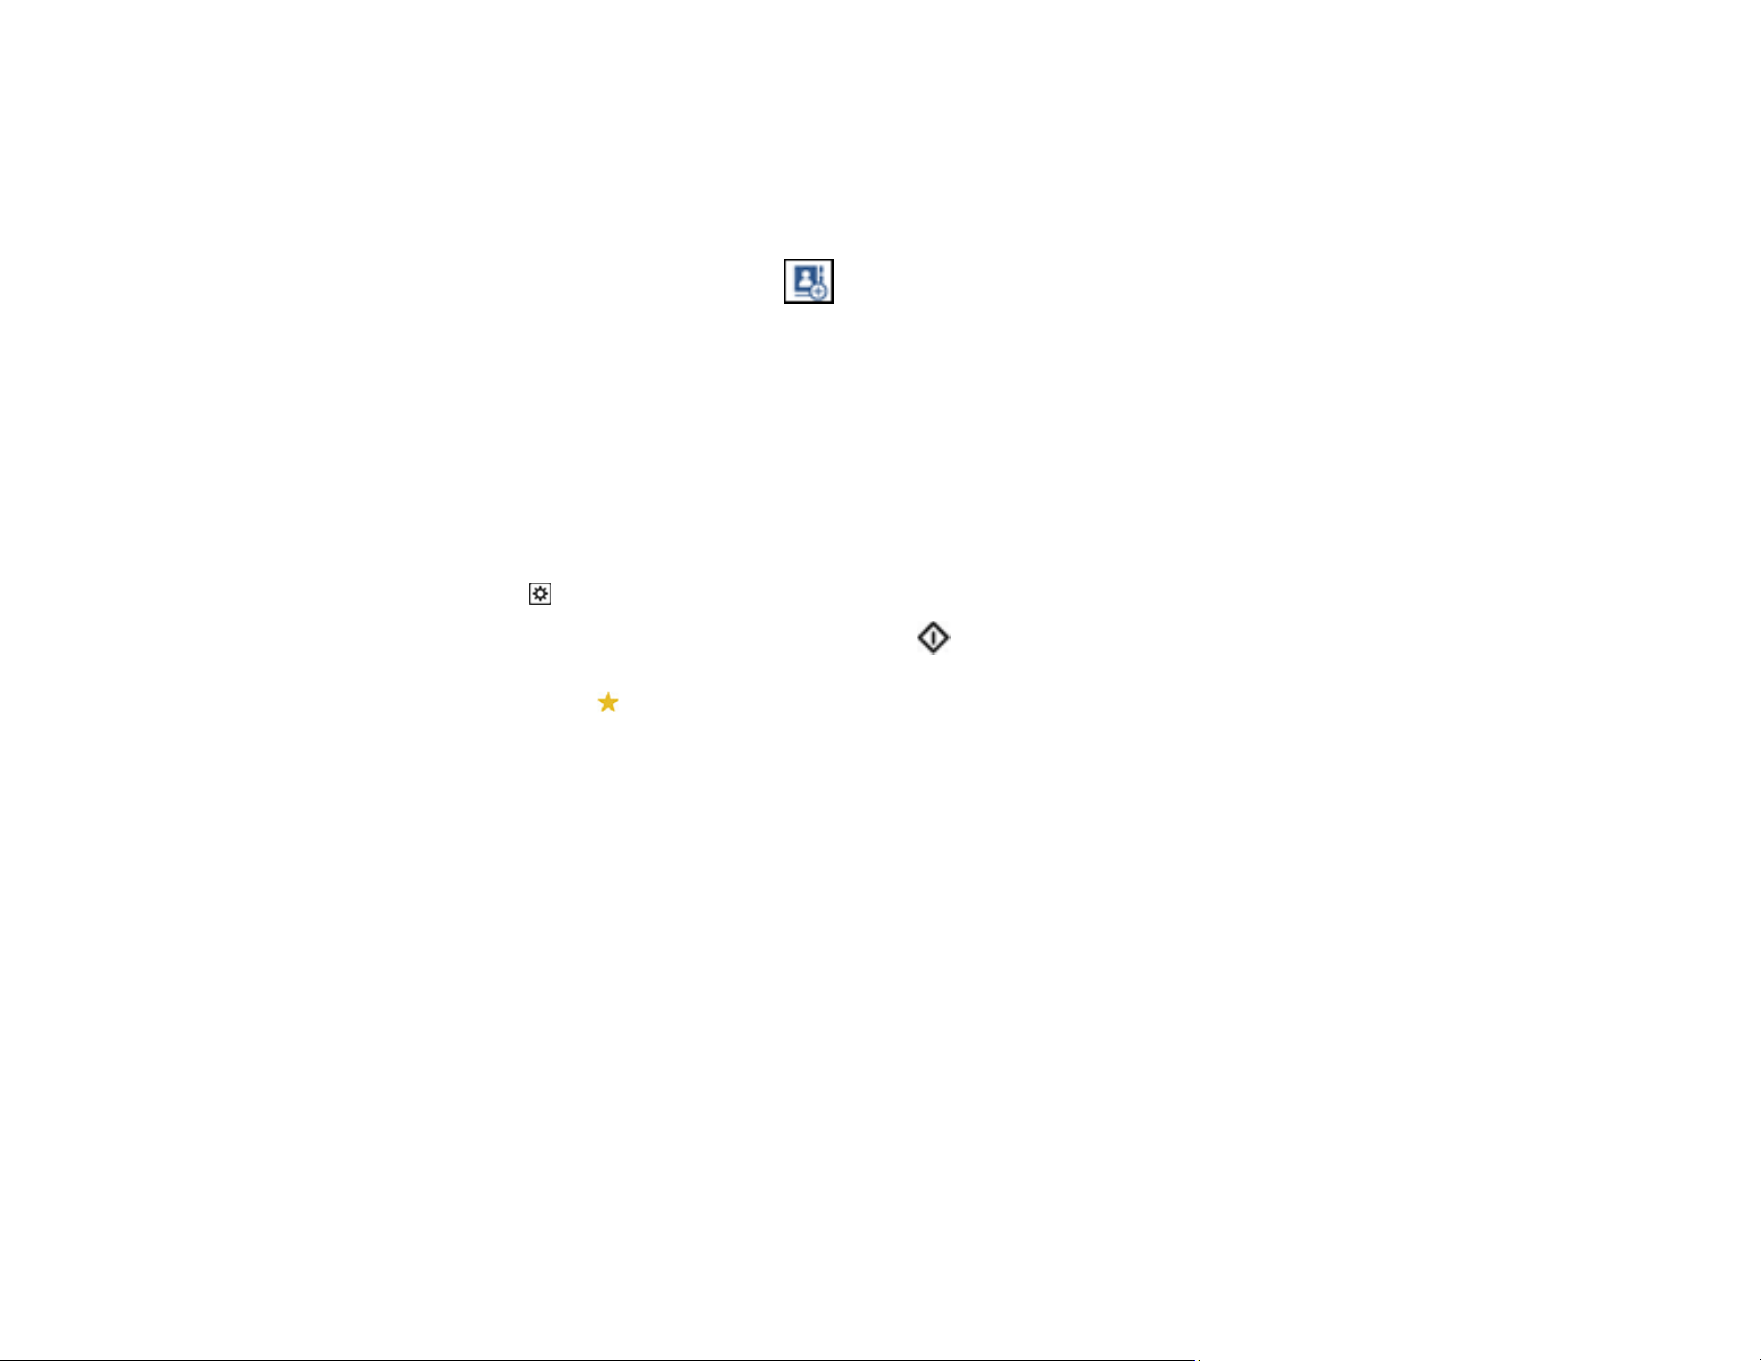
select Done. You can tap the icon to create a new contact, or search for a contact in the
Contacts list. Enter the search keyword into the box at the top of the screen.
• To select a recently used contact, select History, select a contact, and then select Done.
Note: The number of recipients you selected is displayed on the right side of the screen. You can
send emails to up to 10 contacts and groups. If groups are included in the Contacts list, you can
select up to 200 individual addresses in total, taking addresses within the groups into account.
Select the address box at the top of the screen to display the list of selected addresses.
6. Select Scan Settings and select the desired settings.
7. Tap the icon and check the product's settings or make changes, if necessary.
8. Select the Recipient tab again, then tap the start icon to start scanning.
Note: Tap the icon to save your scan settings as a preset. Presets can be locked by an
administrator.
Your product scans your original and sends the scanned file to the recipient's email address.
Parent topic: Starting a Scan Using the Product Control Panel
Related tasks
Entering Characters on the LCD Screen
Registering Contacts for Email, Network, or FTP Scanning - Control Panel
Registering Contacts for Email, Network, or FTP Scanning - Web Config
Scanning Using Presets
Selecting the Date and Time
Related topics
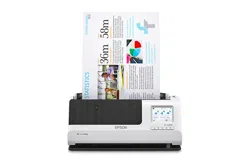
Loading Originals
Loading ...
Loading ...
Loading ...