Loading ...
Loading ...
Loading ...
Simple embroidering
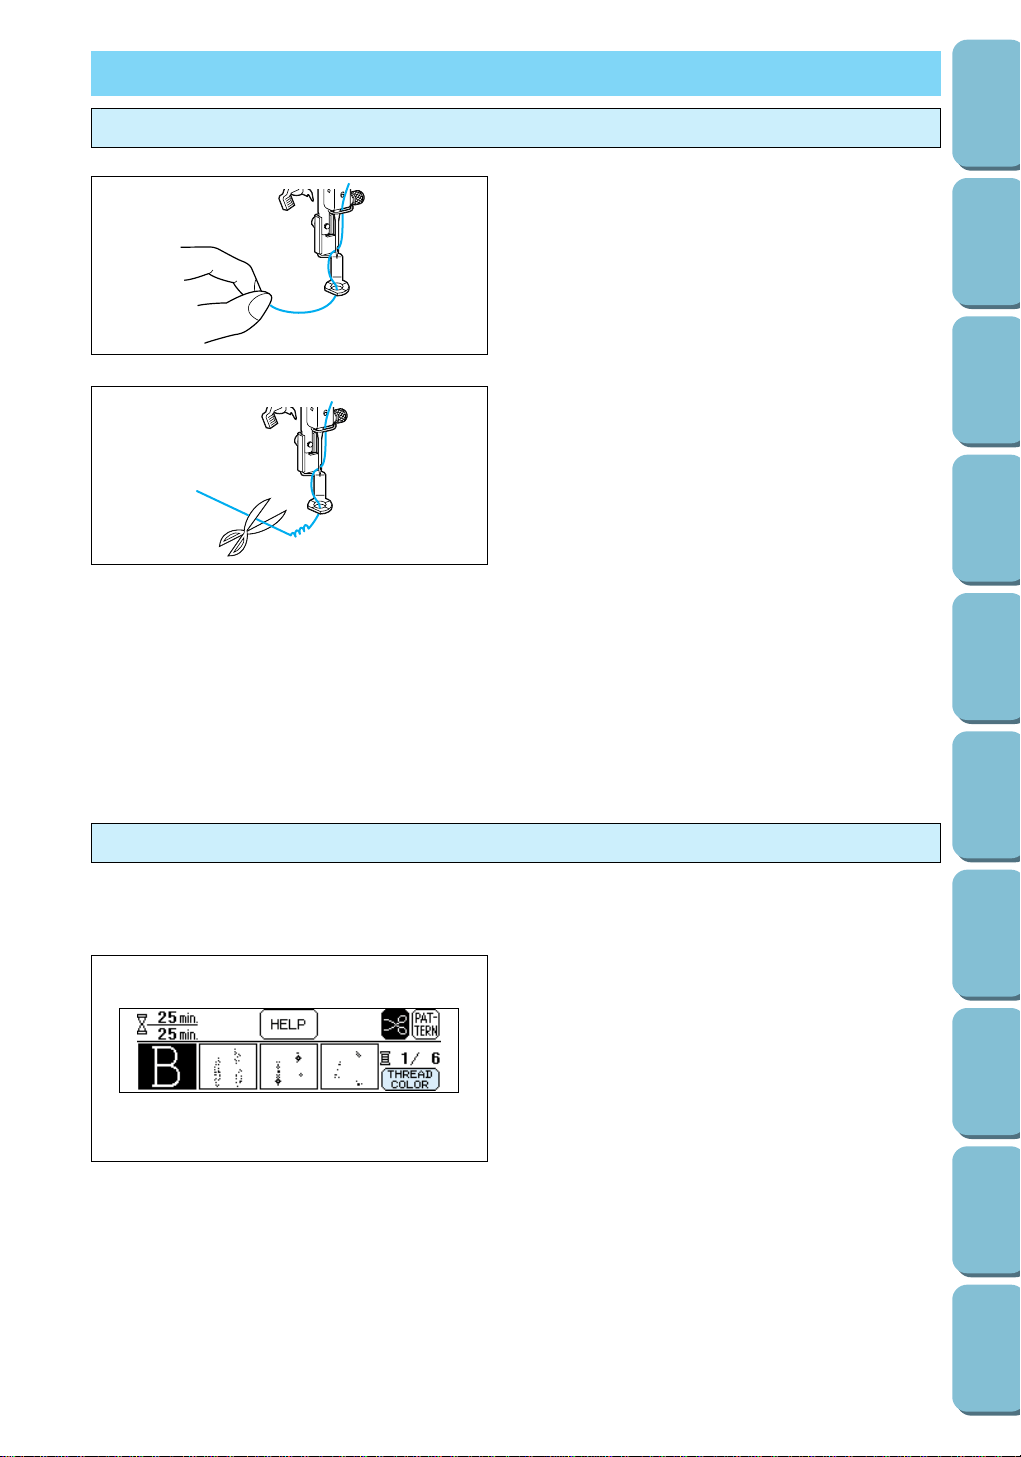
1. After threading the bobbin thread, the upper
thread and the needle, pass the thread down
through the hole in embroidery foot Q, and
then pull about 2" (5 cm) of the upper thread
out toward the rear of the machine.
2. Design the embroidery pattern.
3. Lower the presser foot and press the
start/stop button to start the machine. After
sewing 5 to 6 stitches, stop the machine and
trim off any excess thread at the beginning of
the embroidery.
4. Press the start/stop button again to continue
embroidering. The machine stops
embroidering when it has completed all of the
stitching with the thread color that is installed.
Note
The sewing speed is automatically controlled by
the machine according to the pattern selected.
EMBROIDERING
(1) (2) (3)
Embroidering multi-color patterns
When the selected pattern can be embroidered using different colors of thread, the pattern appears on the
screen separated into each color. The order of embroidering is shown from left to right.
Example: To embroider the floral pattern
of the letter “B”
1. Thread the first color. (Refer to the procedure
explained above.)
When the start/stop button is pressed, the first
part of the pattern (1) is sewn, and then the
machine automatically sews the
reinforcement stitches and stops.
Note
– Be sure to raise the presser foot before
changing the thread.
– When embroidering for this color is finished,
the parts of the pattern automatically move
one position to the left.
(4)
93
CONTENTS
SETTING UP
SEWING
UTILITY
STITCHES
MY CUSTOM
STITCH
TM
(CREATE YOUR OWN
STITCH DESIGNS)
EMBROIDERING
MAINTENANCE
ERROR
MESSAGES
SEWING CHART
PATTERNS
(PROGRAMMED
IN MACHINE)
Loading ...
Loading ...
Loading ...