Loading ...
Loading ...
Loading ...
4. Press .
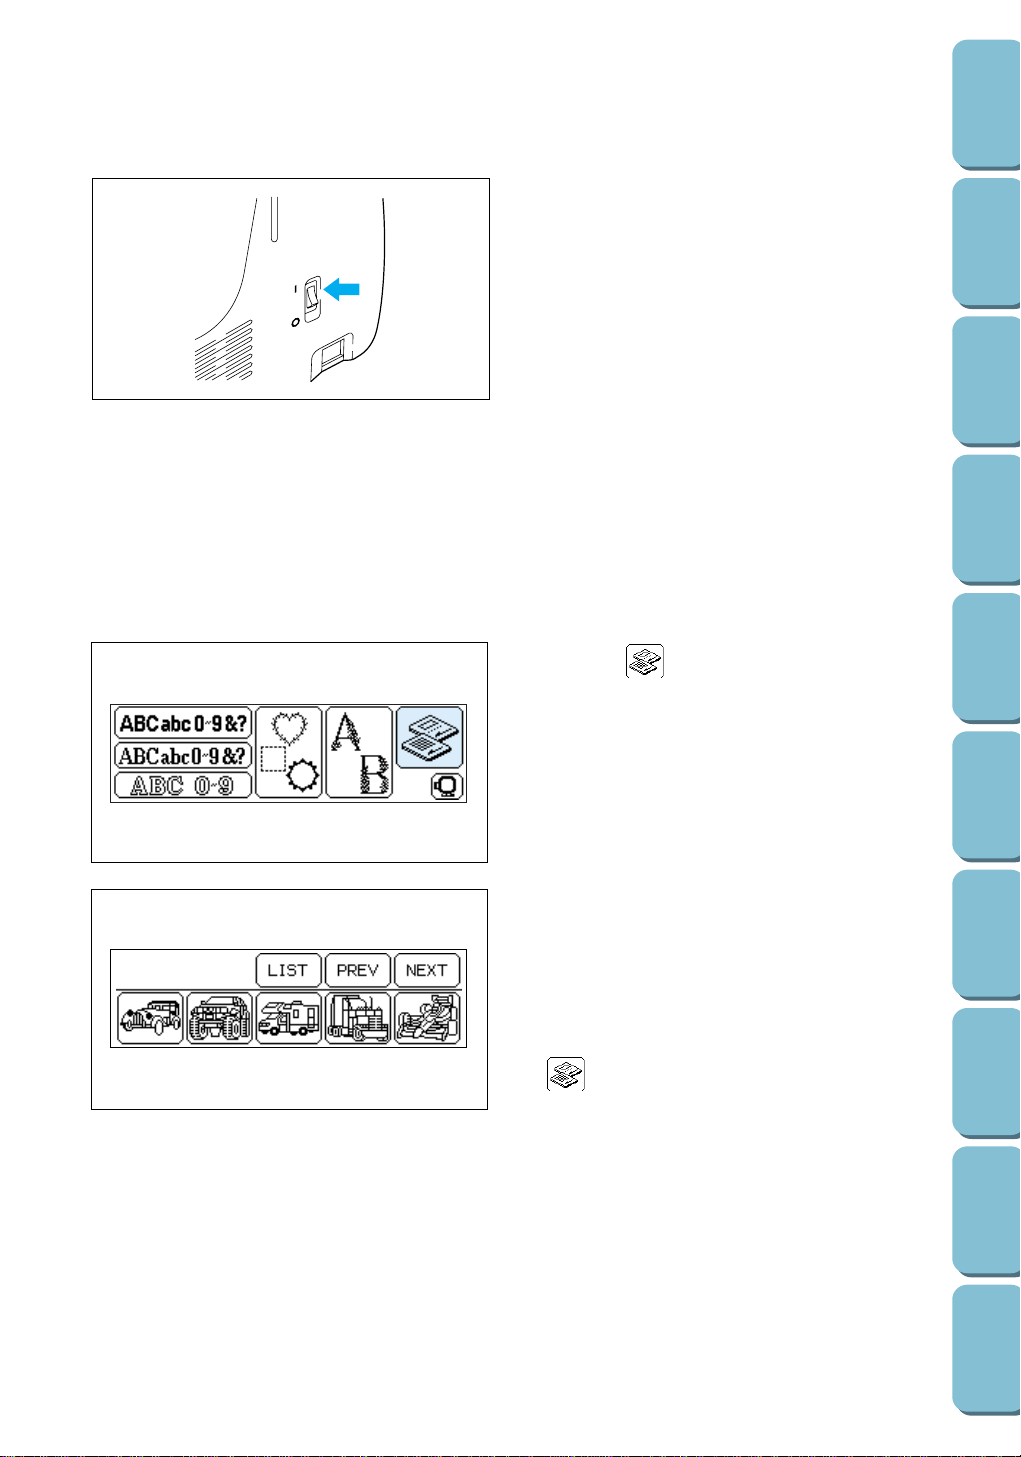
5. The pattern selection screen for the inserted
memory card is displayed. [The illustration at
the left shows the Transportation card No.2
(part code SA299, X58321-001) (optional).]
Note
If the screen shown at the left is not displayed,
press the EMBROIDERY key before pressing
.
6. Select the desired pattern in the same way as
you select a one-point pattern. (Refer to page
101 for more details.)
3. Set the main power switch to “I” to turn on the
sewing machine.
CAUTION
– Do not insert the card in any direction
other than that described above, and do
not force it into the slot, otherwise the
card or the machine may be damaged.
–
When the card is inserted, it should appear
as shown in the illustration at the left.
Trying to push the card in any further will
damage the connector.
–
Always turn off the main power switch
before inserting or removing the
embroidery card (memory card).
–
Always keep the memory card in its case
when it is not being used.
103
CONTENTS
SETTING UP
SEWING
UTILITY
STITCHES
MY CUSTOM
STITCH
TM
(CREATE YOUR OWN
STITCH DESIGNS)
EMBROIDERING
MAINTENANCE
ERROR
MESSAGES
SEWING CHART
PATTERNS
(PROGRAMMED
IN MACHINE)
Loading ...
Loading ...
Loading ...