Loading ...
Loading ...
Loading ...
43
CONTENTS
SETTING UP
SEWING
UTILITY
STITCHES
MY CUSTOM
STITCH
TM
(CREATE YOUR OWN
STITCH DESIGNS)
EMBROIDERING
MAINTENANCE
ERROR
MESSAGES
SEWING CHART
PATTERNS
(PROGRAMMED
IN MACHINE)
BASIC STITCHING
1 Straight (Left) [straight stitch (left needle position)]: for
normal sewing
2 Straight (Mid) [straight stitch (center needle position)]: for
normal sewing
3 Triple stretch stitch: for reinforced stitching
4 Stretch stitch: for sewing stretch fabric
5
1. Baste or pin together the fabric pieces before sewing, attach
presser foot J, and lower the presser foot lever.
2. Press the reverse/reinforcement stitch button to sew
reverse/reinforcement stitches, and then press the start/stop
button to continue sewing.
1 Reverse stitches at beginning
Note
– Be sure to place the edge of the fabric at least 3 to 4 stitch
lengths behind the presser foot so that the reverse/
reinforcement stitches can be sewn.
– If automatic reverse/reinforcement stitching is turned on
before you start sewing, pressing just the start/stop button
automatically sews reverse/reinforcement stitches before
sewing.
5
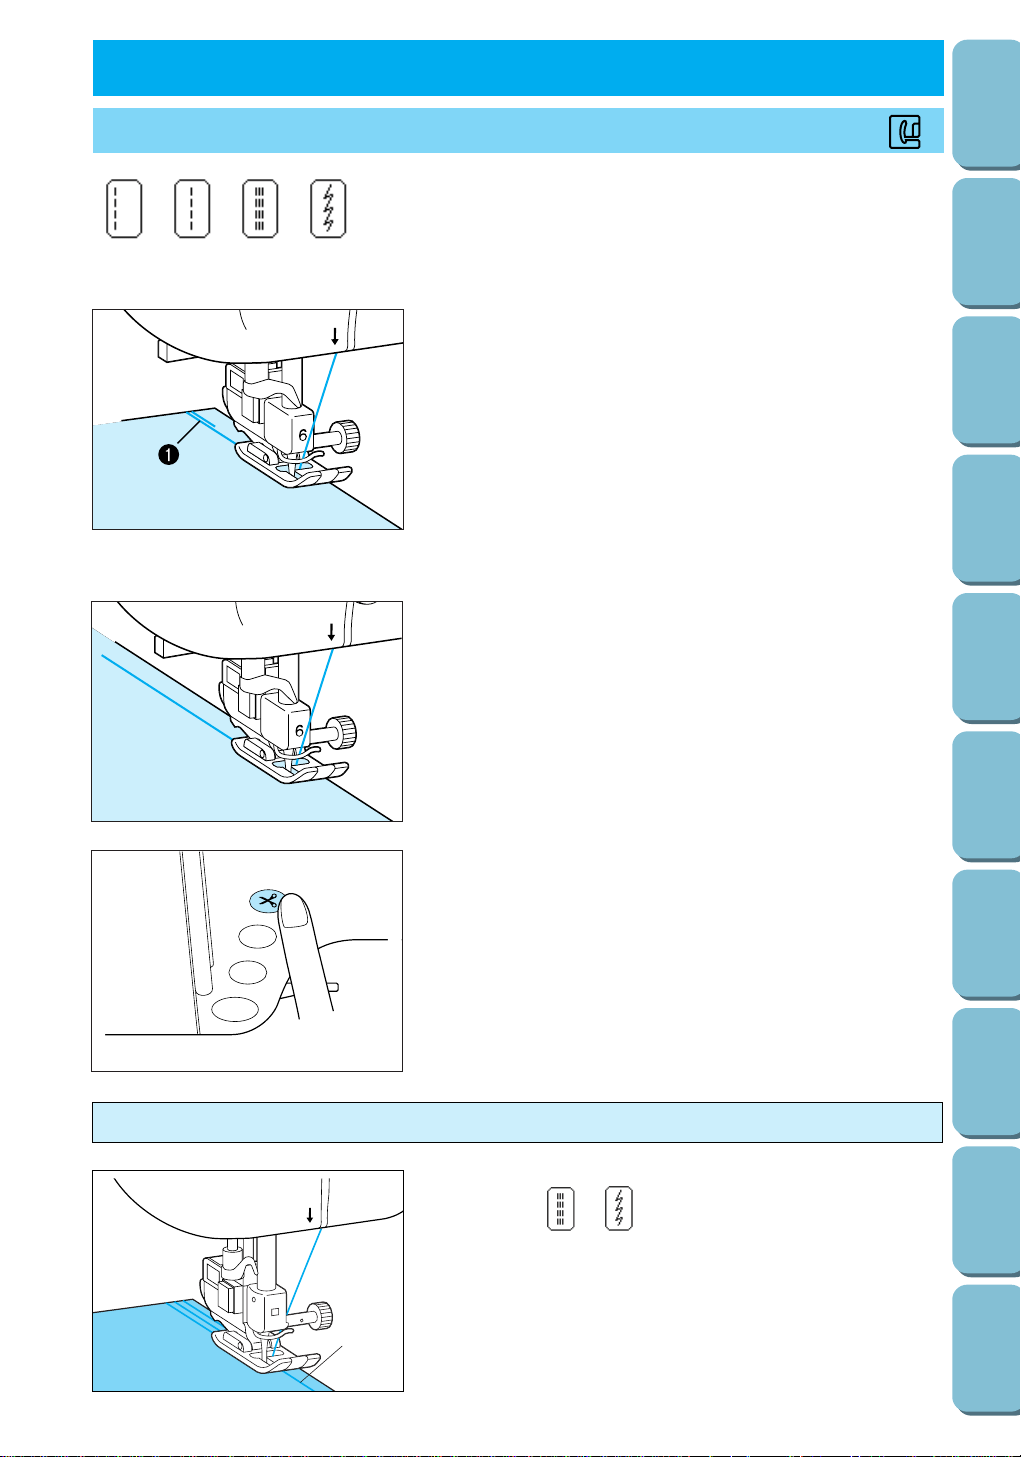
3. Slow down the sewing speed near the end of the stitching,
and then press the reverse/reinforcement stitch button to
sew reverse/reinforcement stitches and stop the machine.
4. Press the thread cutter button to cut the threads.
Note
If automatic thread cutting and automatic reverse/reinforcement
stitching are turned on before you start sewing, pressing the
reverse/reinforcement stitch button at the end of the stitching
automatically sews reverse/reinforcement stitches, trims the
threads and stops the machine.
UTILITY STITCHES CHAPTER 3
J
1234
6
1
5
Baste the fabric beforehand and sew along the basting using a
stretch stitch ( or ).
1 Basting
Note
Do not pull the fabric while sewing.
Reinforced stitching of stretch fabric
Loading ...
Loading ...
Loading ...