Loading ...
Loading ...
Loading ...
1 Fabric
2 Stabilizer material
Creating beautiful embroidery
Refer to the table below and the FABRIC/THREAD/NEEDLE COMBINATIONS table on page 19 when
selecting the appropriate fabric, thread and needle for creating attractive embroidery. Pattern slippage may
occur when using fabric of different thicknesses or when using different types of stabilizers. Be sure to sew
a test embroidery beforehand.
FABRIC
THREAD
NEEDLE
Before embroidering, attach a sheet of
non-woven stabilizer material to the
fabric.
Note
It is recommended that you use special
embroidering stabilizer material which
can be torn from around the design
when sewing is finished.
Upper thread: Embroidery thread #50
Bobbin thread: Embroidery thread #60
Note
Adjust the thread tension if the thread
quality is not compatible.
75/11 (Embroidery)
2
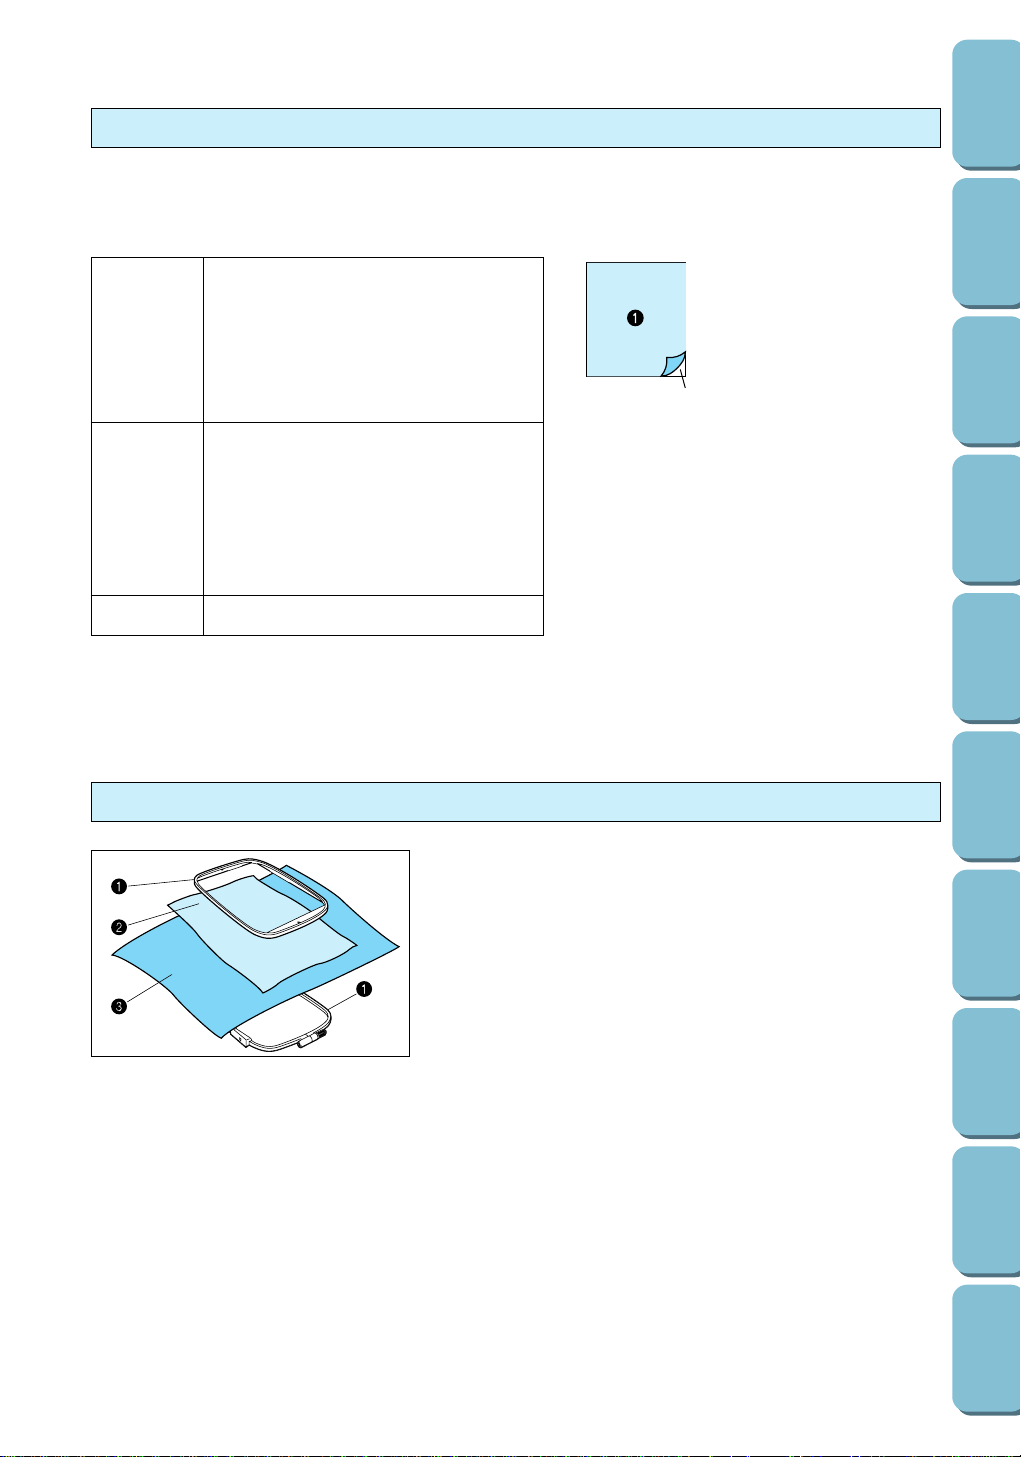
Attaching stabilizer material
Using stabilizer material is an important part of creating
attractive embroidery. It is particularly important when
embroidering stretch fabrics, thin fabrics, and fabrics with
coarse weaves. If necessary, two layers of stabilizer material
may be attached.
Before embroidering, iron the stabilizer material onto the back
of the fabric. Use stabilizer material with an area that is larger
than the frame, and make sure that all sides of the stabilizer
material are securely clamped in the frame. When embroidering
fabrics that cannot be ironed, or in places where ironing is
difficult, place the stabilizer material underneath the frame
before embroidering.
For slick or slippery fabric, use one or two layers of stabilizer
material clamped in the frame on the wrong side of the fabric. In
addition, embroider over a water-soluble stabilizer sheet placed
on the right side of the fabric.
1 Embroidery frame
2 Fabric
3 Non-woven stabilizer material
89
CONTENTS
SETTING UP
SEWING
UTILITY
STITCHES
MY CUSTOM
STITCH
TM
(CREATE YOUR OWN
STITCH DESIGNS)
EMBROIDERING
MAINTENANCE
ERROR
MESSAGES
SEWING CHART
PATTERNS
(PROGRAMMED
IN MACHINE)
Loading ...
Loading ...
Loading ...