Loading ...
Loading ...
Loading ...
36
CONTENTS
SETTING UP
SEWING
UTILITY
STITCHES
MY CUSTOM
STITCH
TM
(CREATE YOUR OWN
STITCH DESIGNS)
EMBROIDERING
MAINTENANCE
ERROR
MESSAGES
SEWING CHART
PATTERNS
(PROGRAMMED
IN MACHINE)
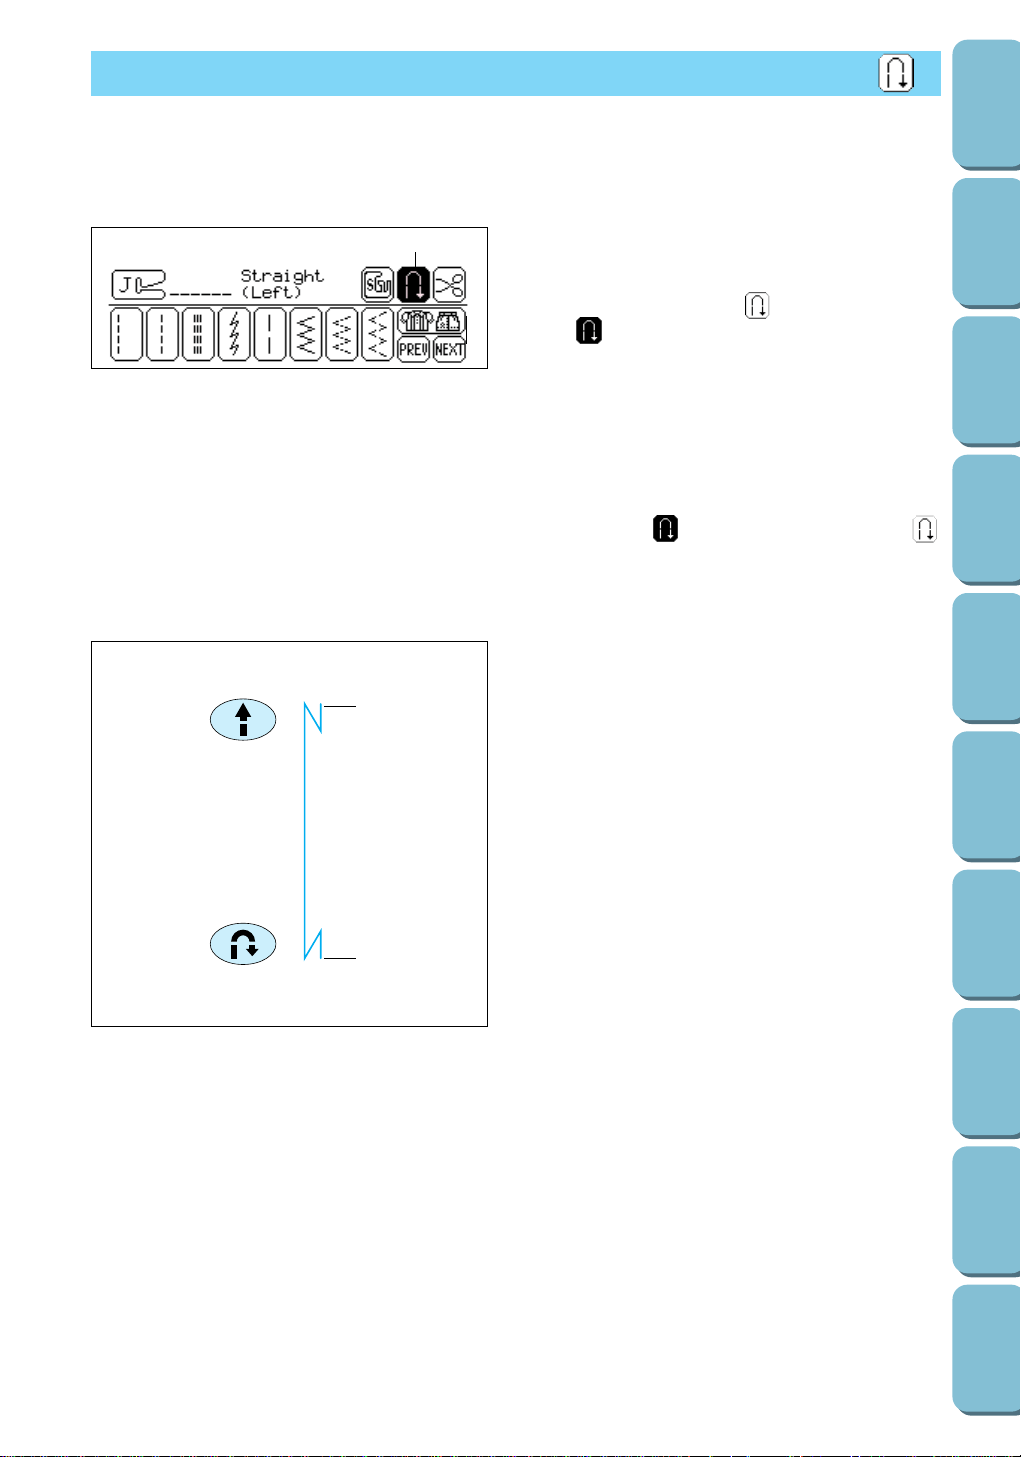
AUTOMATIC REVERSE/REINFORCEMENT STITCHING
1. Select a stitch.
2. Turn on automatic reverse/reinforcement
stitching by pressing so that it appears as
.
1 Automatic reverse/reinforcement stitching
turned on
Note
– Be sure to place the edge of the fabric at least
3 to 4 stitch lengths behind the presser foot so
that the reverse/reinforcement stitches can be
sewn.
– Pressing so that it changes back to
turns off automatic reverse/reinforcement
stitching.
2
1
3. Press the start/stop button.
1 Reverse/reinforcement stitches are sewn,
and then sewing starts.
Note
If the start/stop button had been pressed to
pause sewing, the beginning reverse/
reinforcement stitches are not sewn.
4. When the end of the stitching is reached,
press the reverse/reinforcement stitch button
to sew reverse/reinforcement stitches and
stop sewing.
2 Reverse/reinforcement stitches are sewn,
and then sewing stops automatically.
Before sewing, turn on automatic reverse/reinforcement stitching to sew reverse stitches (stitches sewn in
the reverse direction when sewing straight stitches) or reinforcement stitches (three stitches sewn on top of
each other when sewing stitches other than straight stitches) automatically at both the beginning and the
end of the stitching to secure it.
1
Loading ...
Loading ...
Loading ...