Loading ...
Loading ...
Loading ...
34
CONTENTS
SETTING UP
SEWING
UTILITY
STITCHES
MY CUSTOM
STITCH
TM
(CREATE YOUR OWN
STITCH DESIGNS)
EMBROIDERING
MAINTENANCE
ERROR
MESSAGES
SEWING CHART
PATTERNS
(PROGRAMMED
IN MACHINE)
THREAD TENSION
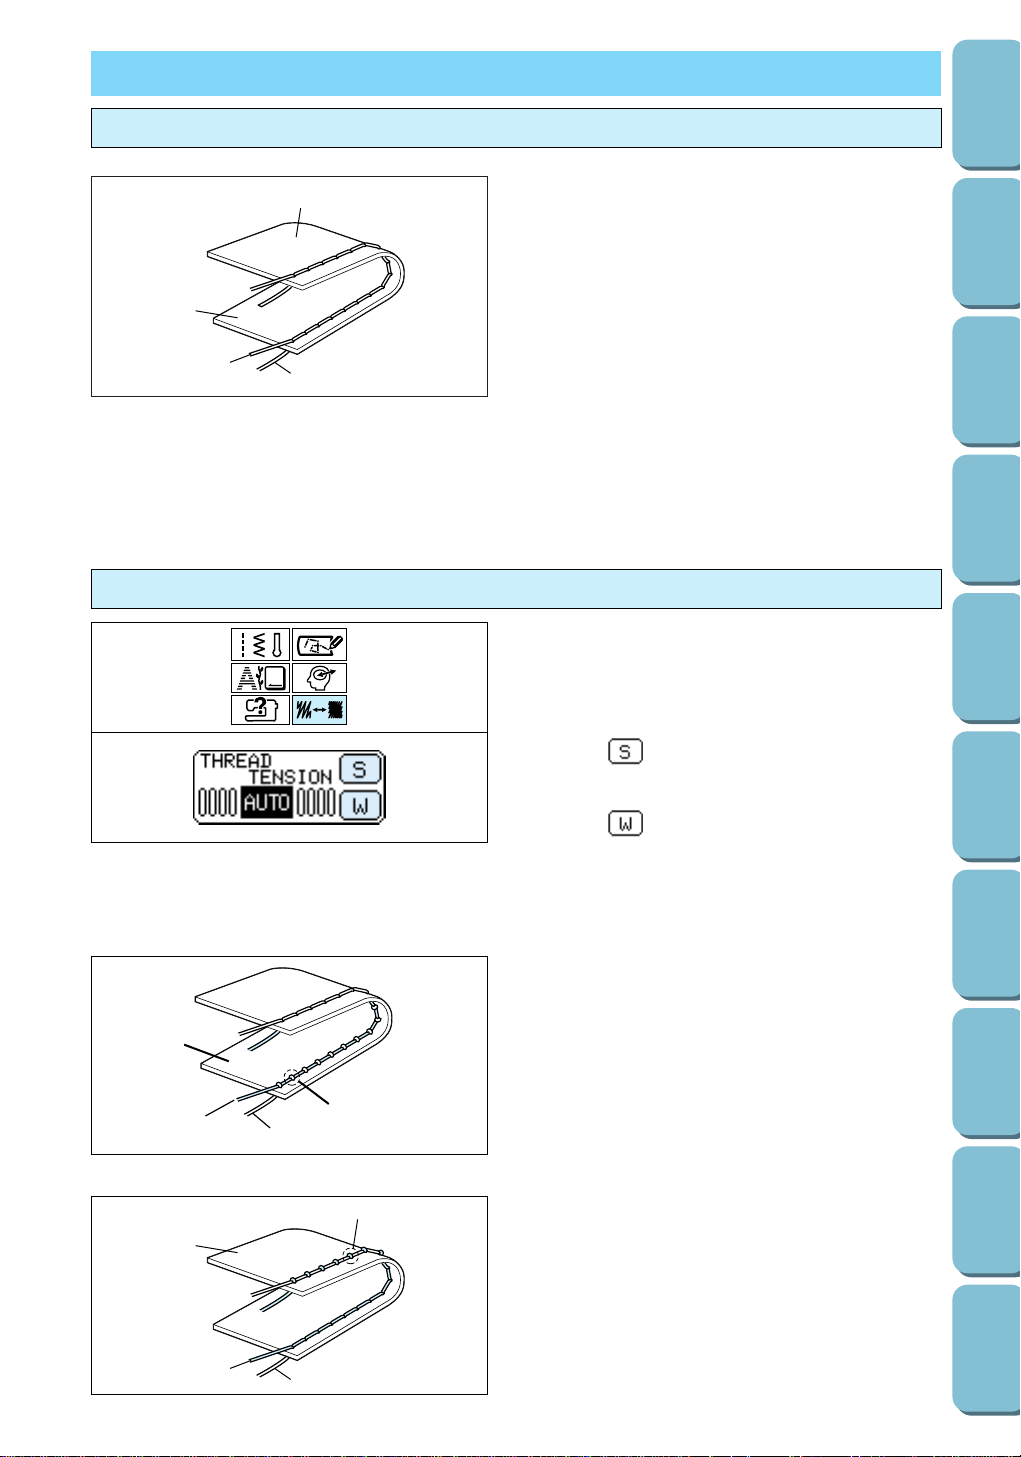
Correct tension
3
2
1
4
The upper thread and the bobbin thread should
cross at about the center of the fabric. If the
thread tension is incorrectly set, flat attractive
stitches will not be sewn or the fabric will pucker.
The thread tension for each stitch is preset to the
most appropriate setting. However, in the
following cases, the thread tension may need
adjustment:
* when using special thread or sewing on
special fabric
* when sewing gathers
* when the preset settings do not give the
desired result
Note
Correct tension is important since too much or
too little tension weakens the seams or causes
the fabric to pucker.
Adjusting the upper thread tension
1. Select a stitch, and then press the STITCH
ADJUST key.
2. Adjust the thread tension.
To increase the thread tension (tighten the
upper thread), press the THREAD TENSION
key (stronger).
To decrease the thread tension (loosen the
upper thread), press the THREAD TENSION
key (weaker).
The thread tension setting changes each time
one of these keys is pressed.
3. After making the adjustment, press the END
key.
2
1
3
4
Note
The default thread tension setting (AUTO) is
highlighted in black.
1 If the upper thread is too tight, locks appear
on the right side of the fabric.
2 Bobbin thread
3 Upper thread
4 Right side of fabric
1 Wrong side of fabric
2 Bobbin thread
3 Upper thread
4 Right side of fabric
3
2
1
4
1 If the upper thread is too loose, locks appear
on the wrong side of the fabric.
2 Bobbin thread
3 Upper thread
4 Wrong side of fabric
Upper thread is too tight:
Upper thread is too loose:
Loading ...
Loading ...
Loading ...