Loading ...
Loading ...
Loading ...
25Optional: Connect a wired chime
Essential Wire-Free Video Doorbell
User Manual
• You might also benefi t from having a drill, a level, and a ladder (to reach the chime).
Installation overview
You must use the Arlo Secure App for installation and setup. The Arlo Secure App guides you
through hardwired installation in this order:
1. Turn off your power at the breaker.
Warning: Failure to turn off your power might result in serious injury.
2. Follow the instructions in the Arlo Secure App to connect the wires and install your
doorbell.
3. Turn on power at the breaker.
4. Check the LED on your doorbell. See
LED during setup on page 19.
5. Connect your doorbell to your home network’s 2.4 GHz WiFi.
6. Determine whether to use the fl at mounting plate on its own, or combine it with the
angled mounting plate to adjust the fi eld of view for your doorbell.
Installing with an angled mounting plate depends on the position of the doorbell and the
walkway to your home. The angled mounting plate lets you install your doorbell so that it
is angled toward the le or angled toward the right.
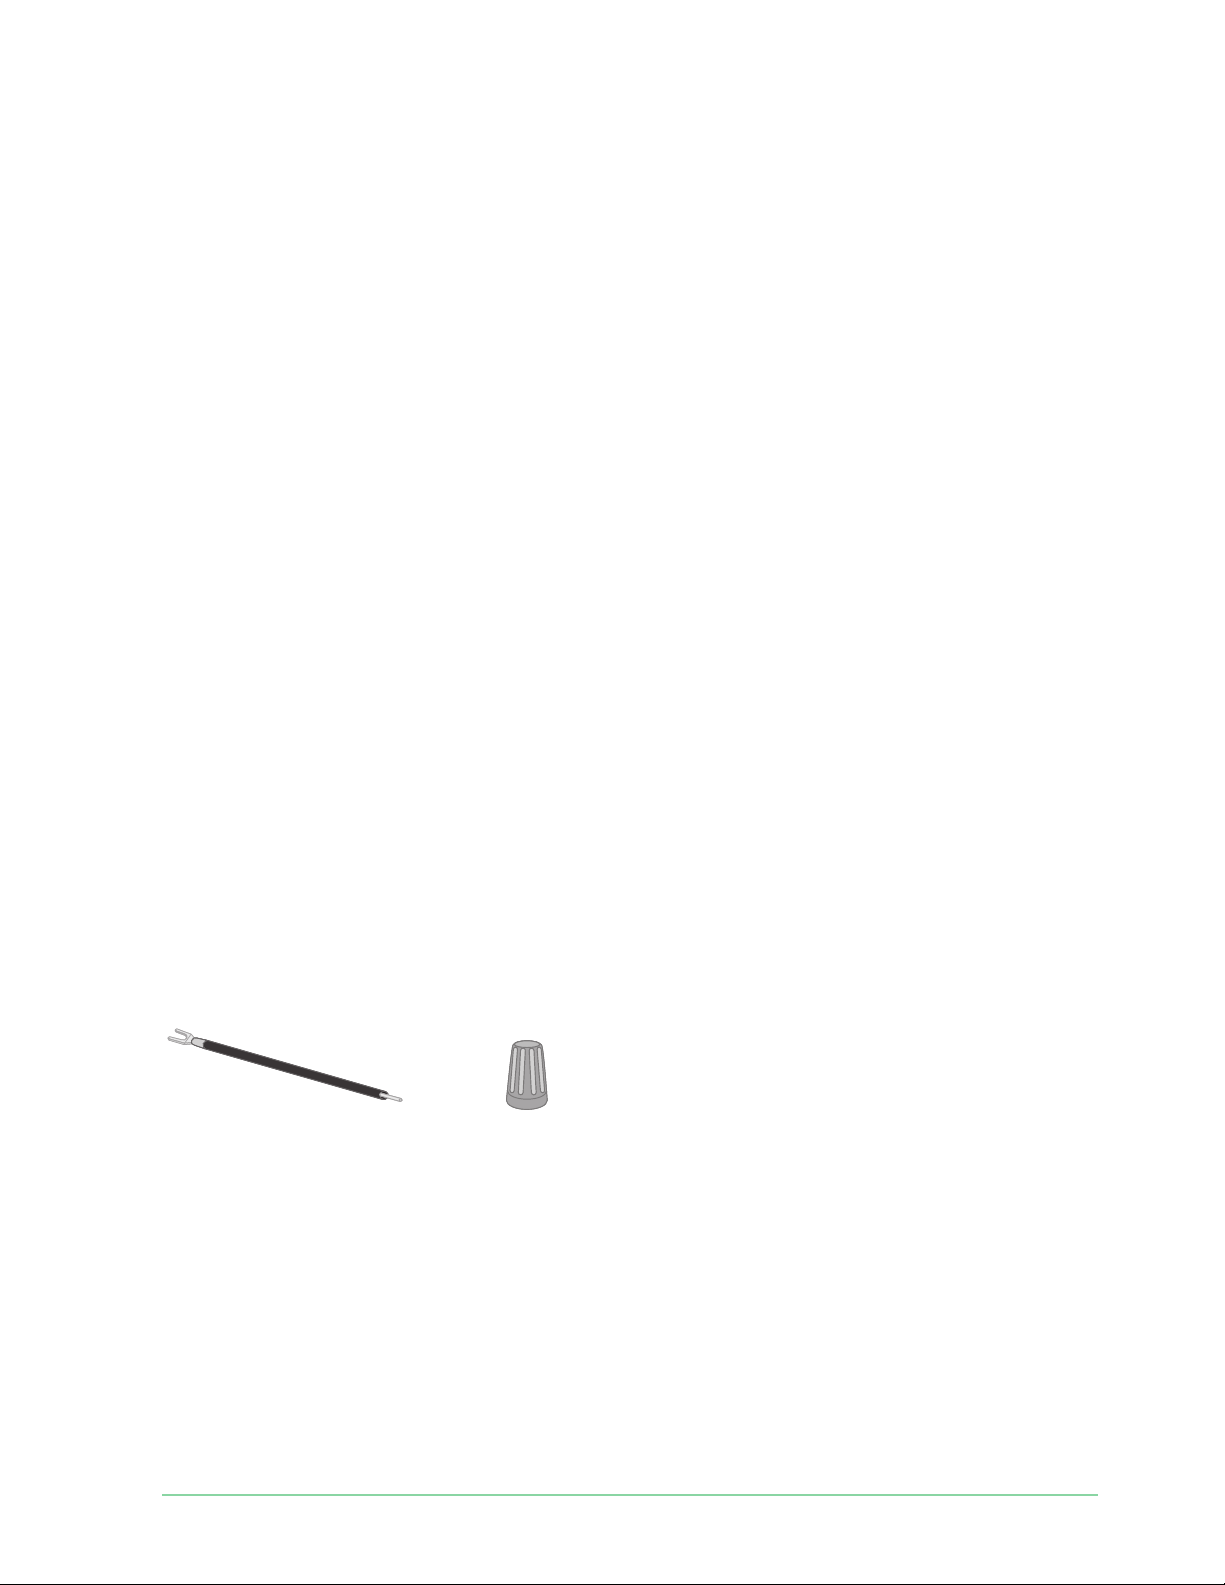
Use the optional wire extensions
Two identical wire extensions and fasteners come in the package with your doorbell.
If the existing wires for your doorbell are too short to connect your Arlo doorbell, you can use
the wire extensions and fasteners to lengthen the wires.
To connect wire extensions to your Arlo doorbell:
1. Remove the rubber ends from the wire extensions.
2. Attach a wire extension to one of your existing doorbell wires.
To do this, connect the wire end of the wire extension (not the prong end) to your existing
doorbell wire and twist the wires together securely.
Fastener
Wire extension
Loading ...
Loading ...
Loading ...