Loading ...
Loading ...
Loading ...
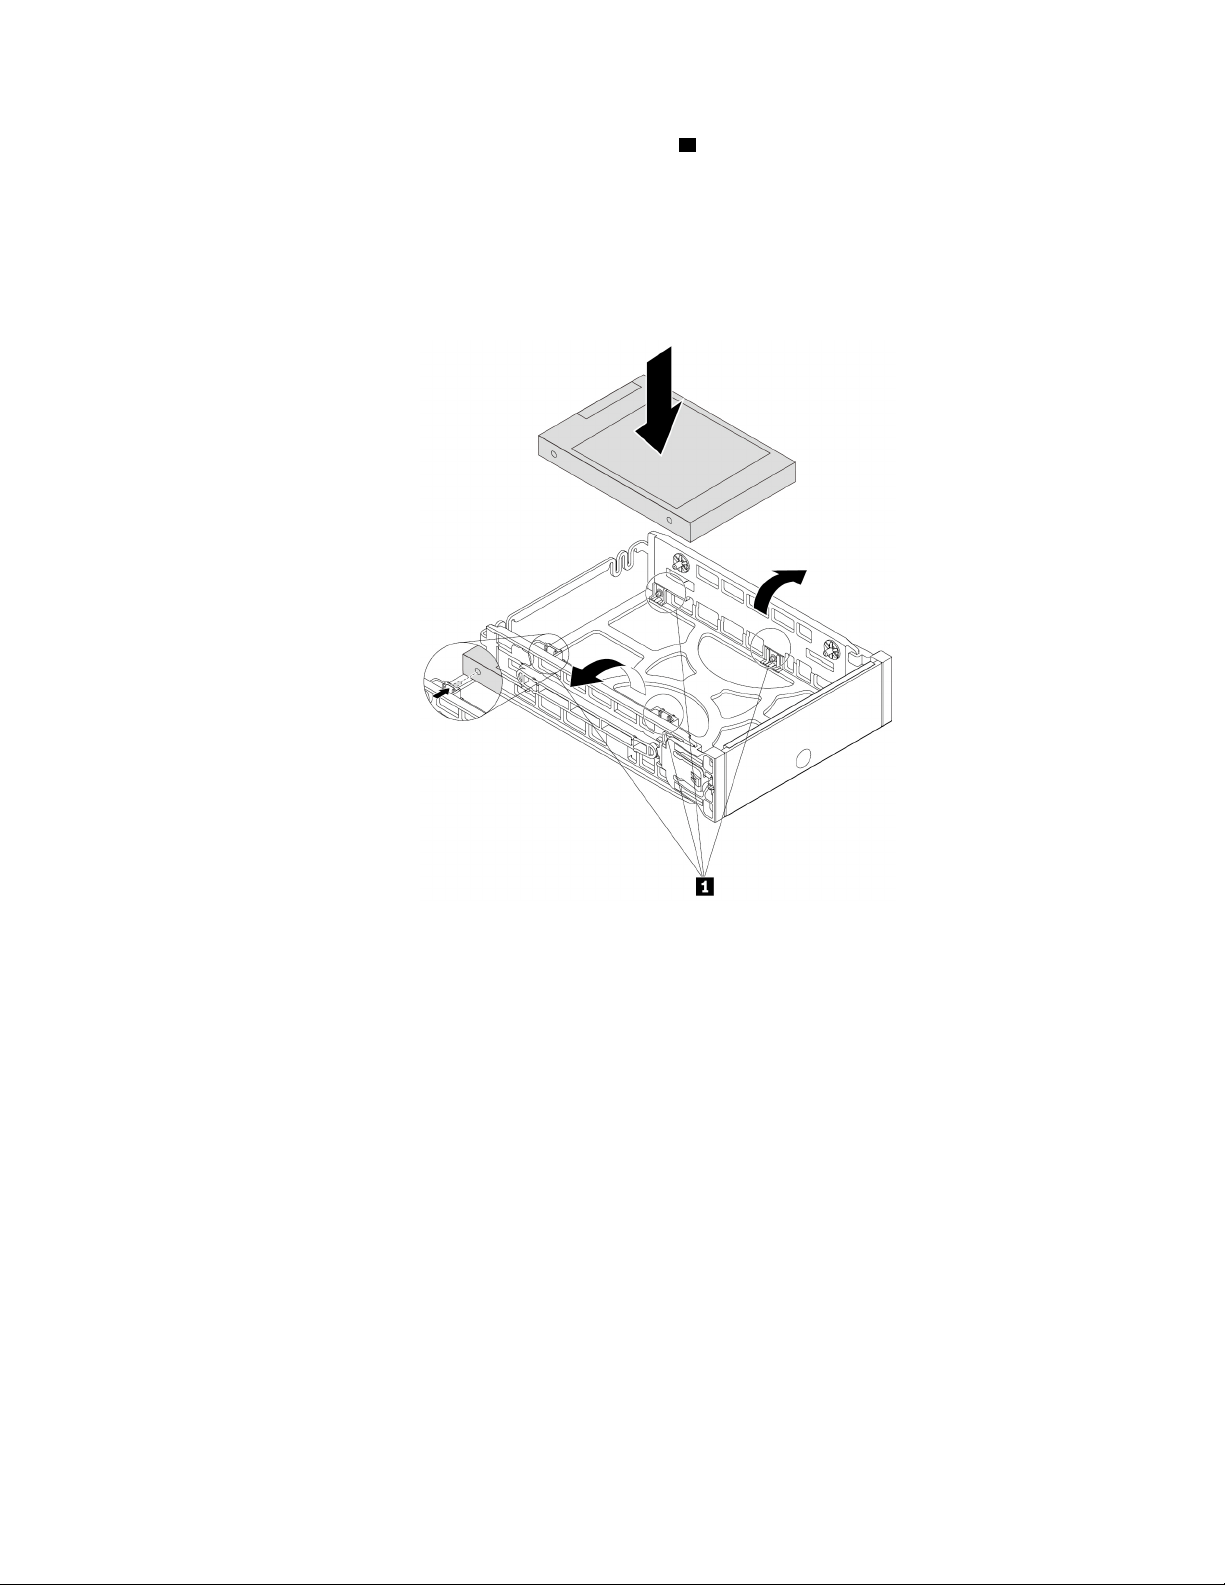
a. Flex both sides of the bracket and align the four pins 1 on the bottom of the bracket with the
corresponding holes in the storage drive.
Notes:
• If you are installing a 2.5-inch hard disk drive, ensure that the circuit board faces downward and
the connectors face toward the rear of the bracket.
• Do not touch the circuit board (if accessible) of the 2.5-inch storage drive.
Figure 49. Installing the storage drive into the bracket
b. Slide the bracket together with the installed storage drive into the storage drive bay until the bracket
snaps into position.
What to do next:
• To work with another piece of hardware, go to the appropriate section.
• To complete the installation or replacement, go to “Completing the parts replacement” on page 135.
2.5-inch storage drive with a converter
To remove or install a 2.5-inch storage drive with a 2.5-inch to 3.5-inch converter in a storage drive bay, do
the following:
1. Prepare your computer. See “Preparing your computer and removing the computer cover” on page 59.
2. Locate the storage drive bay. See “Internal storage drives” on page 10.
Chapter 7. Hardware removal and installation 83
Loading ...
Loading ...
Loading ...