Loading ...
Loading ...
Loading ...
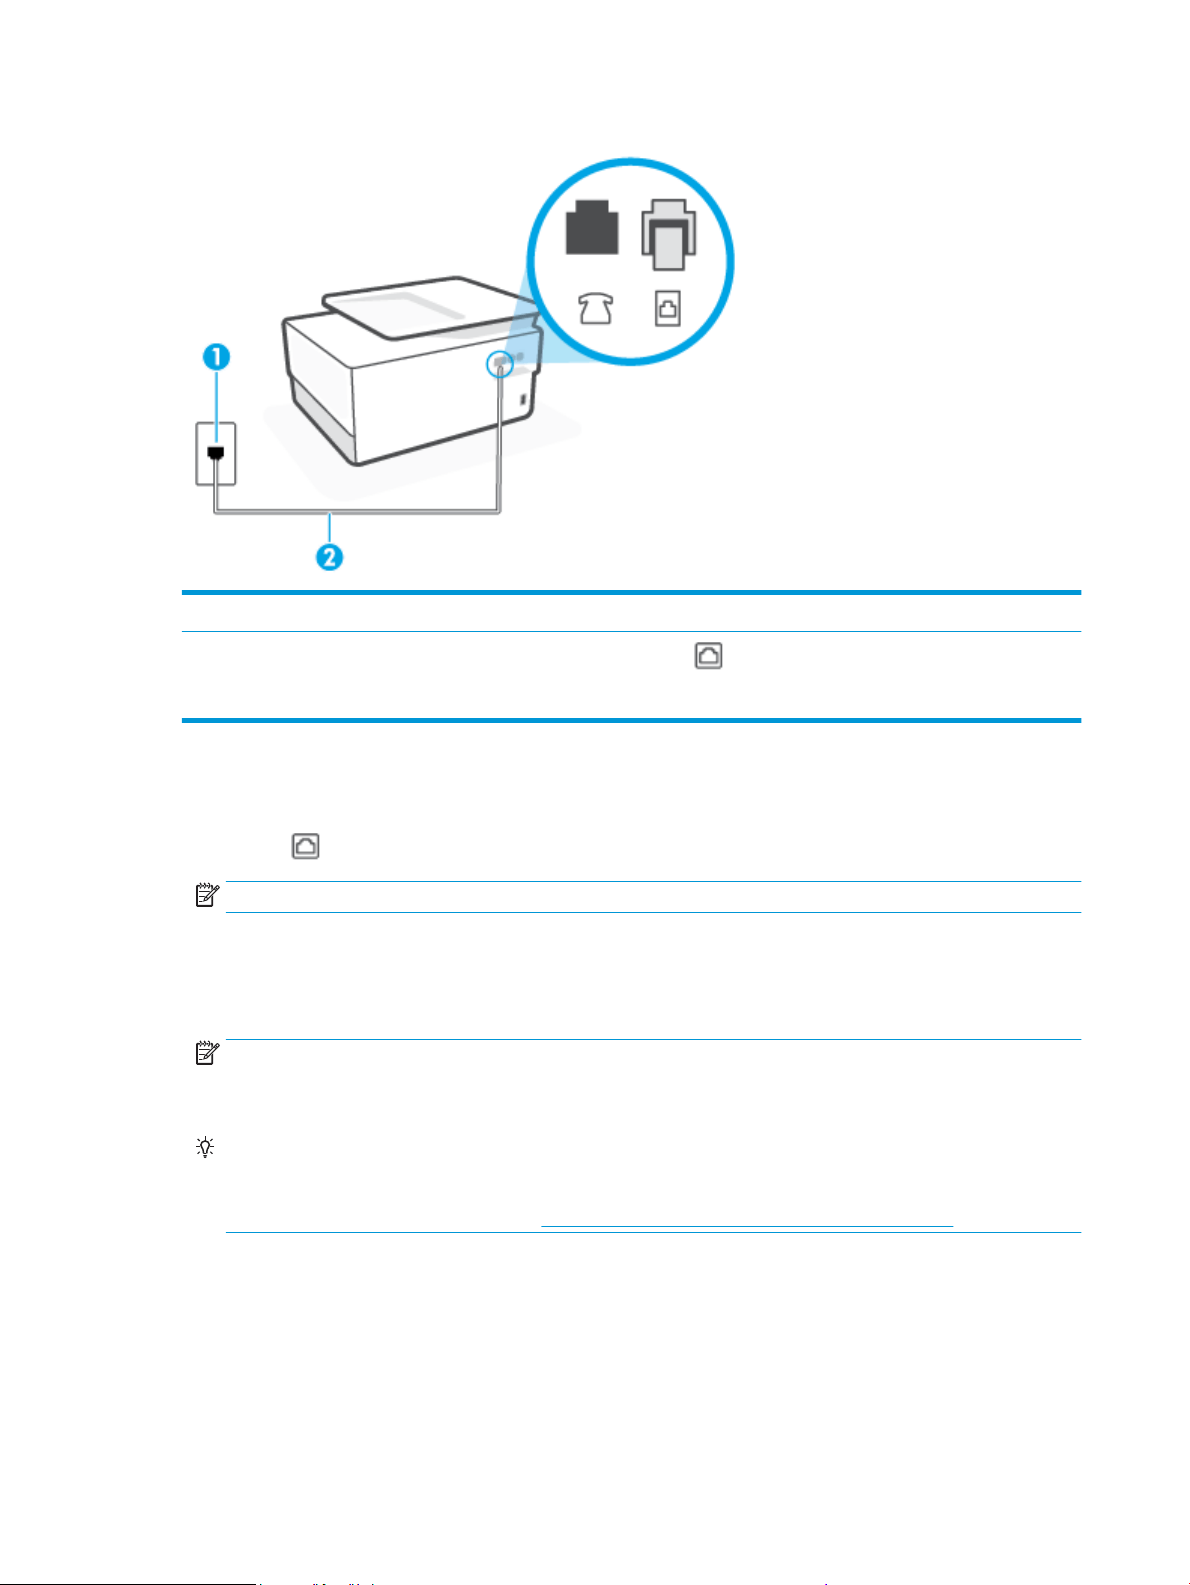
Figure 4-3 Back view of the printer
1 Telephone wall jack.
2
Connect the phone cord to the port labeled on the back of the printer.
You might need to connect the phone cord to your country/region adapter.
To set up the printer with a distinctive ring service
1. Connect one end of the phone cord to your telephone wall jack, then connect the other end to the port
labeled
on the back of the printer.
NOTE: You might need to connect the phone cord to your country/region adapter.
2. Turn on the Auto Answer setting.
3. Change the Distinctive Ring setting to match the pattern that the telephone company assigned to your
fax number.
NOTE: By default, the printer is set to answer all ring patterns. If you do not set the Distinctive Ring to
match the ring pattern assigned to your fax number, the printer might answer both voice calls and fax
calls or it might not answer at all.
TIP: You can also use the Ring Pattern Detection feature in the printer control panel to set distinctive
ring. With this feature, the printer recognizes and records the ring pattern of an incoming call and, based
on this call, automatically determines the distinctive ring pattern assigned by your telephone company
to fax calls. For more information, see Change the answer ring pattern for distinctive ring.
4. (Optional) Change the Rings to Answer setting to the lowest setting (two rings).
5. Run a fax test.
The printer automatically answers incoming calls that have the ring pattern you selected ( Distinctive Ring
setting) after the number of rings you selected ( Rings to Answer setting). The printer begins emitting fax
reception tones to the sending fax machine and receives the fax.
96 Chapter 4 Fax ENWW
Loading ...
Loading ...
Loading ...