Loading ...
Loading ...
Loading ...

1.
Enter the Access Control module.
2.
On the navigaon bar on the le, enter Advanced Funcon → More Parameters .
3.
Select an access control device in the device list and enter Network → Uploading Mode .
4.
Select the center group from the drop-down list.
5.
Check Enable to enable to set the uploading mode.
6.
Select the uploading mode from the drop-down list.
-
Enable N1 or G1 for the main channel and the backup channel.
-
Select Close to disable the main channel or the backup channel
Note
●
The main channel and the backup channel cannot enable N1 or G1 at the same me.
●
N1 refers to wired network and G1 refers to GPRS.
7.
Click Save.
Create EHome Account in Wired
Communicaon Mode
You can set the account for EHome protocol in wired communicaon mode. Then you can add
devices via EHome protocol.
Steps
Note
●
This funcon should be supported by the device.
●
Make sure the device is not added by EHome.
1.
Enter the Access Control module.
2.
On the navigaon bar on the le, enter Advanced Funcon → More Parameters .
3.
Select an access control device in the device list and enter Network → Network Center .
4.
Select the center group from the drop-down list.
5.
Select the Address Type as IP Address or Domain Name.
6.
Enter IP address or domain name according to the address type.
7.
Enter the port number for the protocol.
Note
The port number of the wireless network and wired network should be consistent with the port
number of EHome.
8.
Select the Protocol Type as EHome and select EHome version.
Note
If set the EHome version as 5.0, you should create an EHome key for the EHome account.
9.
Set an account name for the network center.
10.
Click Save.
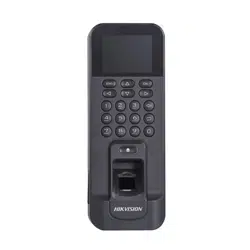
DS-K1T804B Series Fingerprint Access Control Terminal User Manual
89
Loading ...
Loading ...
Loading ...
