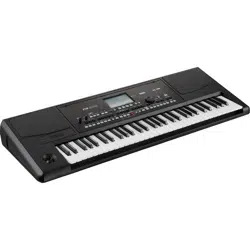
Loading ...
Loading ...
Loading ...
173
Media
Save
Reference
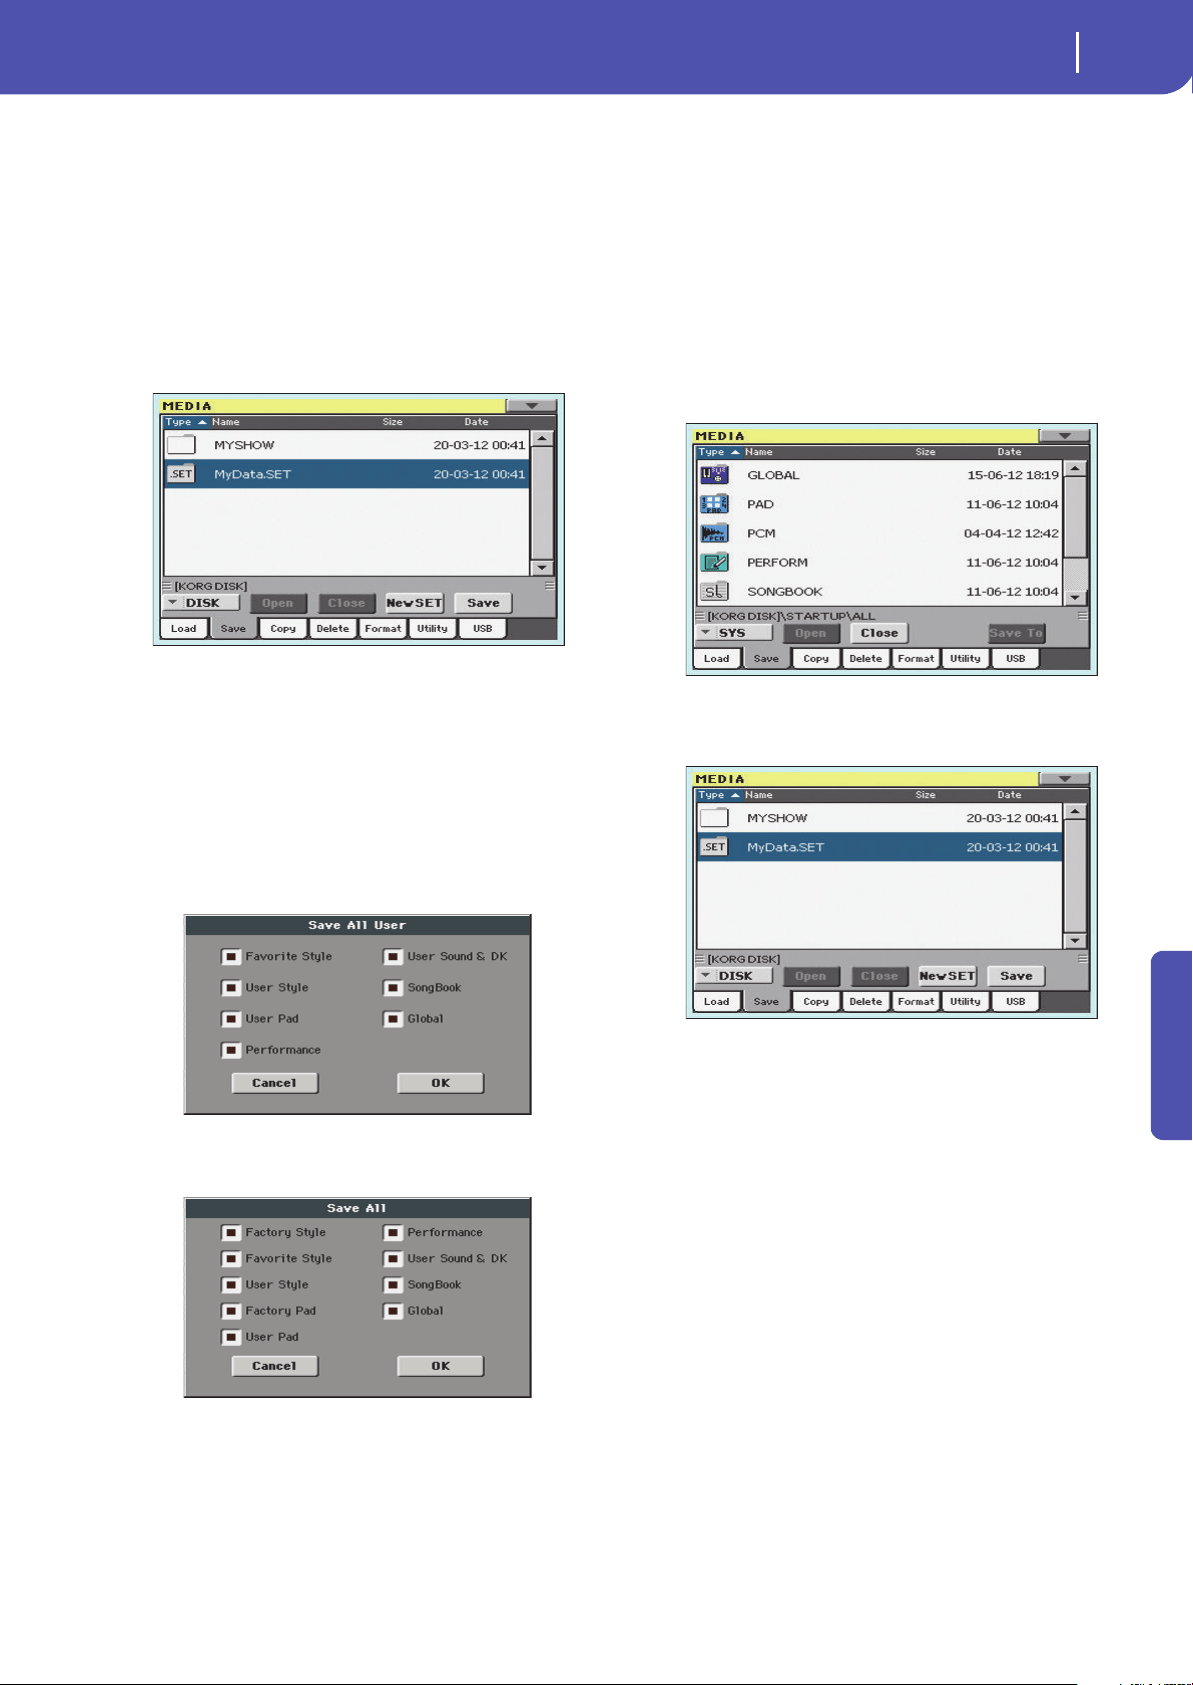
Saving the full memory content
You can save the full memory content with a single operation.
Depending on the status of the “Factory Style and Pad Protect”
parameter, you may or may not see the Factory Style and Pad
banks (see “Factory Style and Pad Protect” on page 154).
1. If saving to an external device, connect the device to the
USB Host port.
2. The full content (“All”) of the internal memory is already
shown. Select it, and touch Save to confirm the selection.
The list of files in the target device is shown.
3. If needed, use the Device pop-up menu to select a different
target device. When the target device is selected, its content
will appear in the display.
4. At this point, you can:
• Touch the New SET button and create a new “.SET” folder
(see “Creating a new “.SET” folder” on page 172), or
• Select an existing “.SET” folder.
5. Touch Save to confirm. A dialog box appears, asking you to
select the type of data to save:
Save All dialog with the Factory Style and
Pad Protect option turned on
Save All dialog with the Factory Style and
Pad Protect option turned off
In the dialog box above, check all data type you wish to save
to a storage device.
6. Touch OK to confirm, or Cancel to abort.
Wa r ni n g: After confirming, all data of the selected type in the
target folder is deleted.
Saving all data of a specified type
In addition to the above, you can save all data of a specified type
by selecting the corresponding folder.
1. If saving to an external device, connect the device to the
USB Host port.
2. The full content (“All”) of the internal memory is already
shown. Select it, and touch Open to open it. A list of User
data types appear (each type is a separate folder).
3. Select the folder containing the type of data you wish to
save, and touch Save To to confirm the selection. The list of
files of the target device is shown.
4. If needed, use the Device pop-up menu to select a different
target device. When the target device is selected, its content
will appear in the display.
5. At this point, you can:
• Touch the New SET button and create a new “.SET” folder
(see “Creating a new “.SET” folder” on page 172), or
• Select an existing “.SET” folder, and touch Save to con-
firm.
War ning: After confirming, all data of the selected type in the
target folder is deleted.
Loading ...
Loading ...
Loading ...