Loading ...
Loading ...
Loading ...
28
Installation
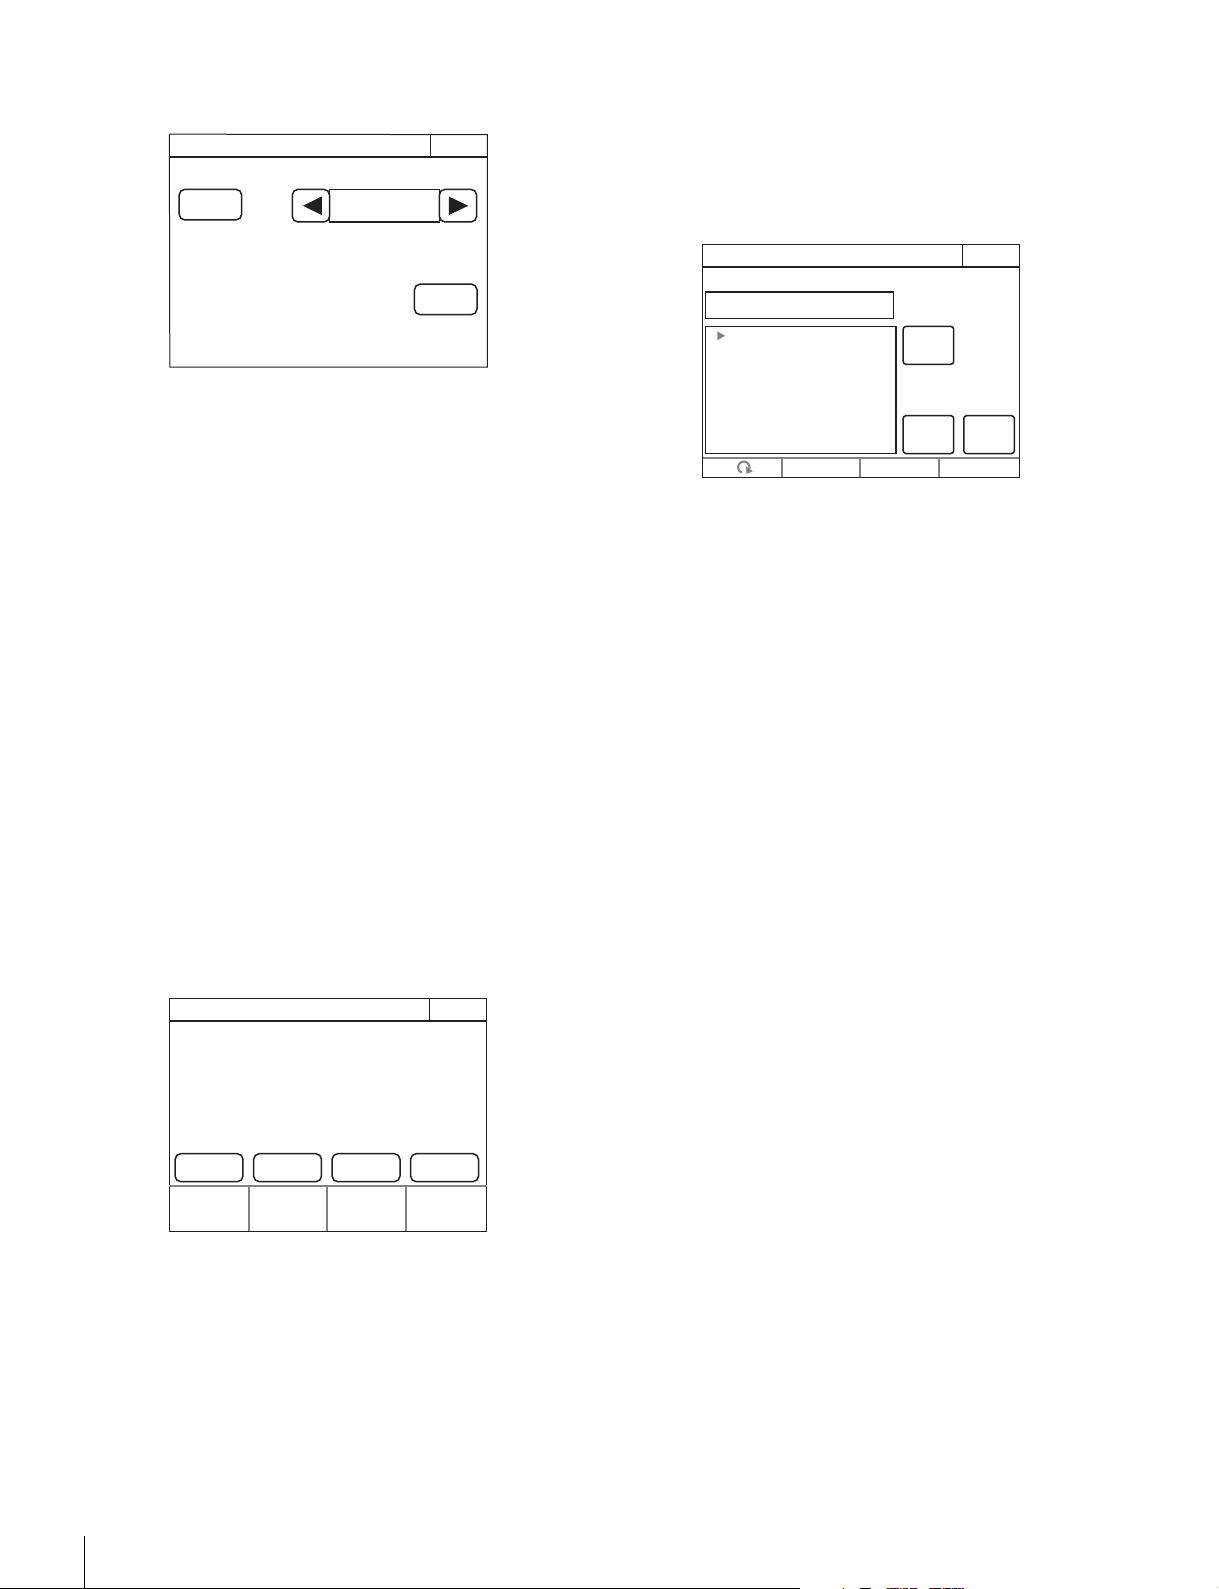
5 Press [Status Customize].
The Status Customize screen appears.
This screen contains the status display screen ON/OFF
button, the status screen type select button, and the menu
customize button of the adjustment knobs (according to
display type). (The
[Knob Customize] button may not
appear, depending on the selected status screen type.)
[Status Display OFF] : When pressed, the button is lit
and the status display is disabled. A blank screen
appears if no MENU buttons on the operation panel
are lit.
[Menu Type] : Selects the status screen type with the
right and left arrow buttons.
[Knob Customize] : Assigns the adjustment function to
the adjustment knobs, according to the selected status
screen type. Press this button to open the function
assignment menu.
6 Press the [Knob Customize] button when using the
adjustment button.
The Knob Customize screen appears.
The Select Knob buttons that set the usable adjustment
knobs in the selected status screen type, and the
functions currently assigned to the adjustment knobs are
displayed.
[Select Knob $Knob 1 - Knob 4%] : Assigns the
adjustment knob to set, and opens the setting menu.
(The displayed Select Knob buttons change according
to the Menu Type selected in step 5.)
7 Press the Select Knob button to set the adjustment
knob.
The Knob Customize screen for setting the assigned
adjustment knob appears.
The Knob Customize screen displays the function
currently assigned to the selected adjustment knob. A list
of assignable functions is also displayed.
8 Turn the adjustment knob on the far left to select the
function assigned to the adjustment knob.
Turn the adjustment knob on the far left to move the cursor
(B) up and down in the list. If you place a cursor over the
function to assign, the function name is displayed in
amber.
9 Press [Enter].
The function assigned to the adjustment knob in the status
screen changes to the function selected in the previous
step. At this time, “*” appears in front of the function name.
10Press [Save].
The confirmation message screen appears.
11Press [Save].
The function assignment of the adjustment knob is saved
to this unit. If you close the menu before saving, the
function assignment of the adjustment knob will not be
reflected.
12When assigning a function to multiple adjustment
knobs, repeat steps 7 to 11.
13To reset function assignments of the adjustment
knobs to their default settings, perform the following
in the Knob Customize screen of each adjustment
knob.
1 Press
[Default Setting].
The confirmation message screen appears.
2 Press
[OK].
Function assignments of the adjustment knobs are
reset to their default settings.
3 Press
[Save].
Status Customize
Exit
Status Display
OFF
Menu Type
Control Value
Only
Engineer Mode
Knob
Customize
Knob Customize
ExitEngineer Mode
Knob 1
No Assign No Assign No Assign No Assign
Knob 2
Knob 3
Select Knob
Knob 4
Knob1 Customize
ExitEngineer Mode
Save
Default
Setting
Enter
NO ASSIGN
NO ASSIGN
Color Temp
White Balance
Master Flare
Detail
SD Detail
Skin Detail
Master White Gain
Gamma
Loading ...
Loading ...
Loading ...