Loading ...
Loading ...
Loading ...
SEWING THE STITCHES
156
e
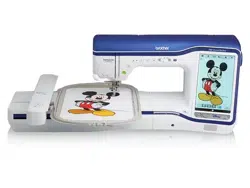
Lower the buttonhole lever so that it is
positioned behind the metal bracket on the
buttonhole foot.
a Metal bracket
f
Gently hold the end of the upper thread and
begin sewing.
→ When sewing is completed, the machine will sew
reinforcement stitches and stop automatically.
■ Bar Tacks on Thick Fabrics
Place a piece of folded fabric or cardboard beside
the fabric being sewn to level the buttonhole foot
and allow for easier and even feeding.
a Presser foot
b Thick paper
c Fabric
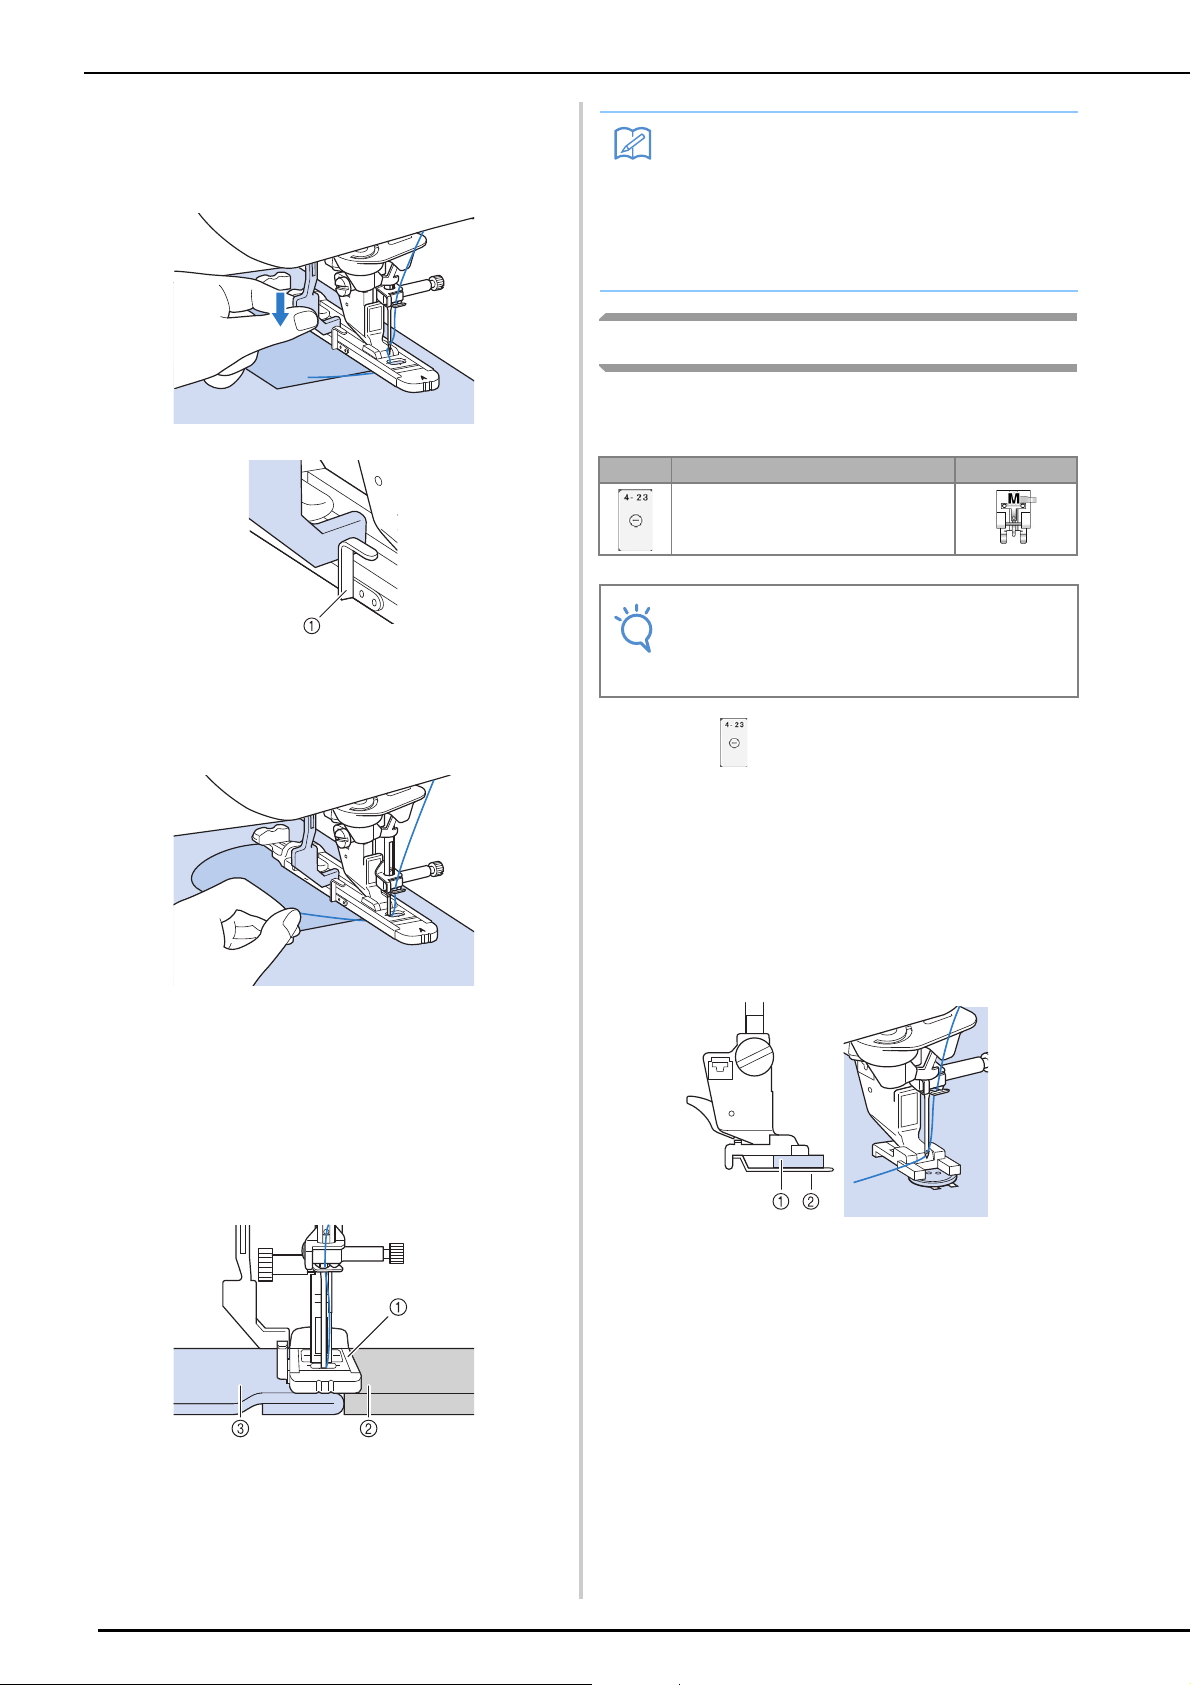
Button Sewing
Buttons with 2 or 4 holes can be attached, using
the machine.
a
Select .
→ The feed dogs are lowered automatically.
b
Raise the presser foot.
c
Attach button sewing foot “M”, slide the
button along the metal plate and into the
presser foot, and lower the presser foot.
a Button
b Metal plate
d
Rotate the handwheel toward you
(counterclockwise) to check that the needle
goes into each hole correctly.
* If the needle does not reach the holes on the left
side, adjust the stitch width.
* To attach the button more securely, repeat the
process.
Memo
• If automatic thread cutting is turned on
before you start sewing, both threads are
automatically cut after the reinforcement
stitches are sewn. If the fabric does not feed
(for example, because it is too thick),
increase the stitch length setting.
Stitch Stitch name Presser foot
Button sewing
Note
• Do not use the automatic thread cutting
function when sewing buttons. Otherwise,
you will lose the thread ends.
Loading ...
Loading ...
Loading ...