Loading ...
Loading ...
Loading ...
82
Contents
Before Using Getting Started
Design Center
Layout & Editing
File Utility
Programma
ble
Stich Creator
Quick Reference
Alphabetic Index
Display Menu
The Display menu lets you modify the appearance of the screen.
■ Grid Setup
Purpose: Allows you to set up the grid, to switch it on or off and to display it with or without
the horizontal and vertical lines.
Shortcut key: No shortcut key for this function
Toolbar: No button for this function
Operation:
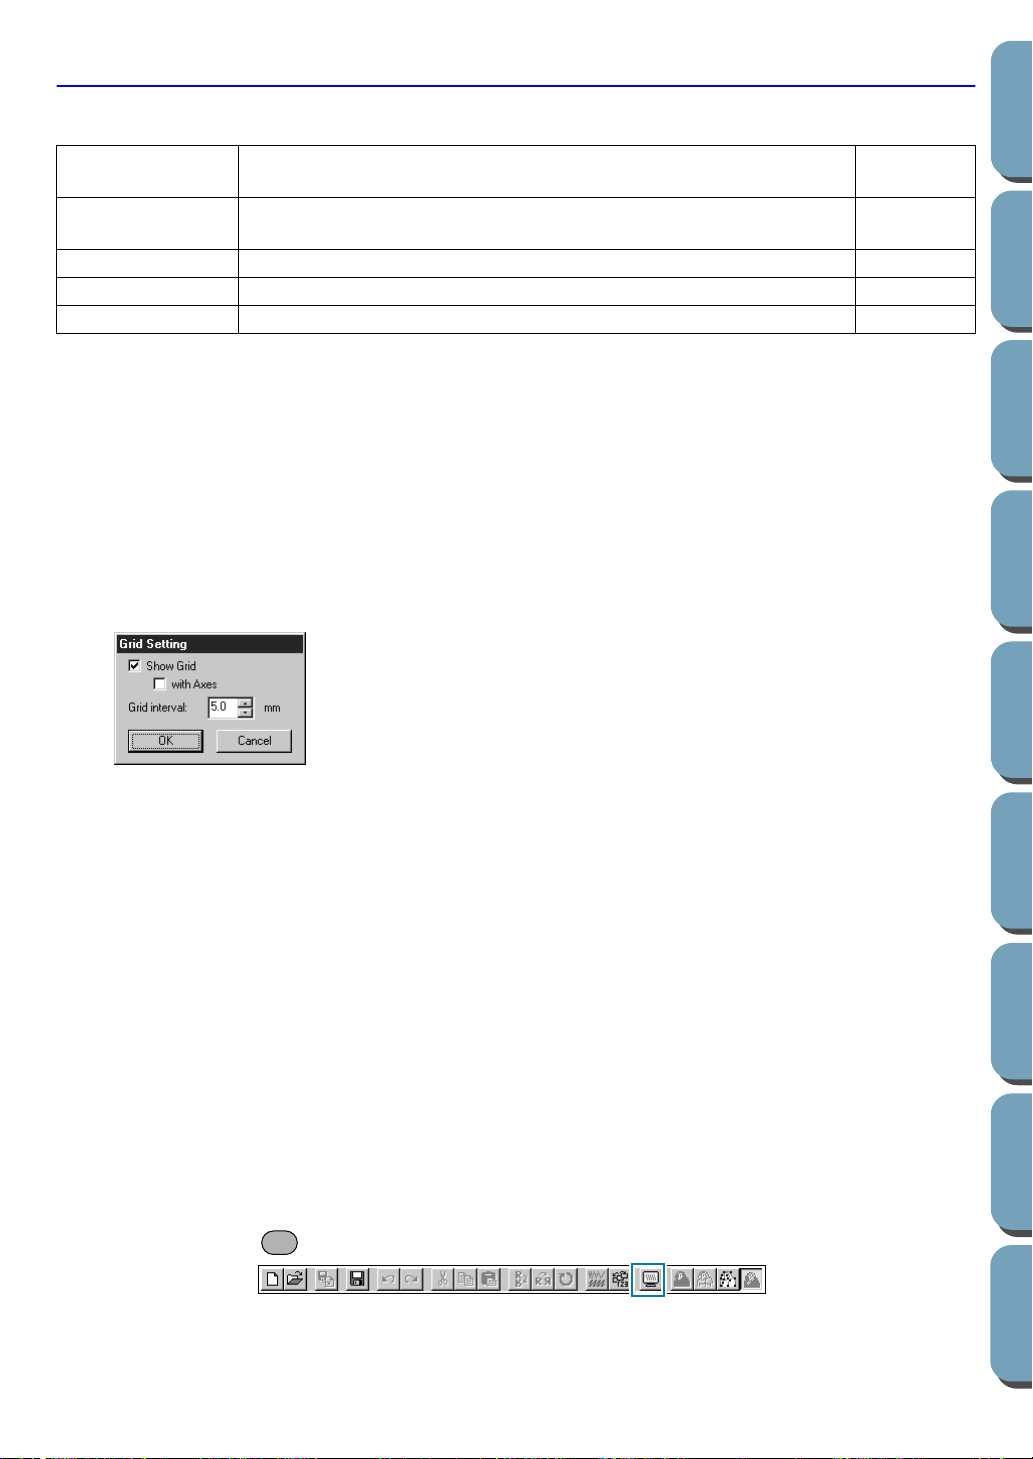
1 Click Display, then Grid Setup (Stage 3 only).
This dialog displays.
2 To set the grid interval, click the up and down arrows or type in the value.
Setting range: 1 ~ 10 mm (0.04 ~ 0.39 in)
Click OK to confirm or Cancel to exit.
3 To switch the grid on or off, click the Show grid check box.
The grid will display when the Show grid check box is checked.
4 To switch the horizontal and vertical lines of the grid on and off, click the with Axes check box.
The lines will display when the with Axes check box is checked.
NOTE:
When the
Show grid
check box is checked and the
with Axes
check box is not checked, only the
intersection points of the grid will be displayed.
See also: “Select System Unit” on page 157
■ Preview
Purpose: Displays a realistic image of how the patterns will look like when embroidered.
Shortcut key:
Toolbar:
Grid Setup
Allows you to set up the grid, to switch it on or off and to display it
with or without the horizontal and vertical lines.
page 82
Preview
Displays a realistic image of how the patterns will look like when
embroidered.
page 82
Refresh Window Updates the screen. page 83
Toolbar Turns the Toolbar on/off. page 83
Status Bar Turns the Status bar on/off. page 83
F9
Loading ...
Loading ...
Loading ...