Loading ...
Loading ...
Loading ...
39
Contents
Before Using Getting Started
Design Center
Layout & Editing
File Utility
Programma
ble
Stich Creator
Quick Reference
Alphabetic Index
Step 13
Changing the Sewing Order of Sun and Rays
Since we have drawn the broken line after drawing the circle, the broken line pattern is in the foreground
of the screen, and the circle is behind. A pattern that is in the foreground of the screen is sewn last. Since
we do not want the embroidery to show the part of our broken line that is inside the circle of the sun, we
are going to reverse the sewing order.
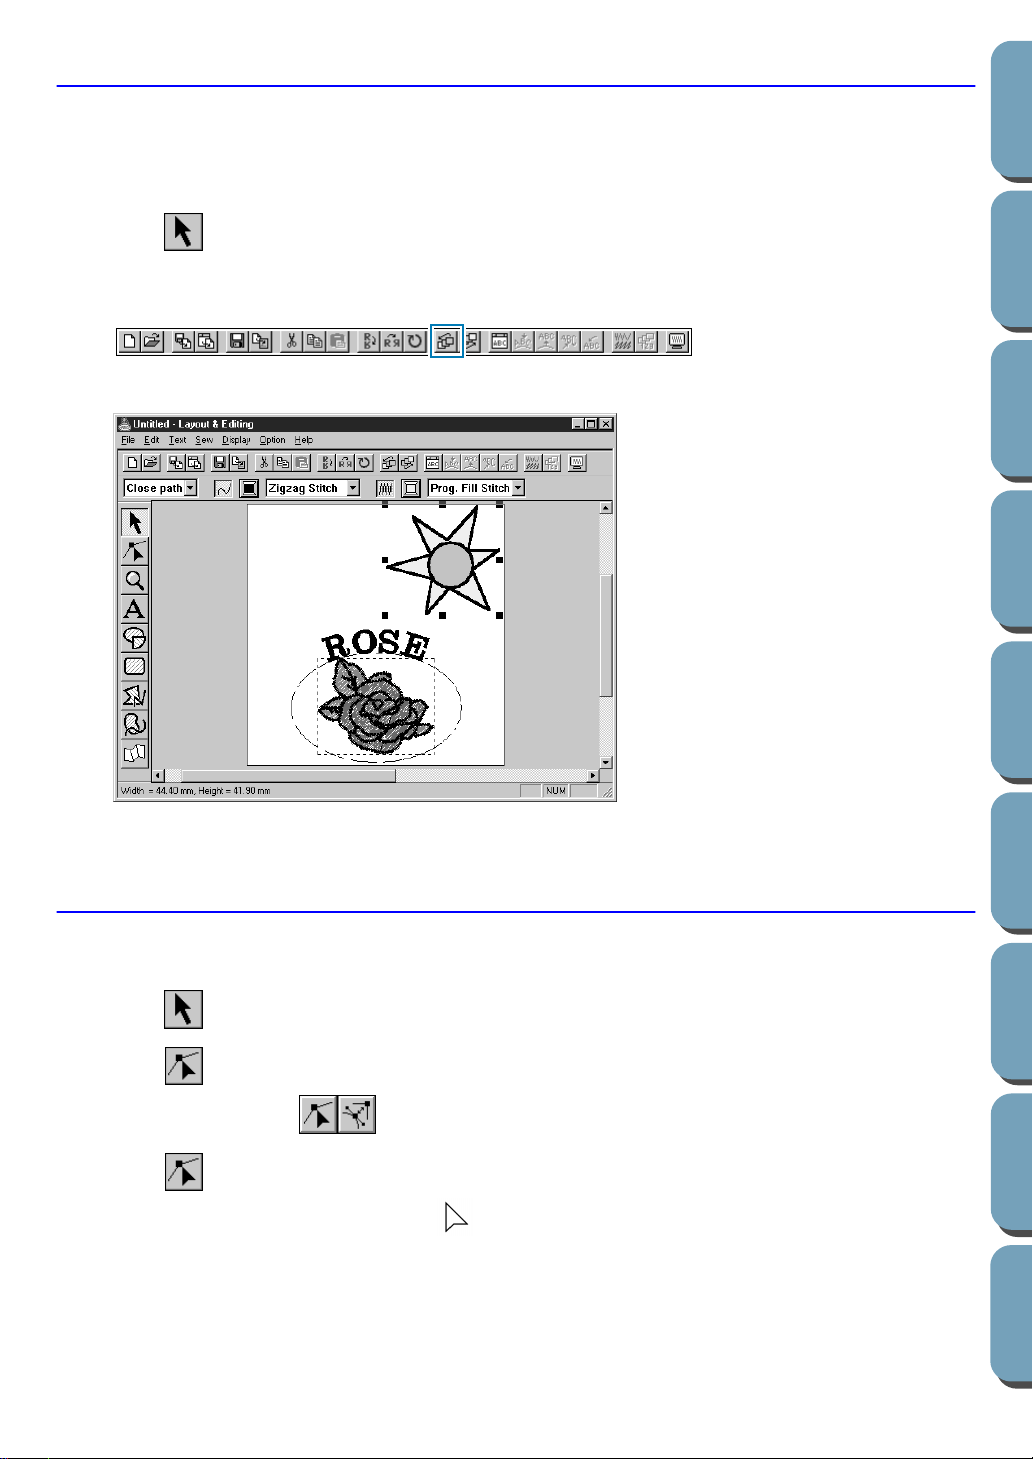
1 Click on the Tool Box, then click on the ray pattern to select it.
2 Click Edit on the menu bar, then click Sew First on the submenu.
You can also click on the Toolbar button shown hereafter.
This will move the ray pattern to the back of the circle.
If necessary, move the circle so that it looks centered relative to the ray pattern.
Step 14
Adjusting the Rays
At this step you might wish to modify slightly the rays. You can do that by moving, deleting and adding
points on the broken line pattern.
1 Click on the Tool Box and select the ray pattern.
2 Click on the Tool Box.
Two buttons appear: .
3 Click .
The shape of the cursor changes to and the existing points of the pattern are marked with
small empty squares.
4 Click the point that you want to move.
The selected point is marked with a small black square.
Loading ...
Loading ...
Loading ...