Loading ...
Loading ...
Loading ...
38
Contents
Before Using Getting Started
Design Center
Layout & Editing
File Utility
Programma
ble
Stich Creator
Quick Reference
Alphabetic Index
Step 12
Adding Broken Lines for Drawing the Sun Rays
Let’s draw a few rays around the sun. There are, of course, many ways to do this. You could, for example,
draw a single straight line for each ray. Here, we are going to use a closed polygonal line (broken line) to
make all the rays in one star-like pattern.
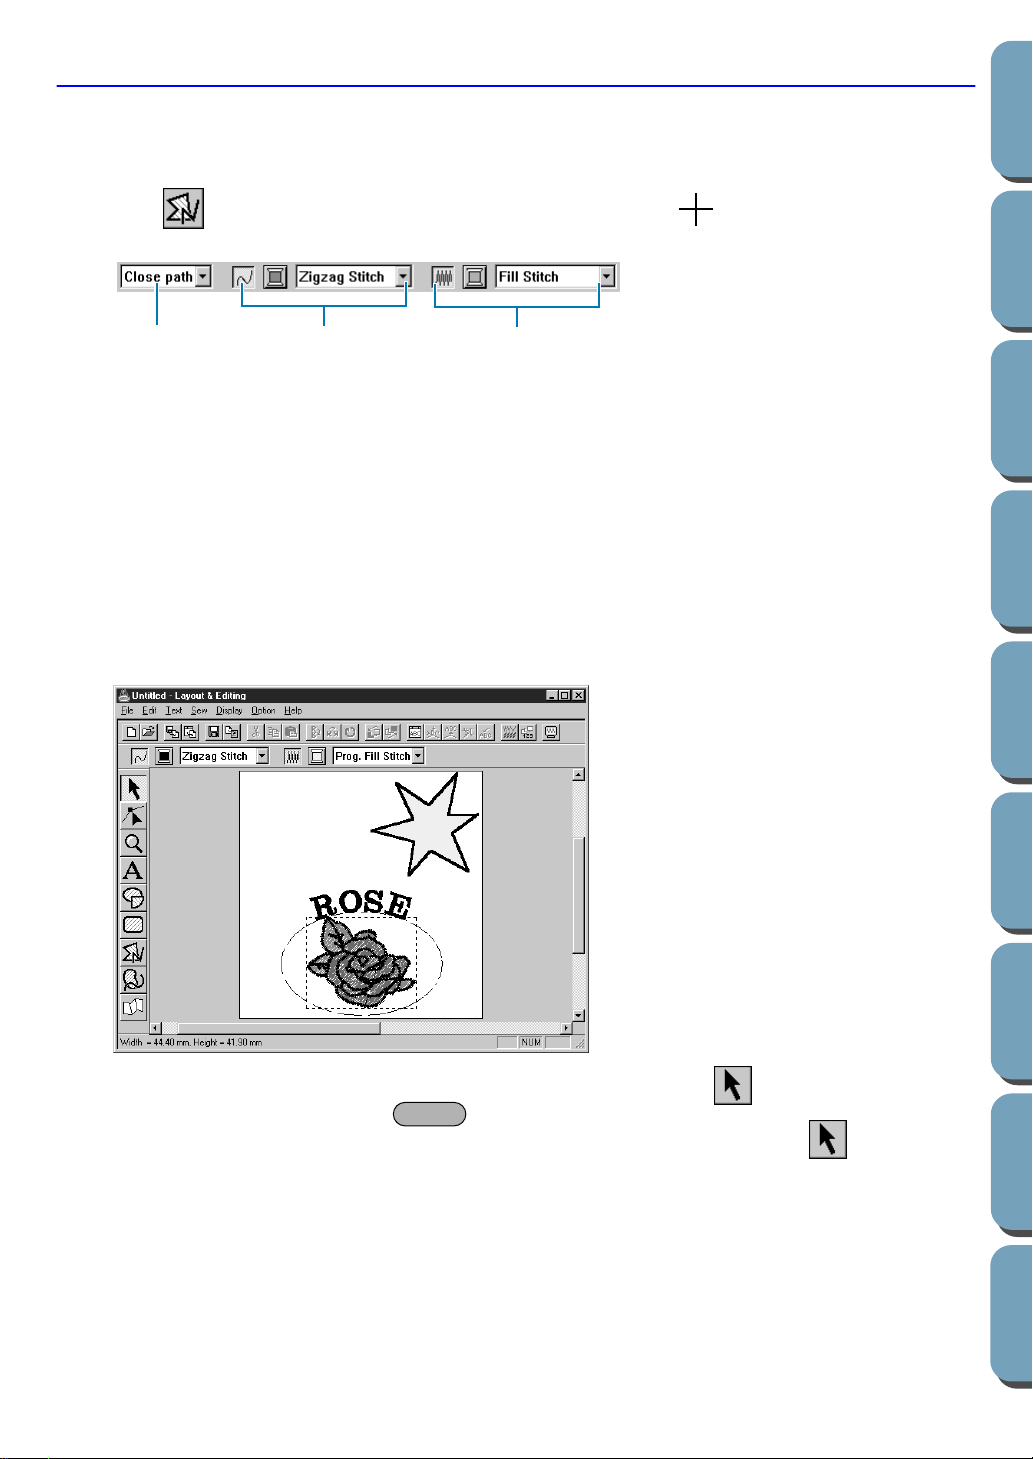
1 Click on the Tool Box. The shape of the cursor changes to and displays together with a
miniature image of the tool button. The Sewing Attributes bar now looks like this:
2 Be sure Close path is selected in the Path shape selector.
When drawing a closed path, the first point and the last point are automatically joined. The pattern
has an outline and a region and you can apply sewing settings to both.
With an open path, the broken line is left open (the first and last point are not automatically joined).
The pattern will not have a region, thus you can only apply sewing settings to the outline.
3 Draw the broken line around the circle using the circle as a guide.
Move the mouse to the starting point and click. Move the mouse to the end point of the first straight
line and click again.
NOTE:
You can always remove the last-entered point by clicking the mouse’s right button.
4 Repeat until you arrive at the last ending point. At that point double-click. As soon as you have
double-clicked, the display will look like the following.
If, for any reason, you want to delete the pattern and draw it again, click on the Tool Box, click on
the pattern to select it, then press or click Edit – Delete on the menu bar.
If you want to change the pattern path shape, color, or stitch after drawing it, click on the Tool
Box, then click on the pattern to select it. Then change the settings at the Sewing Attributes bar or the
Sewing Attribute Setting dialog.
Now that the rays are drawn, you might want to have a quick preview of the programmed stitch pattern at
this stage and come back to this exercise later. To see how to preview an embroidery pattern, refer to
Step 18 “Previewing the Sewing Image”.
Path shape
Line stitch
Region stitch
Delete
Loading ...
Loading ...
Loading ...