Loading ...
Loading ...
Loading ...
60
Contents
Before Using Getting Started
Design Center
Layout & Editing
File Utility
Programma
ble
Stich Creator
Quick Reference
Alphabetic Index
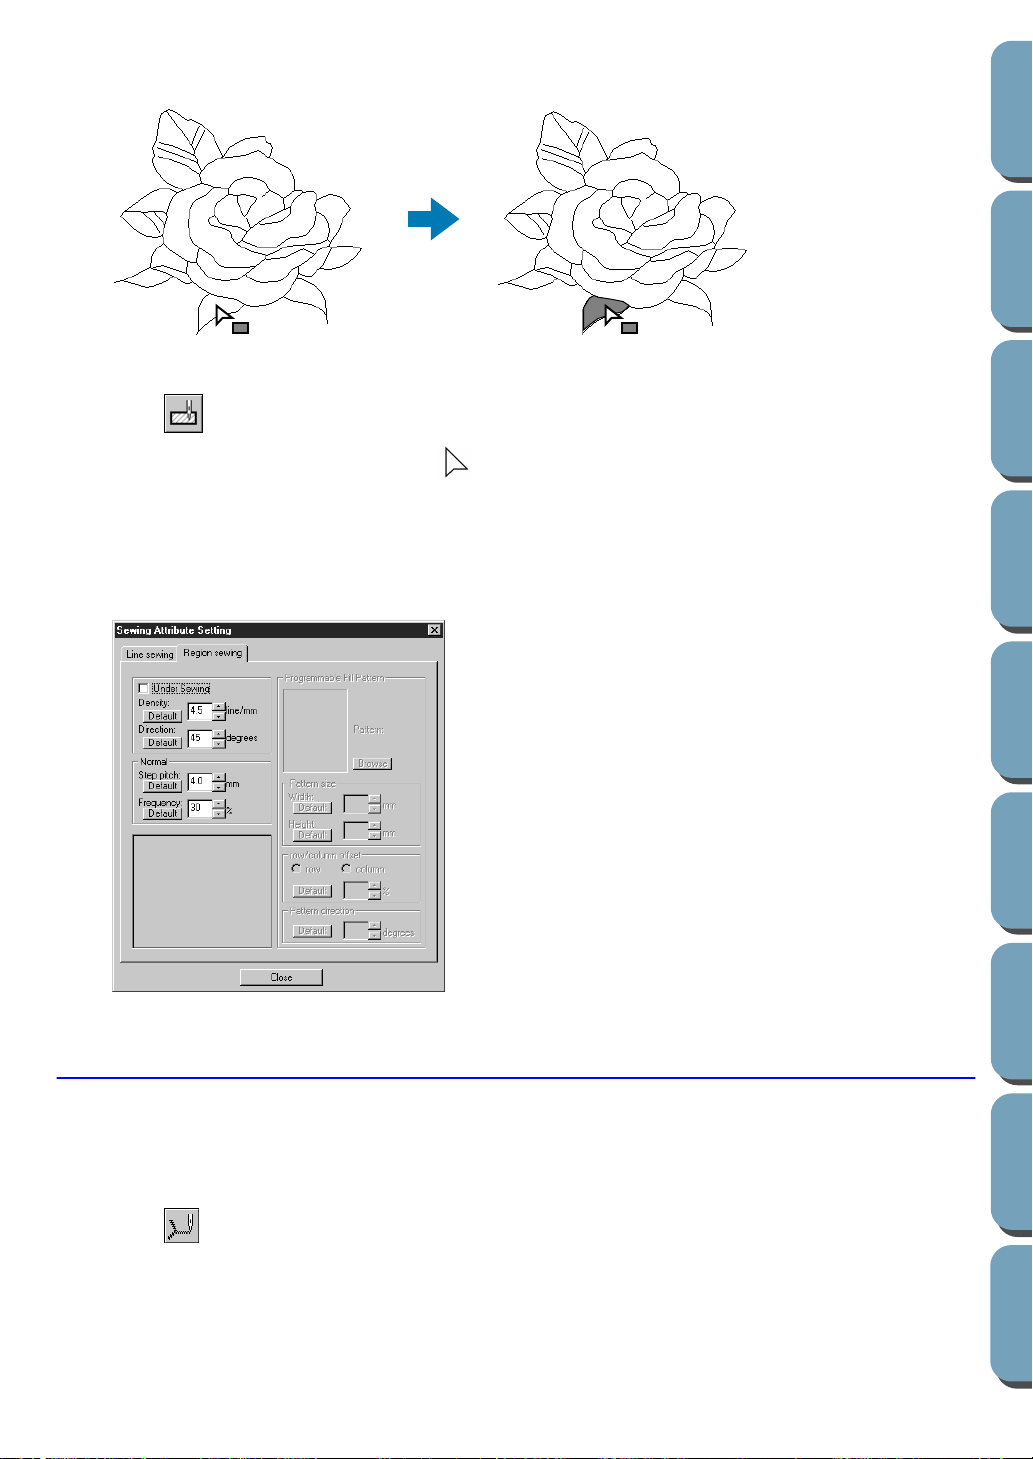
2 Click the enclosed region that you want to set.
The color and stitch selected on the Sewing Attributes bar are applied to the region.
■ Checking the sewing attributes of a region
1 Click on the Tool Box.
The shape of the cursor changes to and is displayed together with a small rectangle.
2 Click the enclosed region using the mouse’s right button.
The Sewing Attributes bar shows the color and stitch for the selection. You can change the color
and stitch at this step (see “Applying the sewing attributes to a region”).
The Sewing Attribute Setting dialog for the selected stitch displays.
Line (all) Setting Mode
In this mode, you can apply the current sewing attributes to the outline of patterns. You can also change
the sewing attributes applied to outlines.
■ Applying the sewing attributes to an outline
1
Click on the Tool Box.
◆ If necessary, change the settings.
See “Sewing Attributes” on page 77.
•
To restore the default value of a set-
ting after changing it, click the
Default
button at the left of that setting.
◆ To apply the new settings to the
region, click each region you want to
apply those settings to using the left
button.
◆ Click Close to remove the dialog from
the screen.
Loading ...
Loading ...
Loading ...