Loading ...
Loading ...
Loading ...
37
Contents
Before Using Getting Started
Design Center
Layout & Editing
File Utility
Programma
ble
Stich Creator
Quick Reference
Alphabetic Index
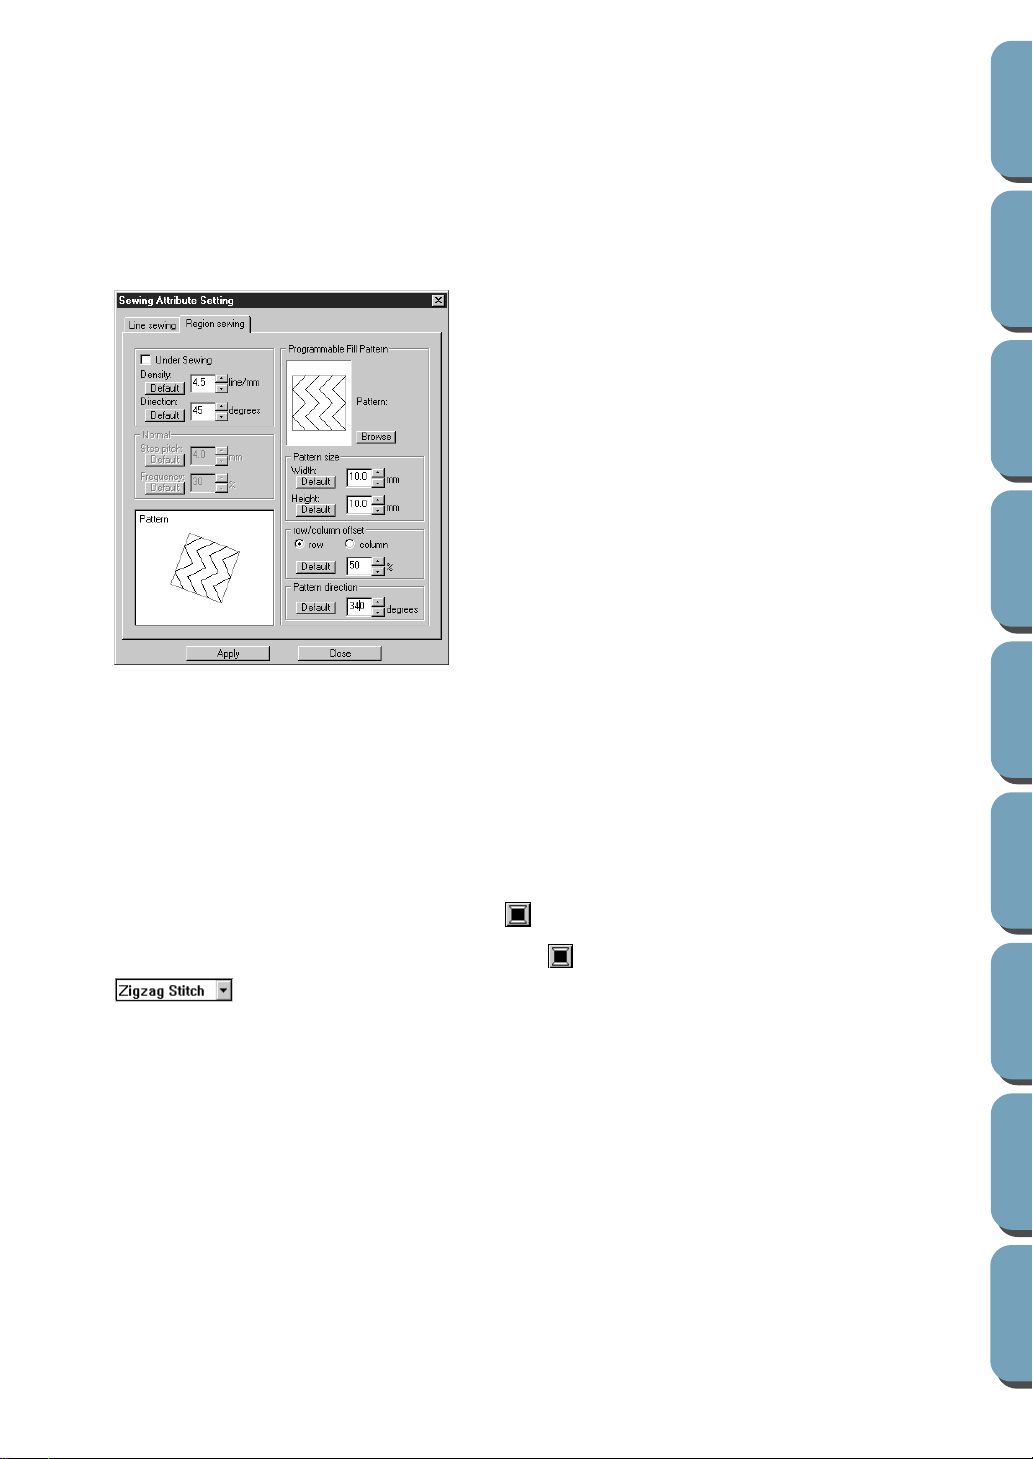
4 Change the row offset. Make sure the row button is selected, then set a row offset of 50 % by click-
ing and holding the mouse button down on either arrow or by typing the value directly in the edit
box window.
NOTE:
You can only choose to change either the row or the column offset for a given pattern. You cannot
select both for the same stitch pattern.
5 Change the direction of the pattern. Rotate the pattern to the right by clicking on the “down” arrow
until a value of 340 degrees is selected. The Sewing Attribute Setting dialog will look like this:
•
For more information on the different settings of a programmed stitch, see “Sewing Attribute
Setting” on page 144.
6 Click Apply.
The stitch and its settings are set. Until they are changed again, those sewing settings, just like
any other, will be applied to every new region that you draw.
7 Finish setting the remaining sewing attributes for the ray pattern that you will create in the following
step.
Select a region color using the Region color button.
8 Select a line color and stitch using the Line color button and the Line sew type selector
. (You can also set the characteristics of the pitch in the Line sewing tab of the Sew-
ing Attribute Setting
dialog.)
Loading ...
Loading ...
Loading ...