Loading ...
Loading ...
Loading ...
130
Contents
Before Using Getting Started
Design Center
Layout & Editing
File Utility
Programma
ble
Stich Creator
Quick Reference
Alphabetic Index
Zoom Out button becomes active. Click the Zoom Out button or the image to reduce its size again.
One of the zooming function is always active.
3 Click Next Page to display page 2 containing the sewing information (not available if Reduced Size
was selected in the Print Setup dialog).
This button becomes inactive and the Prev Page button becomes active.
4 Click Prev Page to go back to the display of the embroidery (not available if Reduced Size was
selected in the Print Setup dialog).
This button becomes inactive and the Next Page button becomes active.
5 Click Two Page to display both pages at the same time. The Two Page button is replaced by the One
Page
button.
Click One Page to display one page at a time. The Next Page and Prev Page become inactive.
NOTE:
If you need to view an image in detail, displaying only one page at a time allows you to enlarge it
more.
If you want to check the sewing information for individual objects composing your embroidery, you
can do that by clicking
Option – Design Property.
See also: “Print Setup” above, “Print” below and “Design Property” on page 156
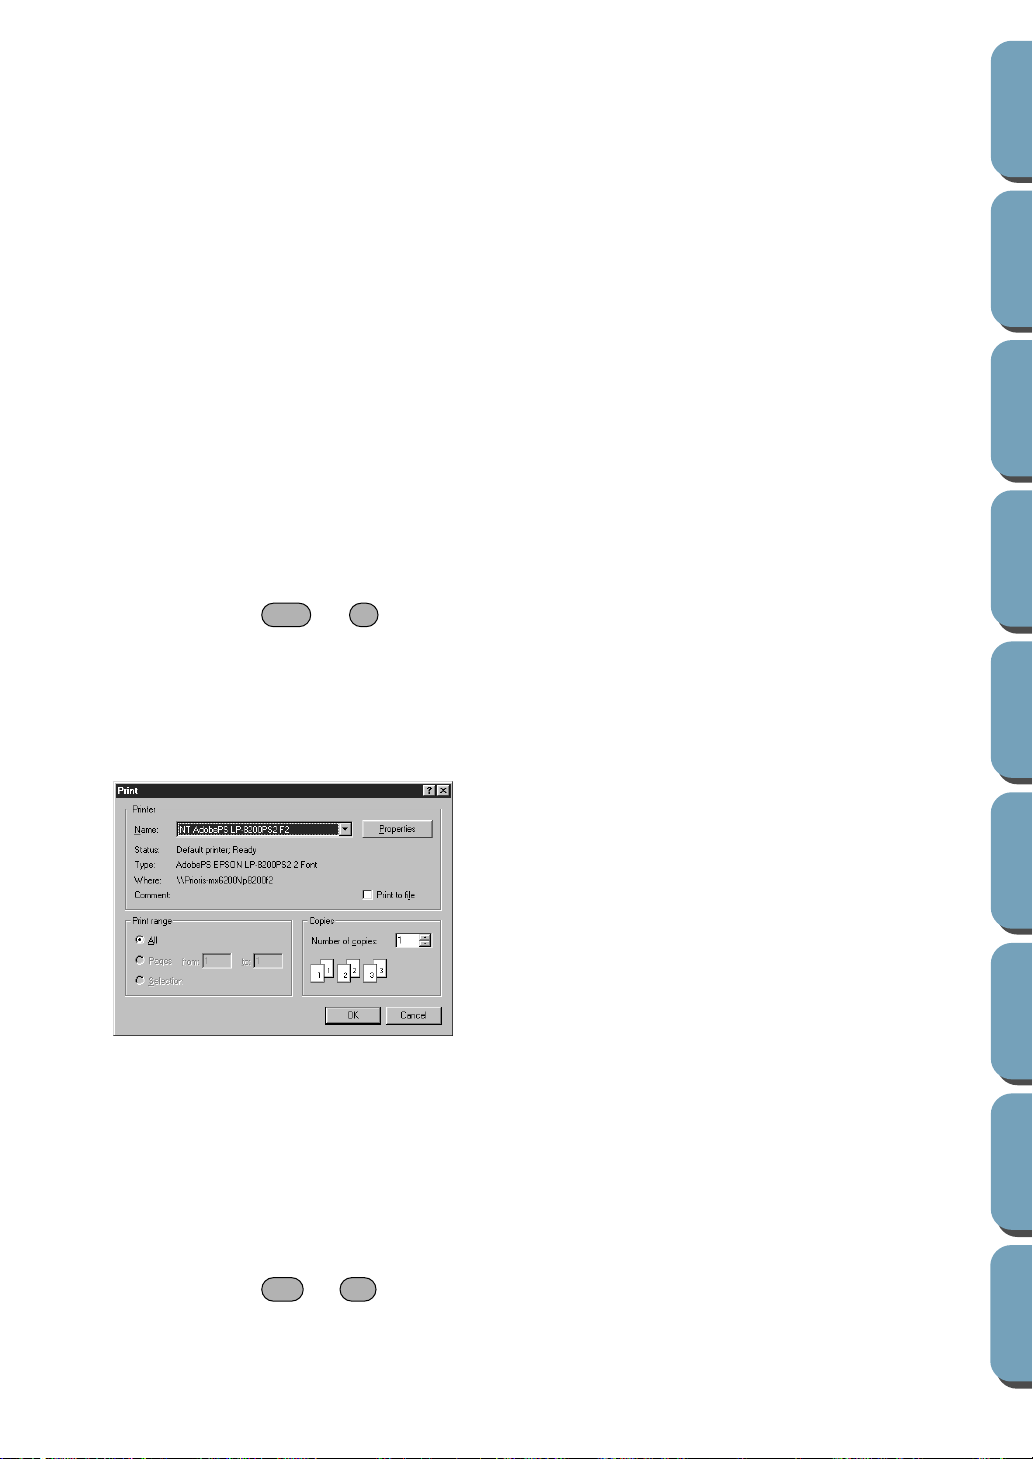
■ Print
Purpose: Prints your Design Page and some sewing information.
Shortcut key: +
Toolbar: No button for this function
Operation:
1 Click File, then Print.
A Print dialog similar to this will display.
2 Follow the instructions in the Windows manuals and in the manuals of your printer for the next
operations.
Depending on the
Print Type setting, one or two pages will be printed.
See also: “Print Setup” and “Print Preview” above
■ Exit
Purpose: Exits the application.
Shortcut key: +
Toolbar: No button for this function
◆ Make the necessary setting.
◆ Click OK to print.
◆ Click Cancel to exit.
◆ Click Properties to change the default
settings of the printer.
Ctrl P
Alt F4
Loading ...
Loading ...
Loading ...