Loading ...
Loading ...
Loading ...
125
Contents
Before Using Getting Started
Design Center
Layout & Editing
File Utility
Programma
ble
Stich Creator
Quick Reference
Alphabetic Index
When you import a file, its contents are added to your current Design Page. You can repeat the
operation and assemble your Design Page from a library of patterns that you have created.
NOTE:
When importing patterns from other makers, make sure to choose a pattern whose size will fit in
the Design Page.
When converted for this application, the colors of patterns imported from
dst
(Tajima),
exp
(Melco)
,
pcs
(Pfaff) and
Hus
(Husqvarna) files may be slightly changed. When this happens, you can
change the color with the
Sew – Change colors of a stitch object
function.
4 When importing some pec files from embroidery cards, the Select Import size dialog will display. If
this happens, select the import size by clicking the appropriate radio button, then click OK to
import the data.
See also: “Save As” on page 127
■ Import – from Design Center
Purpose: Imports an embroidery pattern from Design Center.
Shortcut key:
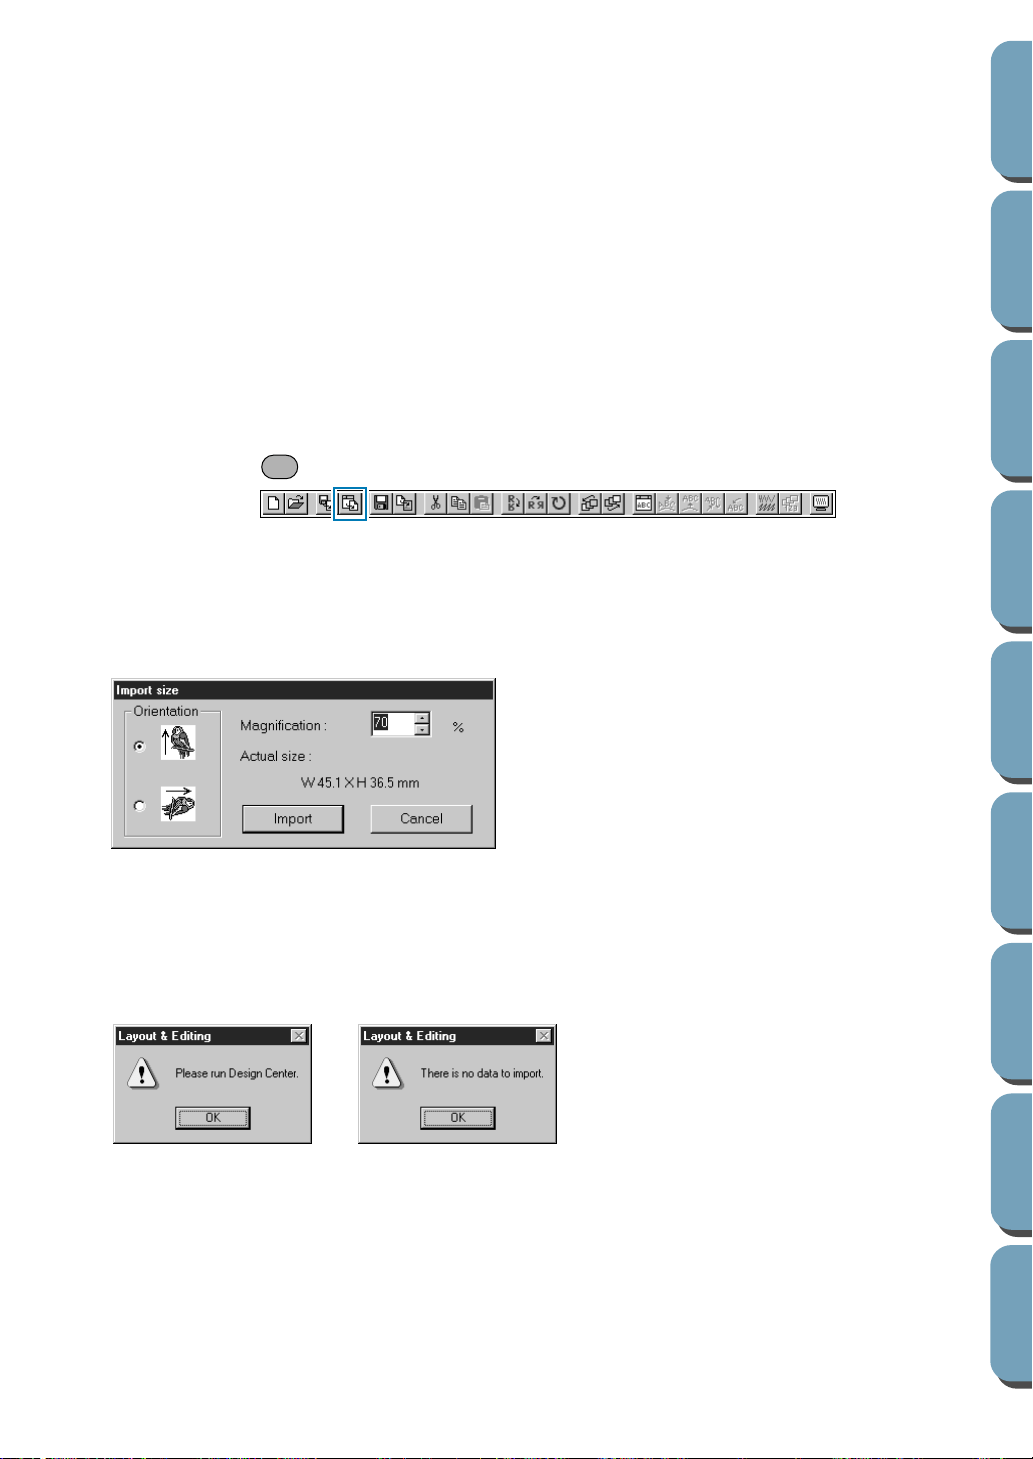
Toolbar:
Operation:
1 Start Design Center and open the file that you want to import into Layout & Editing.
2 Click File, then Import, then from Design Center.
The Import size dialog displays.
3 If you are not running Design Center or if it does not contain a pem file, the first or the second mes-
sage will appear.
See also: “Design Center” on page 49
◆ Select the magnification factor. You can type it
or increase/decrease it using the arrow but-
tons.
•
The application will not allow you to magnify
the embroidery data to a size such that it
would not fit in your Design Page area.
◆ Select the Orientation by clicking the Orienta-
tion
radio button opposite the appropriate icon.
◆ Click Import to import the data.
◆ Click Cancel if you want to exit the function.
◆ Click OK to exit.
F7
Loading ...
Loading ...
Loading ...