Loading ...
Loading ...
Loading ...
41
Contents
Before Using Getting Started
Design Center
Layout & Editing
File Utility
Programma
ble
Stich Creator
Quick Reference
Alphabetic Index
Step 16
Previewing the Sewing Image
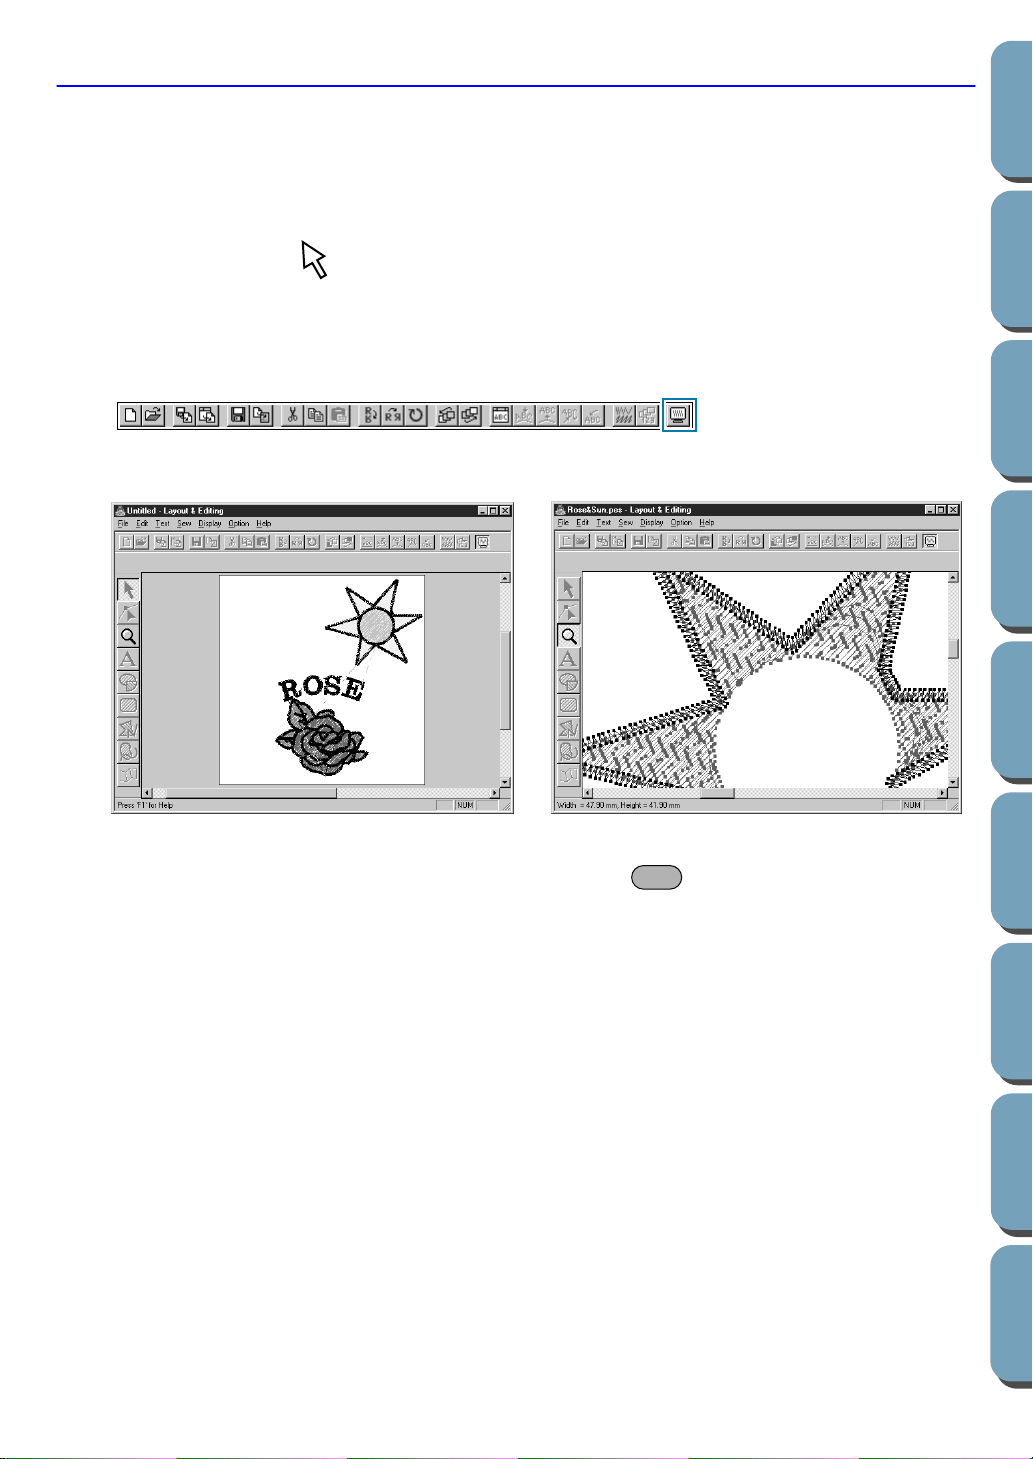
Our embroidery image is now complete. You can preview it to have a more realistic view of how it will look
once sewn. The preview function also shows how sewing will actually proceed. For example, you will be
able to see clearly that the part of the broken line that is behind the circle is not sewn and how the
selected programmed stitch fills the rays.
1 To preview the entire embroidery picture, deselect everything by clicking on the white space with
the selection cursor .
To preview a single pattern, or a group of patterns, select the pattern(s).
To preview a region for which you selected programmed stitch pattern, select it and zoom in on it.
2 Click Display on the menu bar, then click Preview on the submenu.
You can also click on the button of the Toolbar shown below:
The preview display will appear.
3 To return to the normal display, repeat step 2 or press the key.
NOTE:
You cannot do any editing on the preview screen.
Esc
Loading ...
Loading ...
Loading ...