Loading ...
Loading ...
Loading ...
©
2021 DJI All Rights Reserved.
47
DJI TERRA
User Manual
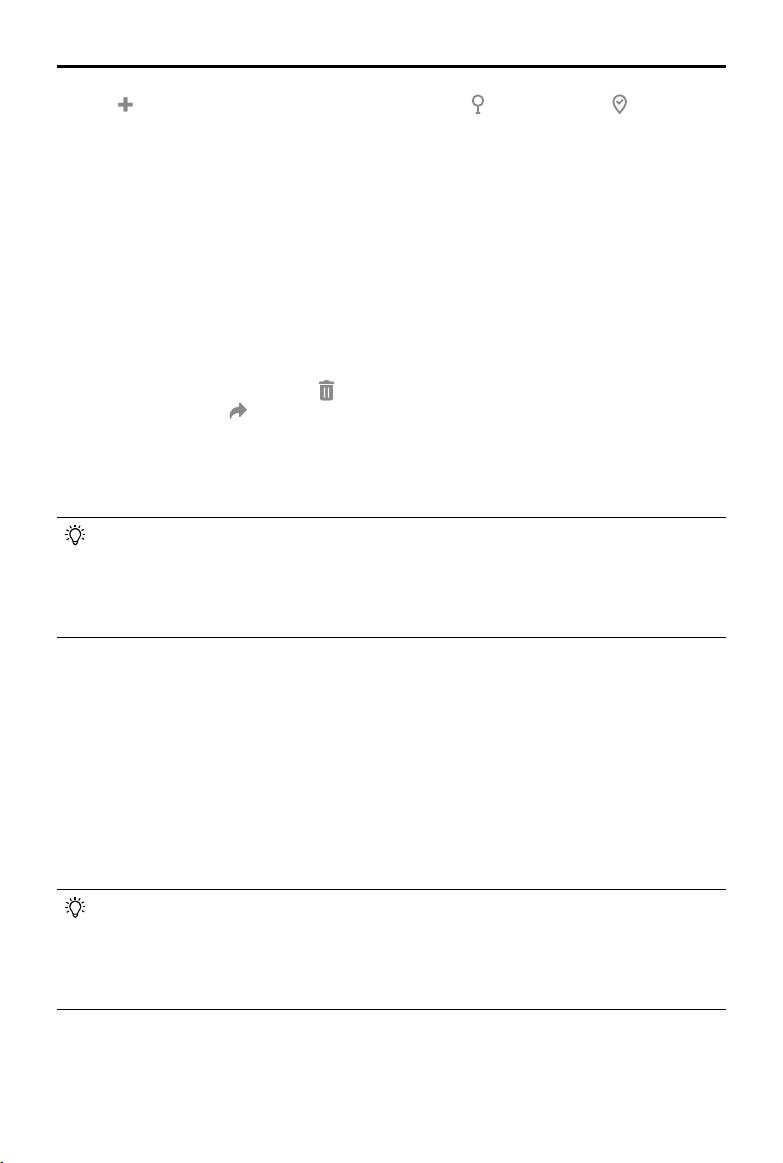
Click to add a GCP. Set the GCP as a control point or a check point , and input its
horizontal accuracy, vertical accuracy, and coordinates in the coordinate system the GCPs are in.
Marking
1. Select a GCP, and click one of the images including the selected GCP in the photo gallery. The
marking view will display on the left of the aerial triangulation view. The blue cross in the marking
view represents the GCP’s projected result on the image.
2. In the marking view, hold the left button on the mouse to drag the image, scroll to zoom in and
out. Click on the image using the yellow cross to mark the GCP’s actual location in the image.
The marked point is displayed in the marking view and photo gallery with a green cross, and
there will be a check mark on the upper right corner of the image in the photo gallery, indicating
that this is an image with a marked point.
3. Delete marked points: Select the images with marked points in the photo gallery, and press the
Delete key on the keyboard or click
on the top of the marking view.
4. Export GCP le: Click
to export a json le including GCPs and marked points, which can be
applied to other missions including the same images with marked points.
5. For the same GCP, the blue cross location will be updated according to the marked point
location after each marking from the third image on. The reprojection error and 3D point error will
also be updated.
To ensure the robustness of the post aerial triangulation optimization, it is recommended to
mark at least four images for each GCP and make sure that the GCPs with marked points
are as evenly distributed as possible in the mapping area. The recommended number of
GCPs is no less than four (the type of the point should be set to GCP). Check points can be
set according to the demand of the mission.
Using Image POS Data in Calculation
If image POS data is imported, users can enable “Constrain with Image POS Data” on the bottom of
the page. The image POS data will be used for georeferencing the RMSE.
Optimization
1. After marking points, click “Optimize” at the bottom of the screen for aerial triangulation
optimization. The aerial triangulation display will be updated when complete.
2. Select one of the GCPs to view the reprojection error and 3D point error after aerial triangulation
optimization in the GCP information section. If the 3D point error is too large, adjust the marked
points and repeat optimization until the error meets your requirements.
Aerial triangulation optimization can be done repeatedly. Remember to click “Optimize”
to update the aerial triangulation result once you adjust the marked points, change the
coordinate system, and edit the GCPs. If optimization is not run after adjustment, when you
back to the reconstruction page, the reconstruction will be done using the previous aerial
triangulation result.
Loading ...
Loading ...
Loading ...