Loading ...
Loading ...
Loading ...
Shooting
2
45
EN
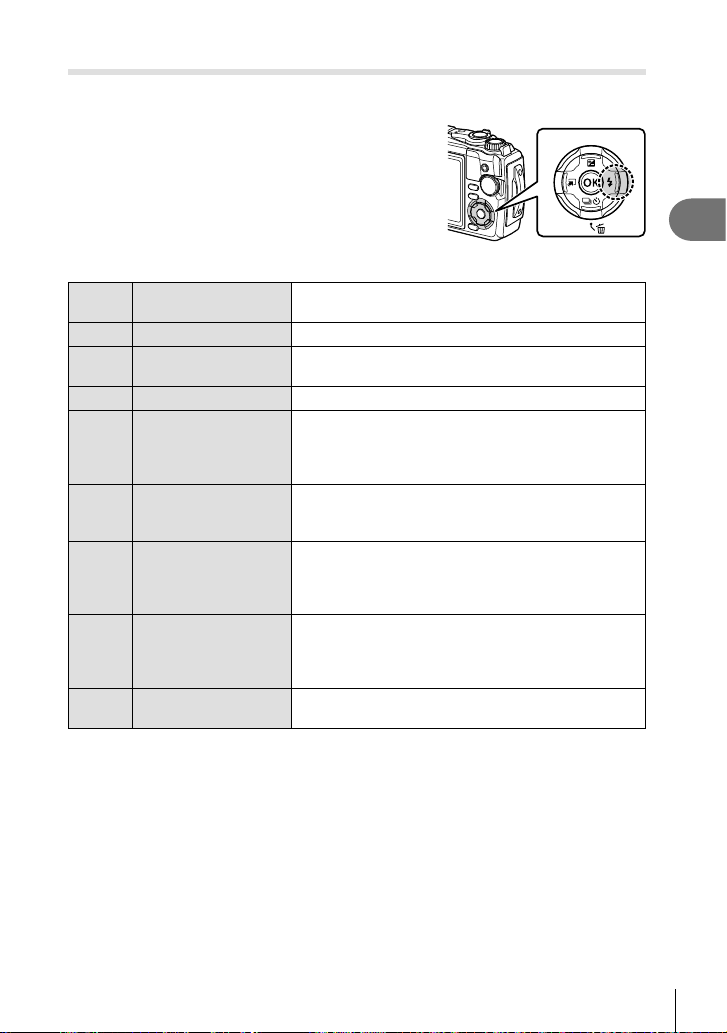
Using a fl ash (Flash photography)
You can use a fl ash when shooting.
1
Press the # (I) button.
2
Highlight a fl ash mode using HI or the control dial and press the Q button.
AUTO Flash Auto
The fl ash fi res automatically in low light or backlight
conditions.
#
Fill In
The fl ash fi res regardless of the light conditions.
0
Redeye
The fl ash fi res so that the red-eye phenomenon is
reduced.
$
Flash Off The fl ash does not fi re.
1
Red-Eye Slow
Slow synchronization
(1st curtain/Red-eye
reduction fl ash)
The slow synchronization is combined with the red-eye
reduction fl ash.
2
Slow
Slow synchronization
(1st curtain)
The fl ash fi res with slow shutter speeds to brighten
dimly-lit backgrounds.
3, 4
etc.
Manual Value
Control fl ash output manually. If you highlight [Manual
Value] and press the INFO button before pressing the
Q button, you can adjust fl ash output using FGHI
or the control dial.
#RC
Remote Control
The dedicated underwater strobe or the Olympus
wireless RC fl ash is used to take pictures. For details,
see “Taking pictures with the Olympus Wireless RC
Flash System” (P. 125).
q
LED On
The LED turns on when a picture is taken. This is
effective for taking close up pictures.
• In [0 (Redeye)], after the pre-fl ashes, it takes about 1 second before the shutter is
released. Do not move the camera until shooting is complete.
• [0 (Redeye)] may not work effectively under some shooting conditions.
• The shutter speed becomes slower in [
2
(Slow)]. Use a tripod and secure the camera.
• Some features may be unavailable depending on the shooting mode and camera settings.
g “List of Settings Available in each Shooting Mode” (P. 136)
Loading ...
Loading ...
Loading ...