Loading ...
Loading ...
Loading ...
Preparation
1
19
EN
3
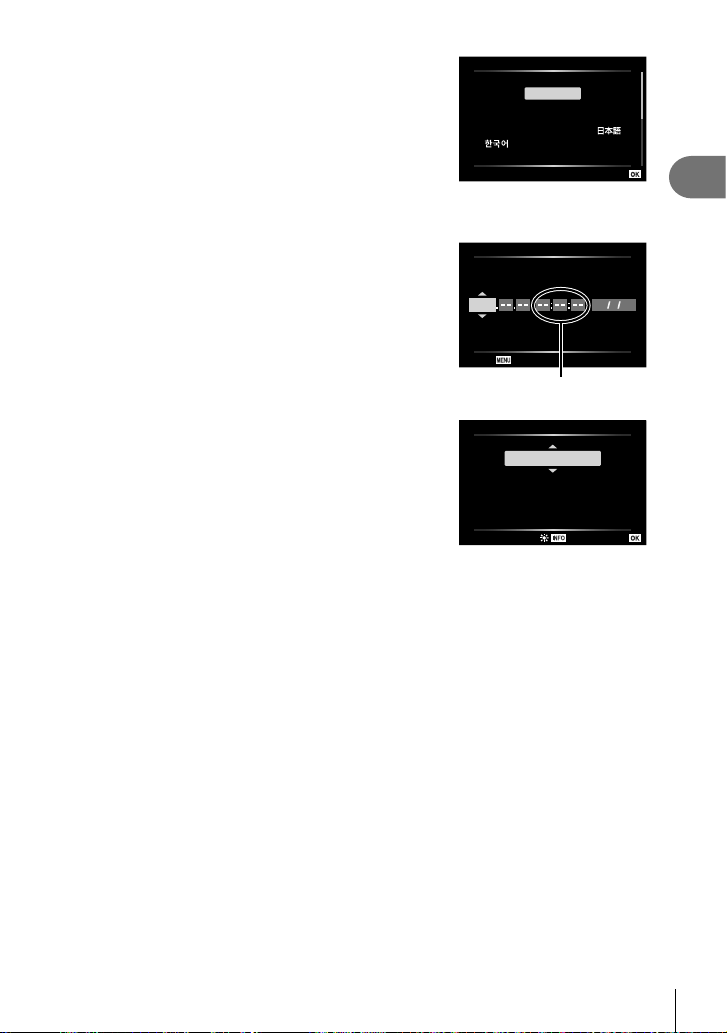
Press the Q button when the desired language
is highlighted.
• If you press the shutter button before pressing the Q
button, the camera will exit to shooting mode and no
language will be selected. You can perform the initial
setup by turning the camera off and then on again
to display the initial setup dialog and repeating the
process from Step 1.
W
Hrvatski
Dansk
Eesti
Deutsch
Indonesia
Norsk
ýHVN\
English
Suomi
ǼȜȜȘȞȚțȐ
Italiano
Latviski
Polski
Ȼɴɥɝɚɪɫɤɢ
Nederlands
Français
0DJ\DU
/LHWXYLǐN
Português(Pt)
Set
• The language can be changed at any time from the e setup menu. g “Selecting a
language (W)” (P. 95)
4
Set the date, time, and date format.
• Use the HI buttons on the arrow pad to highlight
items.
• Edit the highlighted item using the control dial or the
FG buttons on the arrow pad.
• Press the Q button to set the clock.
• The clock can be adjusted at any time from the
e setup menu. g [X Settings] (P. 94)
X
YMD Time
2019
Y/M/D
Cancel
The time is displayed using a
24-hour clock.
5
Highlight a time zone using the control dial or the
FG buttons on the arrow pad and press the Q
button.
• Daylight saving time can be turned on or off using the
INFO button.
Time Zone
Seoul
Tokyo
UTC+09:00 (12:30)
Set
• If the battery is removed from the camera and the camera is left for a while, the date and
time may be reset to the factory default setting.
• You may also need to adjust the frame rate before shooting movies. g [Video Frame
Rate] (P. 87)
Loading ...
Loading ...
Loading ...