Loading ...
Loading ...
Loading ...
92
Adjusting the Screen
If the screen does not respond correctly when you
touch a key (the machine does not perform the
operation or performs a different operation), follow
the steps below to make the proper adjustments.
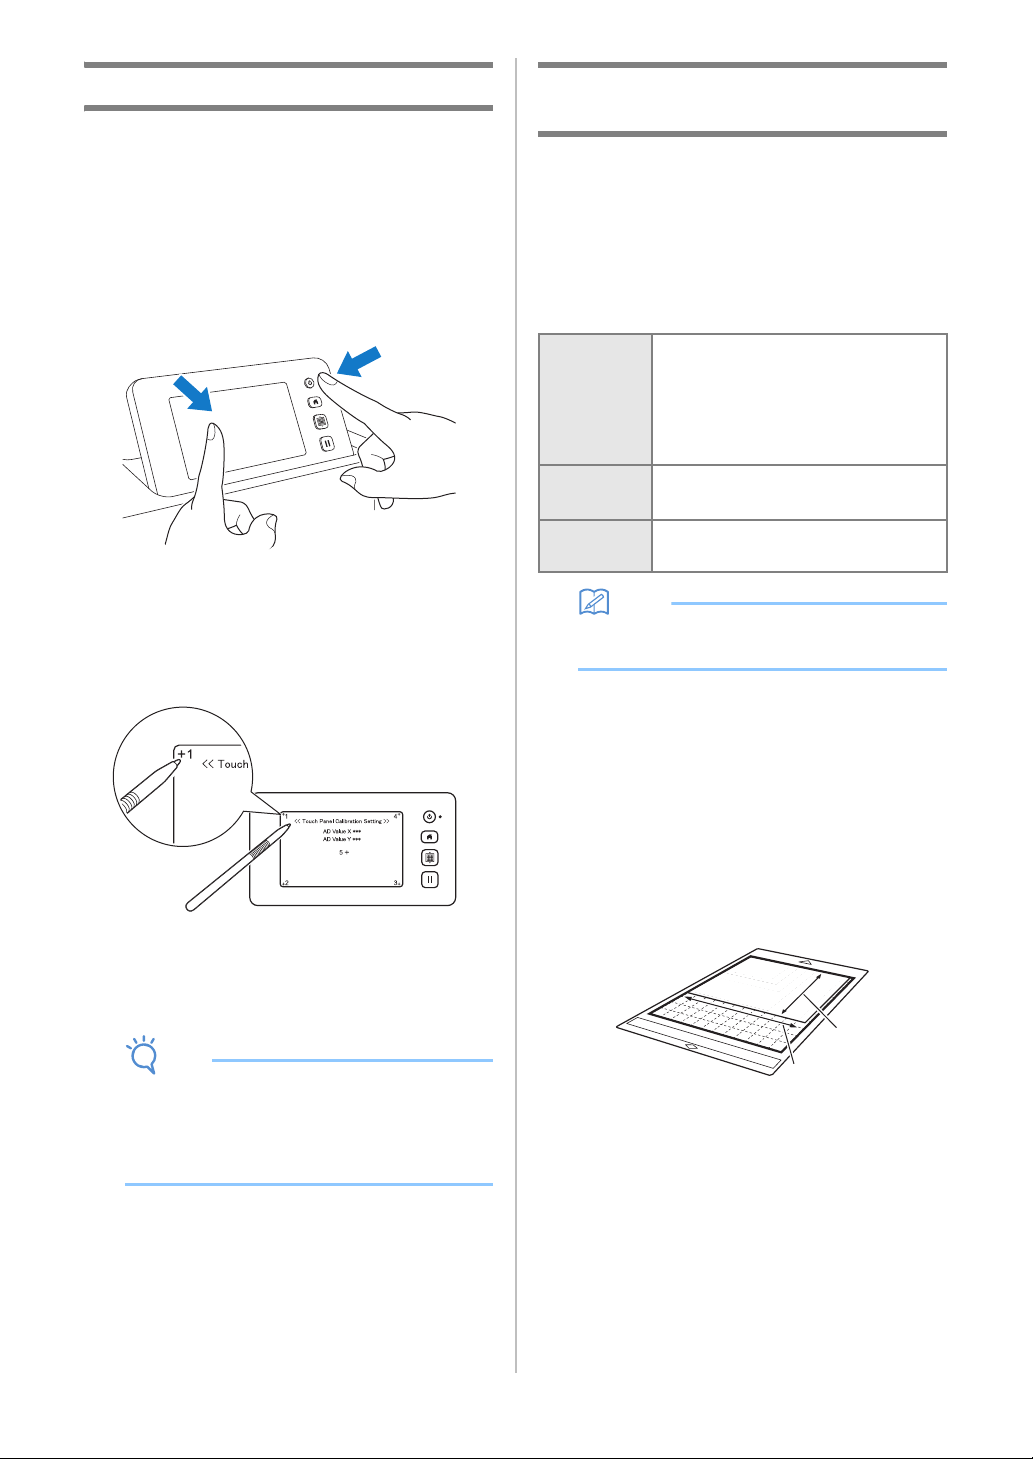
a Holding your finger on the LCD screen, turn
the main power to off and back to on. Keep
your finger on the LCD screen, until Brother
logo disappears.
The touch panel adjustment screen is displayed.
b Using the included touch pen (stylus), lightly
touch the center of each +, in order from 1 to
5. If an error occur when touching +, start
again from number 1.
After completing the touch panel adjustment, the
message “SUCCESS” appears on the screen.
c Turn the main power to off, then turn it back to
on.
Note
• If you finish the screen adjustment and the
screen still does not respond correctly, or if you
cannot do the adjustment, contact the retailer
who sold you this machine or the nearest
authorized service center.
Adjusting the Scanning/Cutting
Position
In “Direct Cut” mode, the cutting position can be
automatically adjusted if it has shifted.
For details on the “Direct Cut” mode, see
“SCANNING FOR CUTTING (Direct Cut)” on
page 69.
■ Materials
Memo
• Be sure to first test attach it to a mat suitable
for the paper.
a Insert the holder into the carriage.
• For details, follow the procedures under “Installing
and Uninstalling the Holder” on page 24.
b Attach the paper to the mat.
• Align the upper-left corner of the paper with the
upper-left corner of the mat.
• For details on attaching the paper, follow the
procedure under “Attaching the Material (Paper)”
on page 16.
a Long side
b Short side
Paper
Thick paper
Color: White
Size: A4 size (210 mm × 297 mm) or
Letter size (216 mm × 279 mm)
Thickness: 0.2 to 0.3 mm
(recommended)
Mat
Mat suitable for the material (See
page 14.)
Cutting
blade
Auto Blade Holder (black)
a
b
Loading ...
Loading ...
Loading ...