Loading ...
Loading ...
Loading ...
85
4
d Touch the “OK” key to exit “Scan to USB”
mode.
e Press in the operation panel to feed out
the mat.
f Remove the USB flash drive from the USB port
(for a USB flash drive) on this machine.
g From a computer, check the saved image data.
Selecting the Area to be Saved
When saving a scanned image to a USB flash drive,
the desired scanning area can be specified.
a Follow steps a through e in “Scan Settings”
of “Tutorial 5 - Scanning to USB” on page 83.
b Select “Custom”, and then touch the “OK” key.
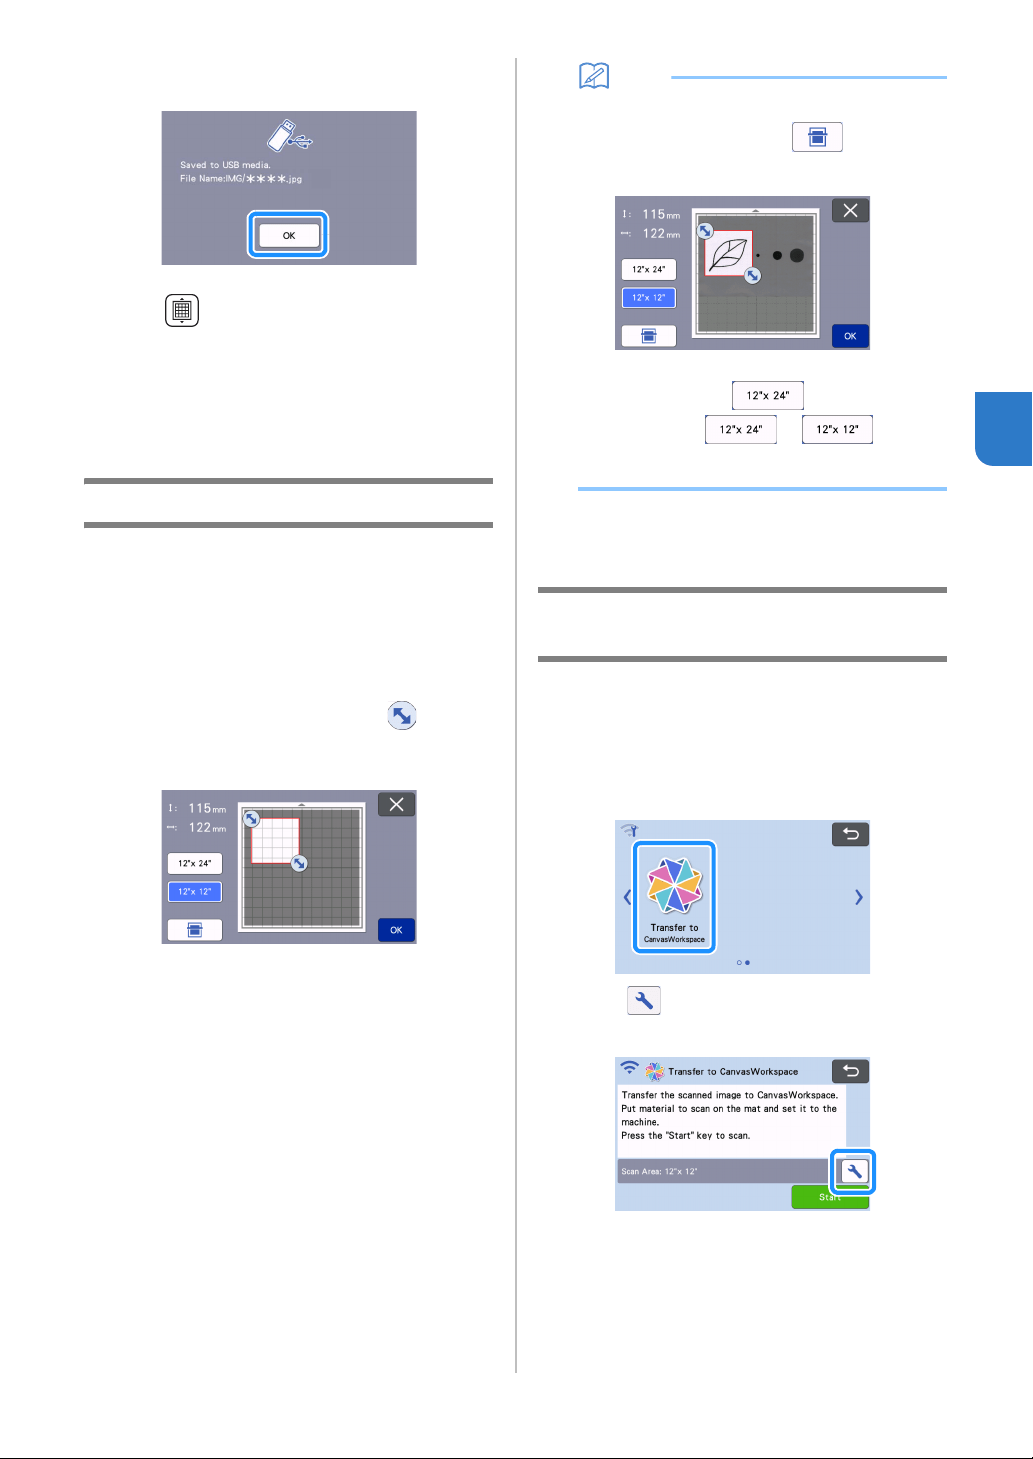
c Using the touch pen (stylus), drag to select
the scanning area, and then touch the “OK”
key.
• The scanning area (white area) can also be dragged
to move it.
Memo
• Load the mat with the original to be scanned
attached, and then touch to display the
mat in the screen. The scanning area can be
selected while viewing the displayed image.
• On models compatible with 24-inch scanning,
the mat size key ( ) appears. (Touch a
mat size key ( or ) to
specify a mat size of 12" × 12” (305 mm ×305
mm) or 12" × 24” (305 mm × 610 mm).)
d Continue from step g in “Scan Settings” of
“Tutorial 5 - Scanning to USB”.
Transferring an Image to
CanvasWorkspace
An image scanned with the machine can be sent to
CanvasWorkspace. This is useful for saving data or
editing the image in CanvasWorkspace.
a Select “Transfer to CanvasWorkspace” in the
scanning mode selection screen.
b Touch to display the scanning settings
screen.
Loading ...
Loading ...
Loading ...