Loading ...
Loading ...
Loading ...
34
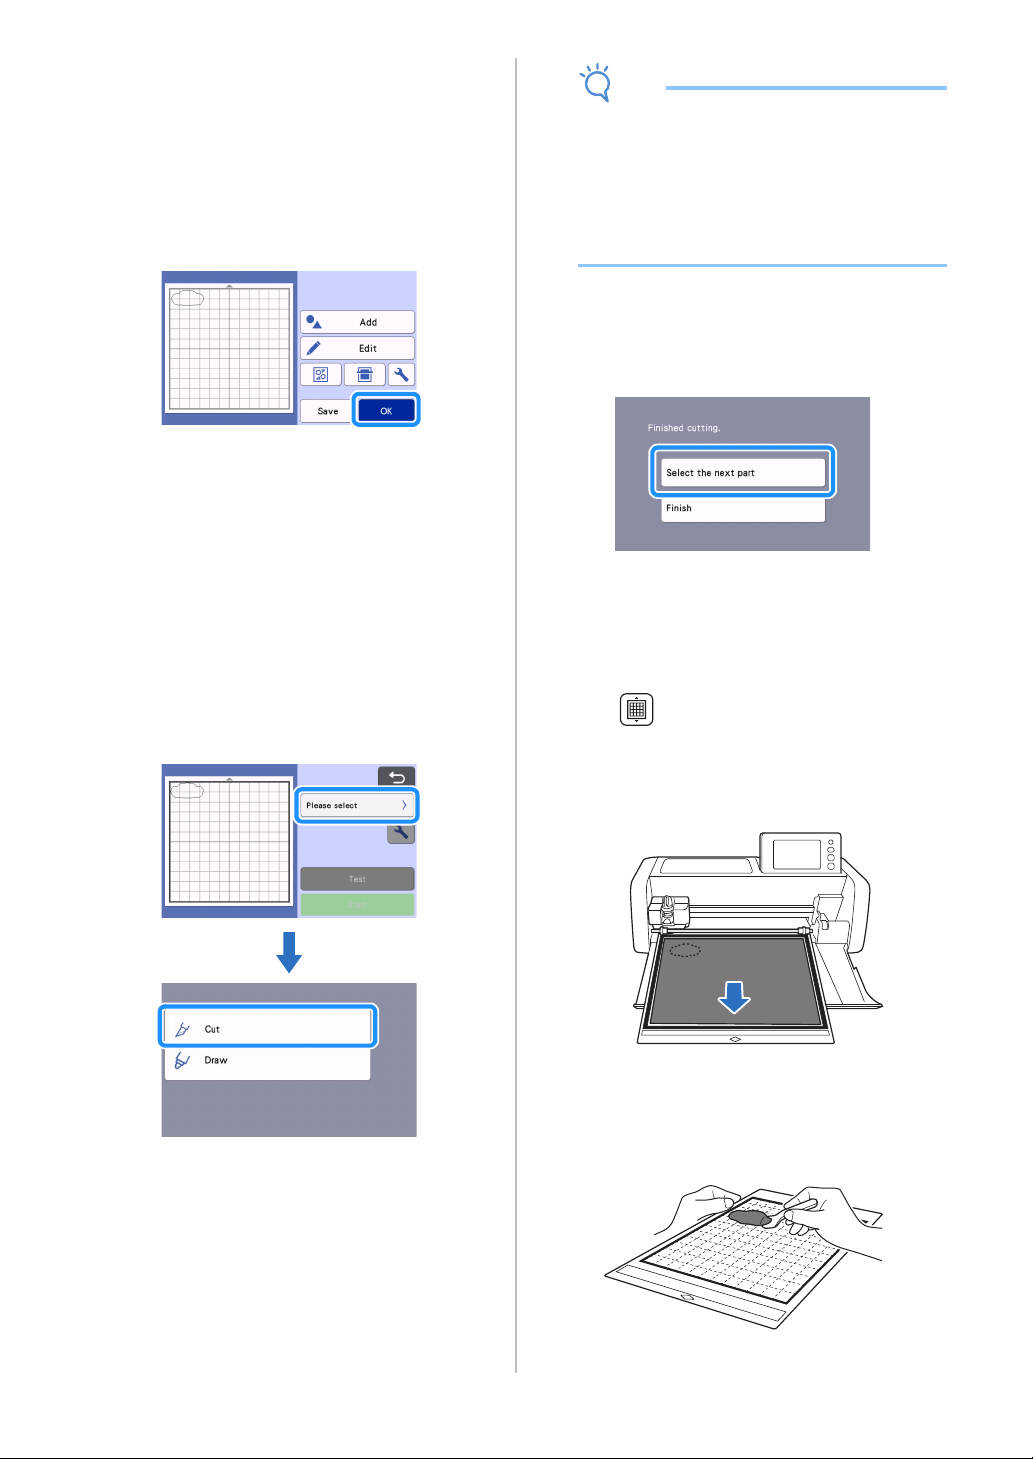
hCheck the pattern piece arrangement using the
mat layout screen.
The pattern piece to be cut out appears in the screen.
After checking the arrangement, touch the “OK” key.
• From this screen, an individual pattern piece can
be edited, moved, deleted or saved. For details on
the editing functions in the mat layout screen, see
“Mat Layout Screen” on page 41.
• Select the “Cut Area” setting appropriate for the
mat being used. (See page 10.)
The preview screen appears.
■ Loading the Mat
Attach the material that the first pattern piece will be cut
out of to the mat, and then feed in the mat from the feed
slot.
When cutting a pattern consisting of multiple pieces in
different colors, edit the pattern piece for each color,
and then change the material to cut out each piece.
• For details on preparing the material and loading
the mat, see “Loading the Mat” on page 26.
■ Cutting the First Pattern
a Select “Cut” in the preview screen.
Note
• Before continuing operation, make sure that
patterns that will be cut out are arranged in the
cutting area corresponding to the size of the
material to be used.
• To make half cuts (kiss cuts), turn on half cut
(kiss cut) in the settings screen before
beginning to cut. For details, see “Half Cut (Kiss
Cut) Settings” on page 28.
b Touch the "Start" key to start cutting.
After the first pattern piece has been cut out, the
following message appears. In order to cut out
the second pattern piece, touch the “Select the
next part” key.
Touching the “Select the next part” key erases all
editing information for the first pattern piece and
displays the pattern piece list screen again.
■ Unloading the Mat
a Press in the operation panel to feed out
the mat.
In order to replace the material with one of a different
color, the material used for the first pattern piece must
be fed out.
b Peel from the mat the pattern piece that was
cut out.
For details on peeling the material from the mat, see
“Unloading the Mat” on page 27.
Loading ...
Loading ...
Loading ...