Loading ...
Loading ...
Loading ...
65
3
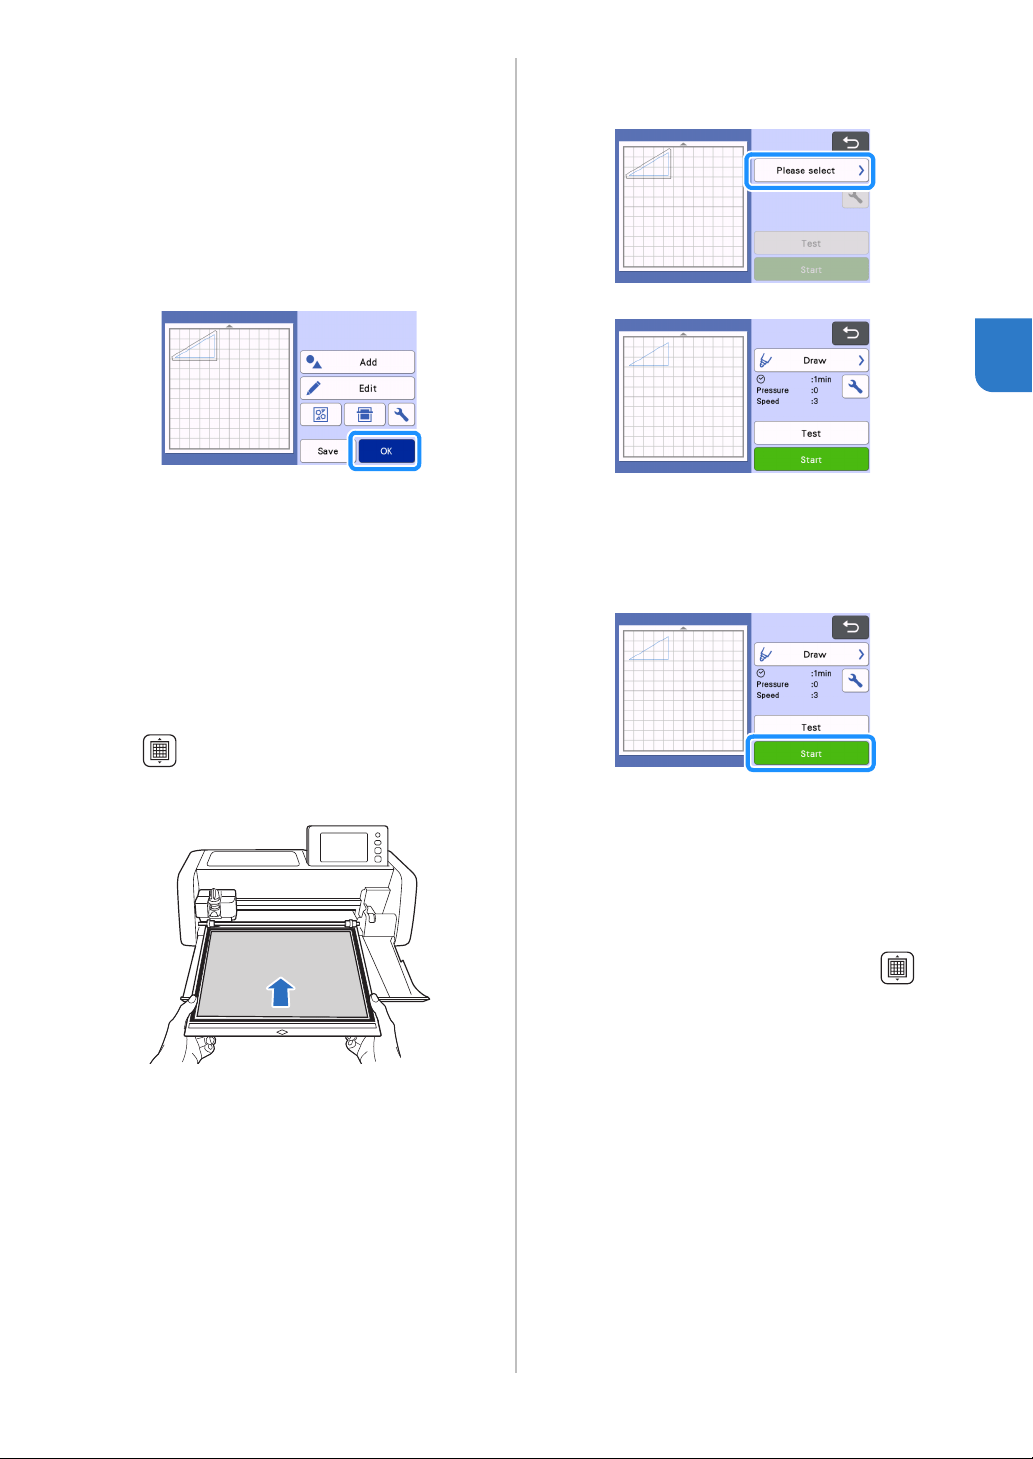
hCheck the pattern arrangement, and then touch
the “OK” key.
When using fabric, the patterns may not be cleanly cut
if they are arranged near the edge of the fabric. In this
case, move patterns so they are at least 10 mm from
the fabric edge (the edge of the cutting/drawing area in
the screen).
• To re-edit the pattern arrangement after checking it,
touch the "Edit" key. For details, see “Mat Layout
Screen” on page 41.
• Select the “Cut Area” setting appropriate for the
mat being used. (See page 10.)
The preview screen appears.
■ Loading the Material
Load the mat with the material for cutting (drawing)
attached.
When drawing the seam allowance on the wrong side of
the fabric, attach the material to the mat with its wrong
side facing up.
• For details on attaching material to the mat, see
“Reference Table of Mat and Material
Combinations” on page 14.
• Lightly insert the mat into the feed slot, and press
in the operation panel.
• For details on inserting the mat, see “Loading the
Mat” on page 26.
■ Drawing
a Select “Draw” in the preview screen.
A preview of the line to be drawn appears.
b Adjust the drawing pressure.
For details on adjusting the drawing pressure, see step
f (page 63) in “Drawing”.
c Touch the "Start" key to start drawing.
When drawing is finished, the message appears
in the screen. After you touch the “OK” key, the
preview screen appears.
• To perform test/trial drawing operations to
adjust the drawing pressure, touch the "Test"
key. For details, see “Test Cut (Trial Cut)” on
page 25.
• To cut around the drawn patterns, keep the mat
inserted into the slot without pressing ,
and continue with the following cutting
procedure.
Loading ...
Loading ...
Loading ...