Loading ...
Loading ...
Loading ...
16
Attaching the material to the mat
After preparing the mat and sheet (when cutting
fabric) appropriate for the material, attach the
material to the mat. For the mat and sheet
appropriate for the material, see “Reference Table of
Mat and Material Combinations” on page 14.
Note
• Do not discard the protective sheet peeled off
the mat; save it for later use.
• In order to maintain the adhesive strength,
attach the protective sheet to the adhesive side
of the mat after use.
• When the mat is not being used, clean the
adhesive side and affix the protective sheet
before storing it. For details, see “Cleaning the
Mat” on page 89.
■ Paper
a Mat suitable for the material
Attaching the Material (Paper)
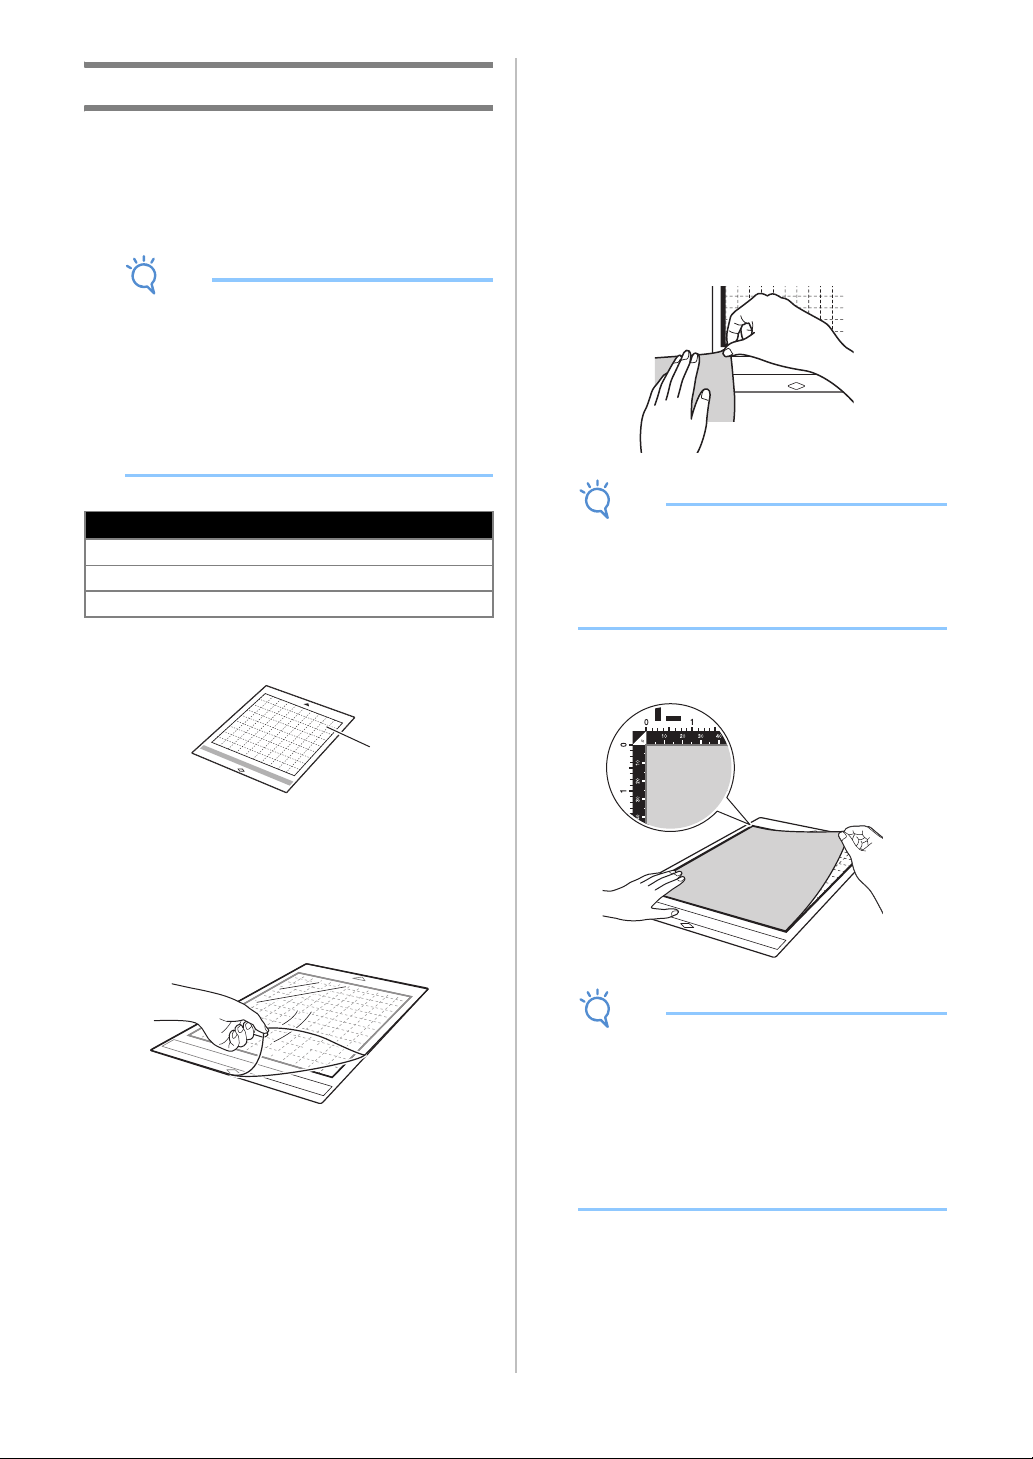
a Peel off the protective sheet from the adhesive
side of the mat.
b Test attaching the material.
Before attaching the material to the mat, use a corner
of the adhesive side of the mat to test attaching it.
If any of the following problems occur when test
attaching, the adhesive strength of the mat is too high
for the material. Use different material.
• When the material is peeled off, color from the
material remains on the mat.
• When the material is peeled off, it tears or is
deformed.
Note
• Use the low tack adhesive mat with copy paper
and smooth paper. Since the standard tack
adhesive mat has a high adhesive strength,
materials may remain stuck to the mat, causing
the mat to become unusable
c Attach the material to the mat’s adhesive side.
Note
• Place the material within the attaching area
(grid area) on the adhesive side. If the material
extends from the attaching area, it may be
caught on the feed rollers when the mat is fed,
damaging the machine.
• Insert the mat into the machine in the direction
of the arrow. Pay attention to the mat’s
orientation to avoid inserting the mat in the
wrong direction.
Material
“Paper” on page 16
“Fabric (Other Than for Quilt Piecing)” on page 17
“Fabric (for Quilt Piecing)” on page 20
a
Loading ...
Loading ...
Loading ...