Loading ...
Loading ...
Loading ...

• If you selected the [WPA/WPA2-PSK] option, press a or b to select the Encryption type [TKIP+AES] or
[AES], and then press OK.
Enter the WPA key, and then press OK.
• For more information about how to enter text, see Related Information.
• Your Brother machine supports the use of the first WEP key only.
9. The machine attempts to connect to the wireless device you have selected.
If your wireless device is connected successfully, the machine's LCD displays [Connected].
You have completed the wireless network setup. To install the drivers and software necessary to use your
machine, go to your model's Downloads page at
support.brother.com.
MFC-J1170DW
Before configuring your machine, we recommend writing down your wireless network settings. You will need
this information before you continue with the configuration.
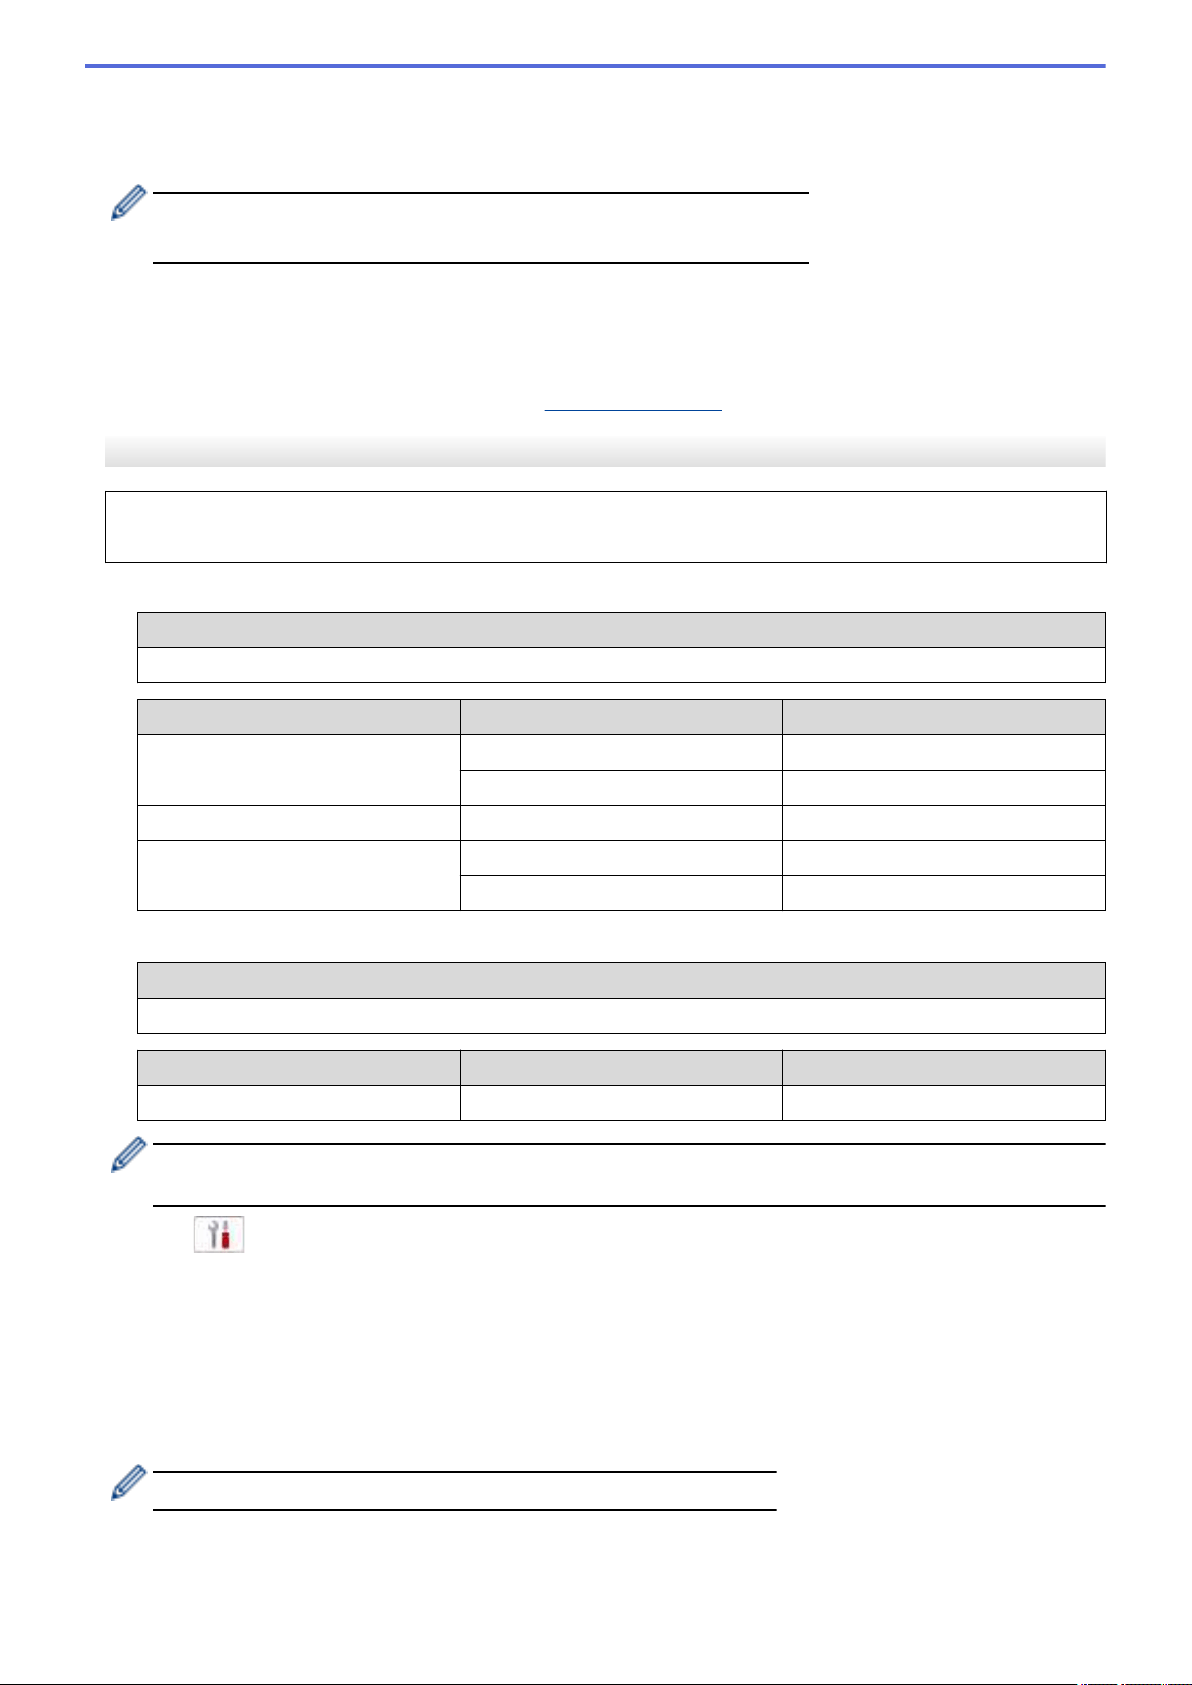
1. Check and write down the current wireless network settings.
Network Name (SSID)
Authentication Method Encryption Mode Network Key (Password)
Open System NONE -
WEP
Shared Key WEP
WPA/WPA2-PSK AES
TKIP
For example:
Network Name (SSID)
HELLO
Authentication Method Encryption Mode Network Key (Password)
WPA2-PSK AES 12345678
If your router uses WEP encryption, enter the key used as the first WEP key. Your Brother machine
supports the use of the first WEP key only.
2. Press [Settings] > [Network] > [WLAN(Wi-Fi)] > [Find Wi-Fi Network].
3. When [Enable WLAN?] appears, press [Yes].
The wireless setup wizard starts. To cancel, press [No].
4. The machine searches for your network and displays a list of available SSIDs. Press a or b to display the
[<New SSID>] option, and then press it.
5. Press [OK].
6. Enter the SSID name, and then press [OK].
For more information about how to enter text, see Related Information.
7. Select the Authentication Method, and then press it.
8. Do one of the following:
269
Loading ...
Loading ...
Loading ...