Loading ...
Loading ...
Loading ...
45
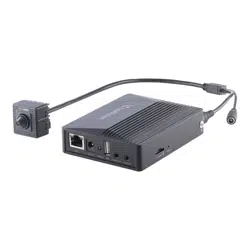
4. Set the alarm line. Click the “Area” tab to go to the interface as shown below.
Set the alarm line number and direction. Only one alarm line can be added.
Direction: A->B and A<-B can be optional. The direction of the arrow is entrance.
Statistics: If enabled, you can see the statistical information in the live view interface. If
disabled, the statistical information will not be displayed in the live view interface.
The statistical OSD information can be customized as needed.
Click the “Draw Area” button and then drag the mouse to draw a line in the image. Check
“Statistics” and then move the red box to change the position of the statistical information
displayed on the screen. Click the “Stop Draw” button to stop drawing. Click the “Clear”
button to delete the lines.
Click the “Save” button to save the settings.
5. Set the schedule of the target counting by line. The setup steps of the schedule are the
same as schedule recording setup (See Schedule Recording Settings).
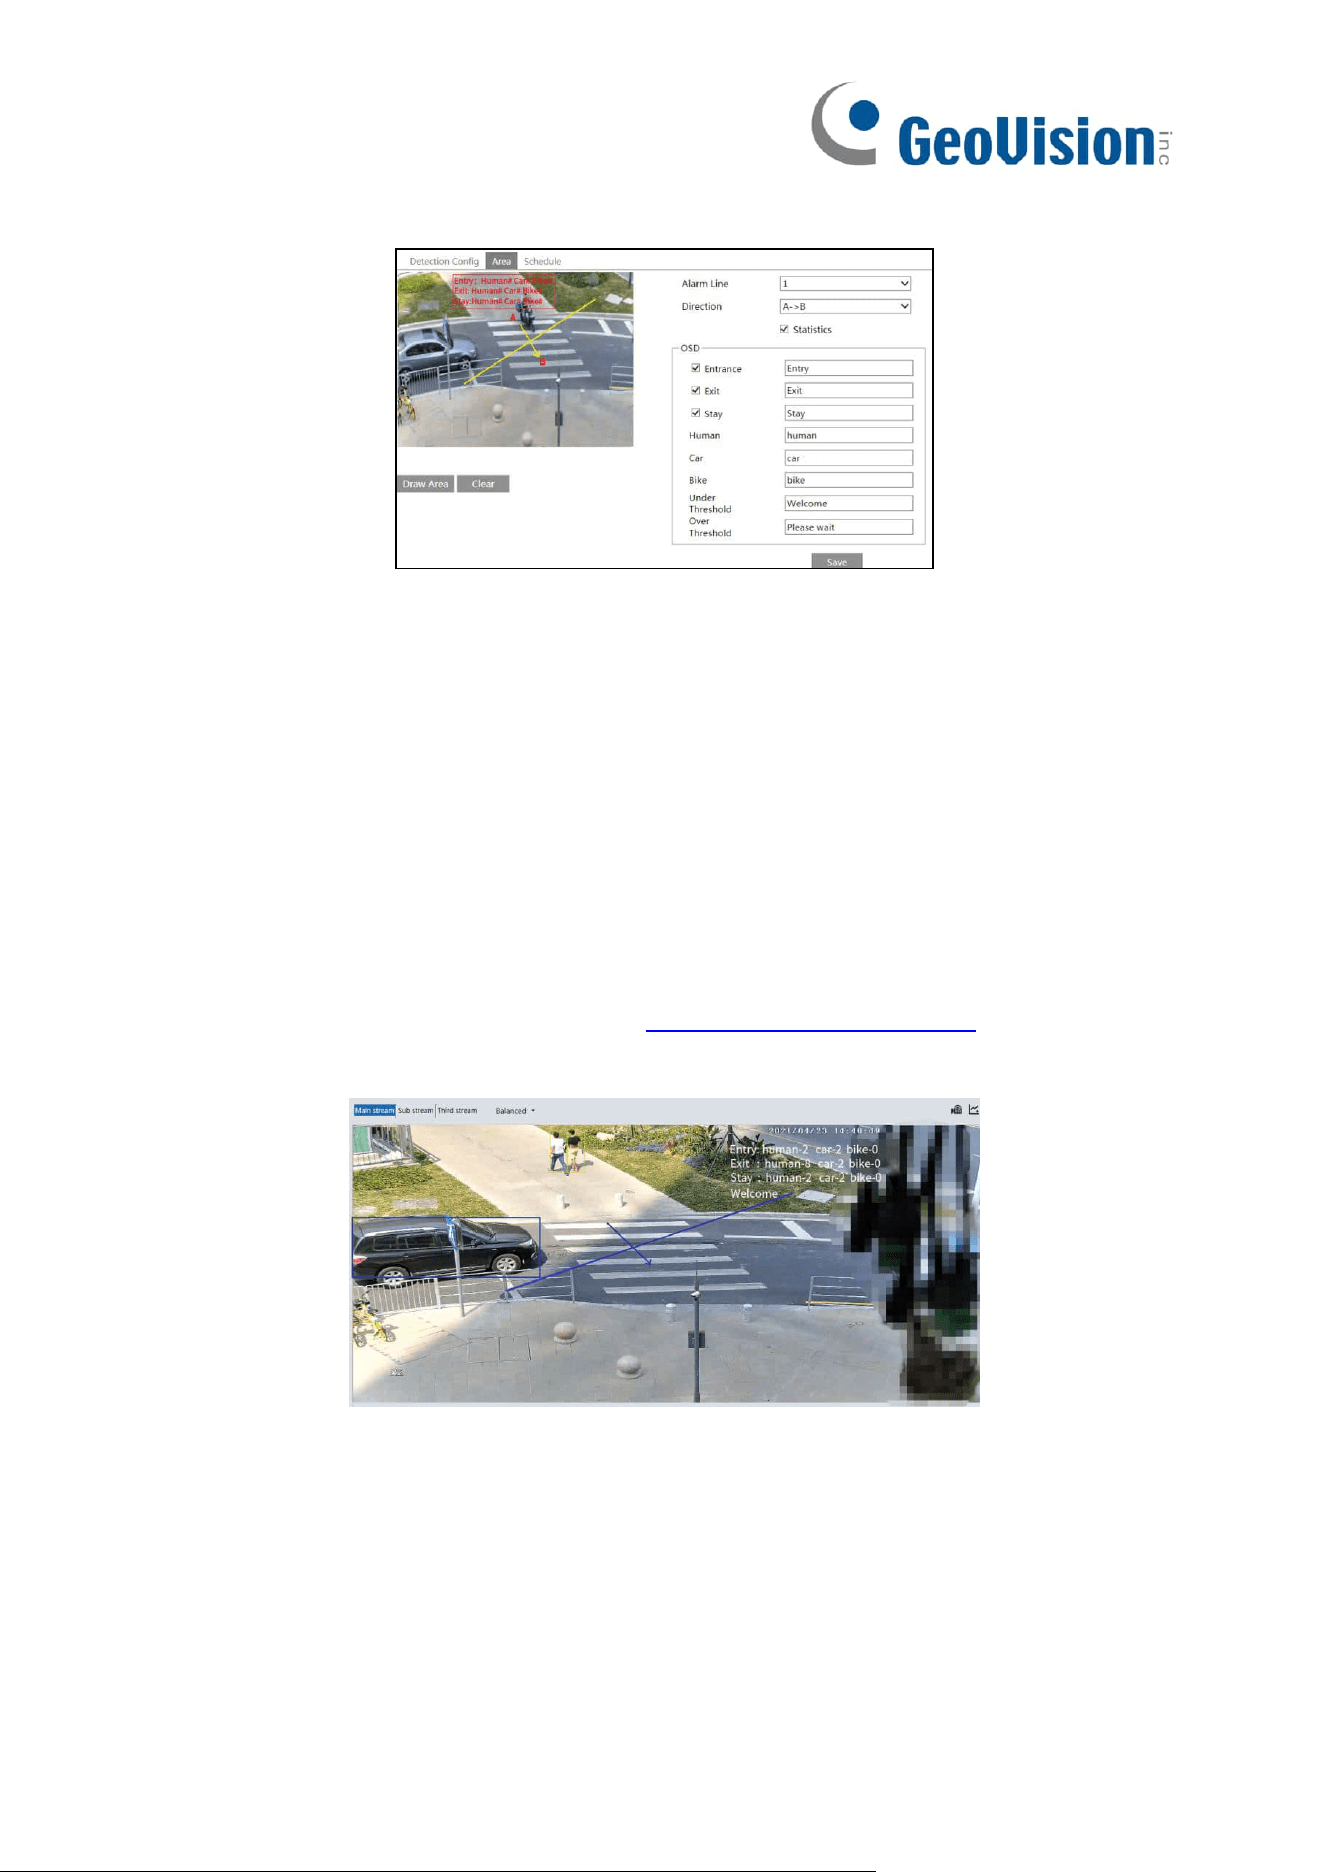
6. View the statistical information in the live view interface.
Loading ...
Loading ...
Loading ...