Loading ...
Loading ...
Loading ...
Step two: Configure the Scan to Email feature
Use the Embedded Web Server (EWS) to set up the Scan to Email feature. Define the email settings and
the default scan and file options, and add contacts to the Address Book.
1. On the Embedded Web Server home screen, click Printer Management in the left navigation pane.
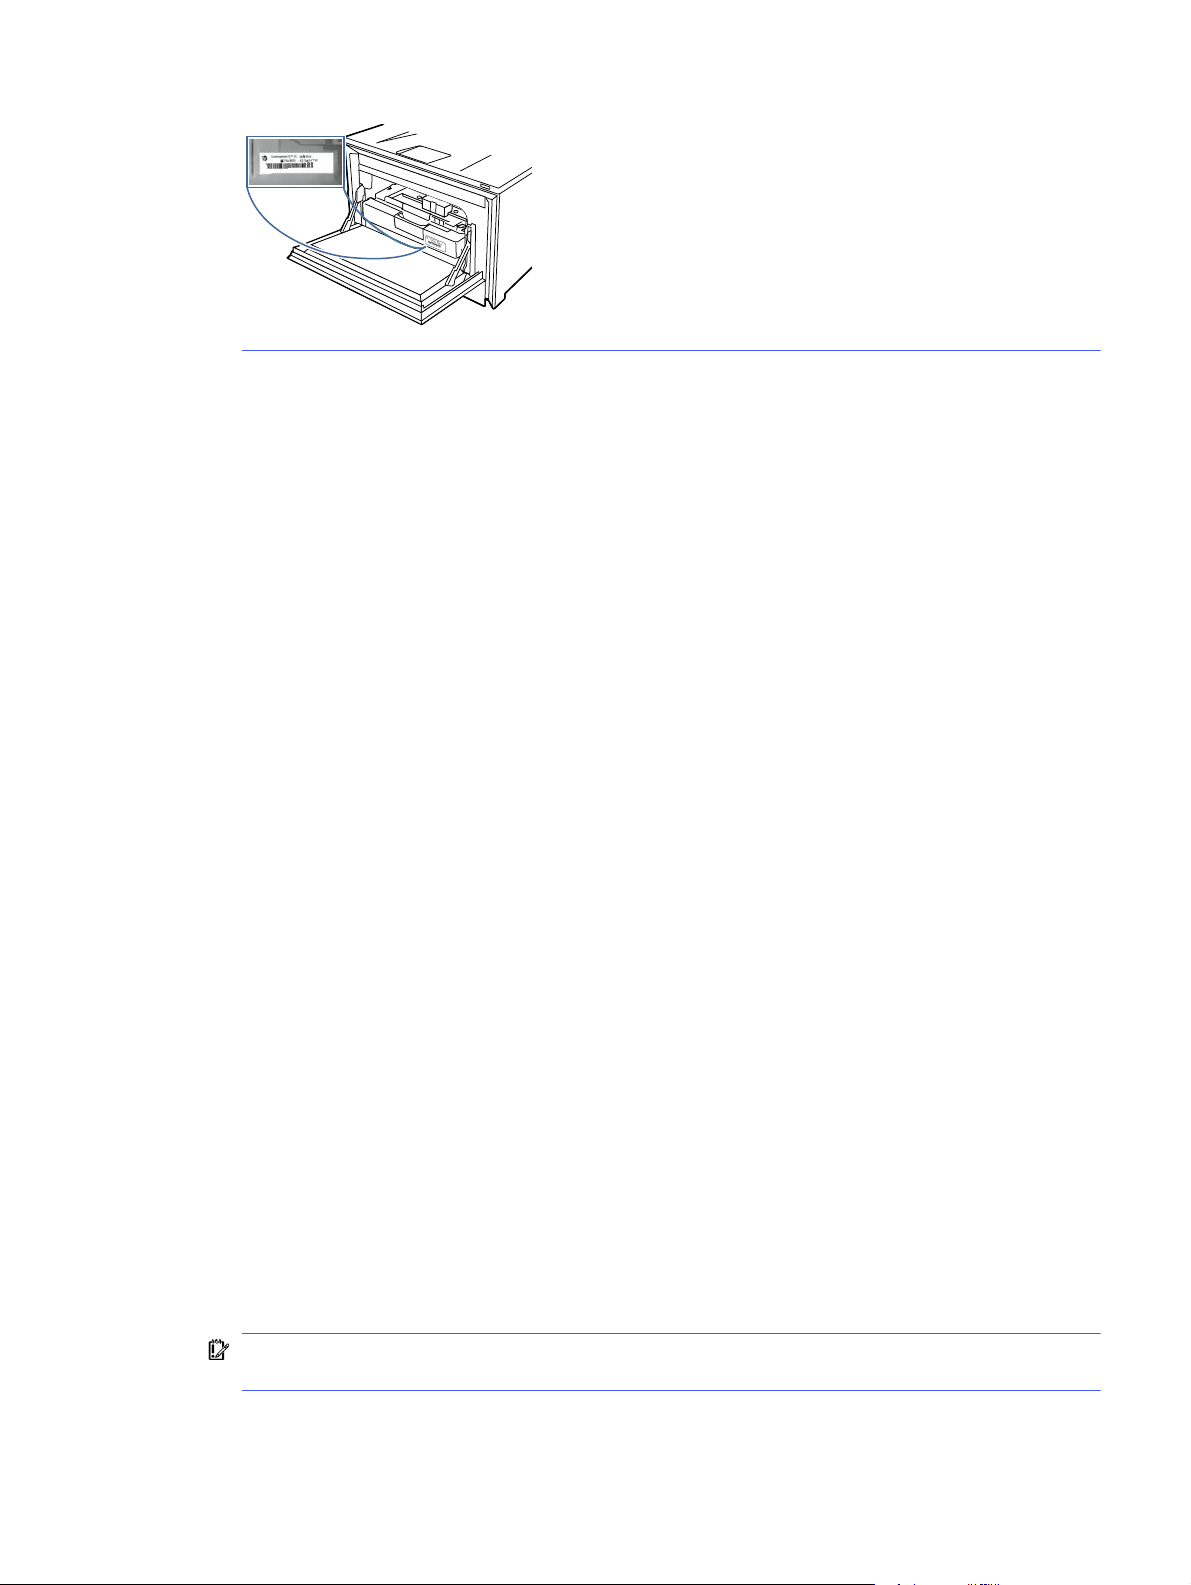
2. Select Email Servers from the left navigation pane. Enter the EWS PIN number when prompted.
3. On the Email Servers page, do the following:
● If your organization uses one email server for all its emails: Click the plus icon above the table,
and select SMTP Server for the Profile Type. Fill in the information required for the SMTP server.
● If your organization uses multiple email servers for its emails: Click the plus icon in the table
and select User-defined email profile for the Profile Type. Fill in the information required and,
then click Add. Click the plus icon again to add more than one email profile.
4. To configure the default job options for scan to email jobs, click the Jobs in the left navigation pane,
and then click Email. Change the default job options in the page that displays.
5. To set up your contact list or lists, select Contacts in the left navigation pane.
● You can add contacts individually to the contacts list. Click the Add Contact or Add Group icons
to add contacts to the list.
● A Network Directory Server (LDAP) can be set up to search for users within a company. Click
Address Books at the top of the Contacts page to configure LDAP.
● You can also use the Address Books page to set up more than one contact list. Under Manage
Address Books, click the plus icon to add additional custom address books.
Step three (optional): Configure Quick Sets
Use the following steps in the Embedded Web Server (EWS) to set up Quick Sets.
Quick Sets are optional shortcut jobs that can be accessed on the printer Home screen. They are useful
for saving scan settings for jobs that you carry out frequently.
1. On the Embedded Web Server home screen, click Quick Sets in the left navigation pane.
2. Click the plus icon in the Quick Sets table, select the Quick Set Type, and then follow the onscreen
prompts.
IMPORTANT: If the printer settings are being controlled using the HP Smart Admin portal, Quick
Sets are disabled in the EWS. Instead, you can set up Shortcuts in the HP Smart Admin portal.
Step two: Configure the Scan to Email feature
57
Loading ...
Loading ...
Loading ...